
How to Shape your own Surfboard – Surfboard Shaping Tutorial Part 1
Intro and Tools you need to shape your own Surfboard
Intro:
Surfboard Shaping Tutorial – lets begin! For most surfers, choosing their surfboard involves a lot of guesswork. What length, width, thickness, outline, rails, rocker, bottom/deck contours, etc. are most suitable for my skill level/style?
Each of these design elements makes a noticeable difference in the performance and functionality of the surfboard.
While we may be drawn to certain shapes, there’s nothing that reduces the question of the right board and helps us understand the features of different design elements more than shaping a surfboard ourselves.
Understanding the design of your surfboard will make you a better surfer and teach you a lot about the craft you are going to ride.
With some patience, the right equipment, and a few tips, building a surfboard yourself isn’t that difficult.
Tip: Need help with your first shape? We let our trusted shaper, Thierry André of Terry Surfboards at Shaper House in Biarritz, show us how! Thierry has over twenty years of shaping experience and knows every detail.
If you’re interested in shaping, have questions, and want to build your own custom board with support, then the Shaper House in Biarritz is the right place for you! They offer shaping courses with trained and experienced instructors like Thierry.
The right design/shape:
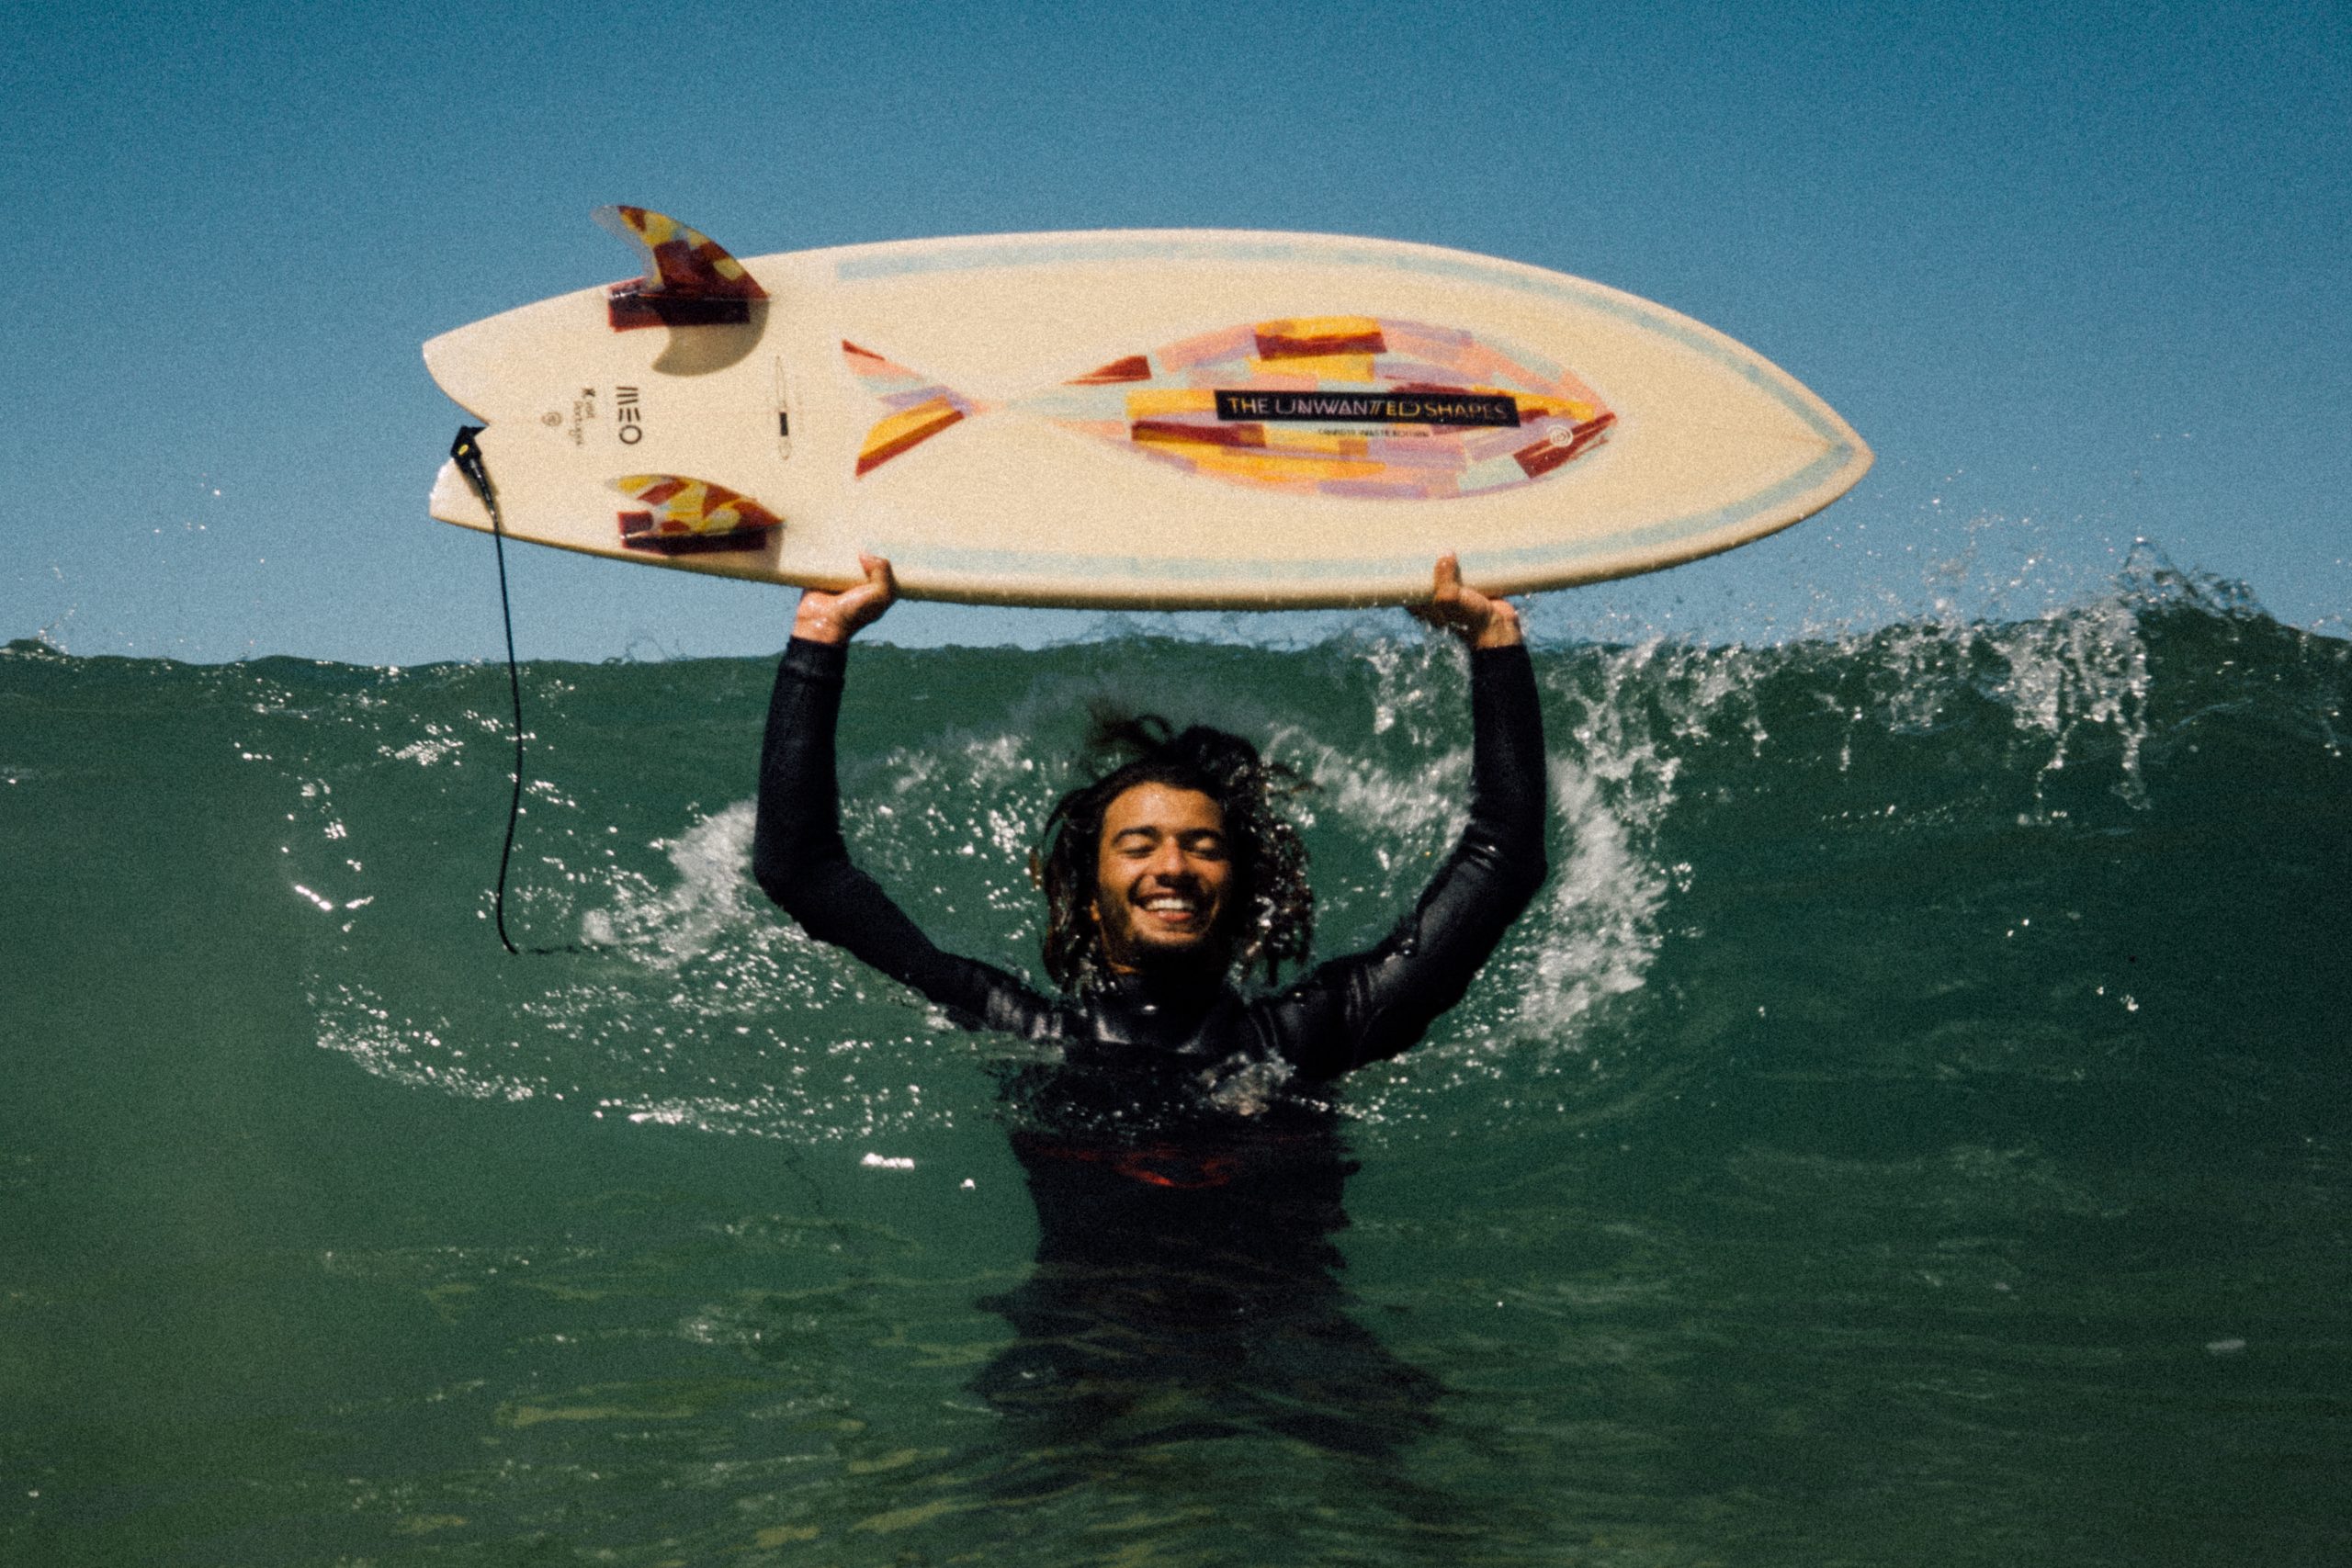
Before you start shaping, think about how you want your surfboard to look in the end. Choose the right shape that suits your surfing level and the conditions.
Tips for selection:
- Small or slow waves: Shape with more width, thickness, and length. Less rocker (flatter) / full, soft round rails (e.g., 50/50, 60/40). Suitable for smooth turns.
- Big and faster waves: Narrower, thinner, and shorter. More rocker (bottom curve) / sharper downward-directed rails (e.g., 80/20). Suitable for aggressive turns.
- The rounder the shape, the easier it is to turn.
Placement of fins:
- Longer fins / single fin placed towards the tail = larger turning radius / stability / keeps the surfboard in the line.
- Shorter fins / single fin placed towards the center of the board = smaller turning radius / less hold.
Once you’ve found the right shape, try to accurately draw it. We recommend drawing one side of the shape on a thin MDF board, cutting it out, and sanding along the outline as cleanly as possible.
On the internet, you can find various surfboard templates with precise measurements and printing instructions available for free download.
Materials:
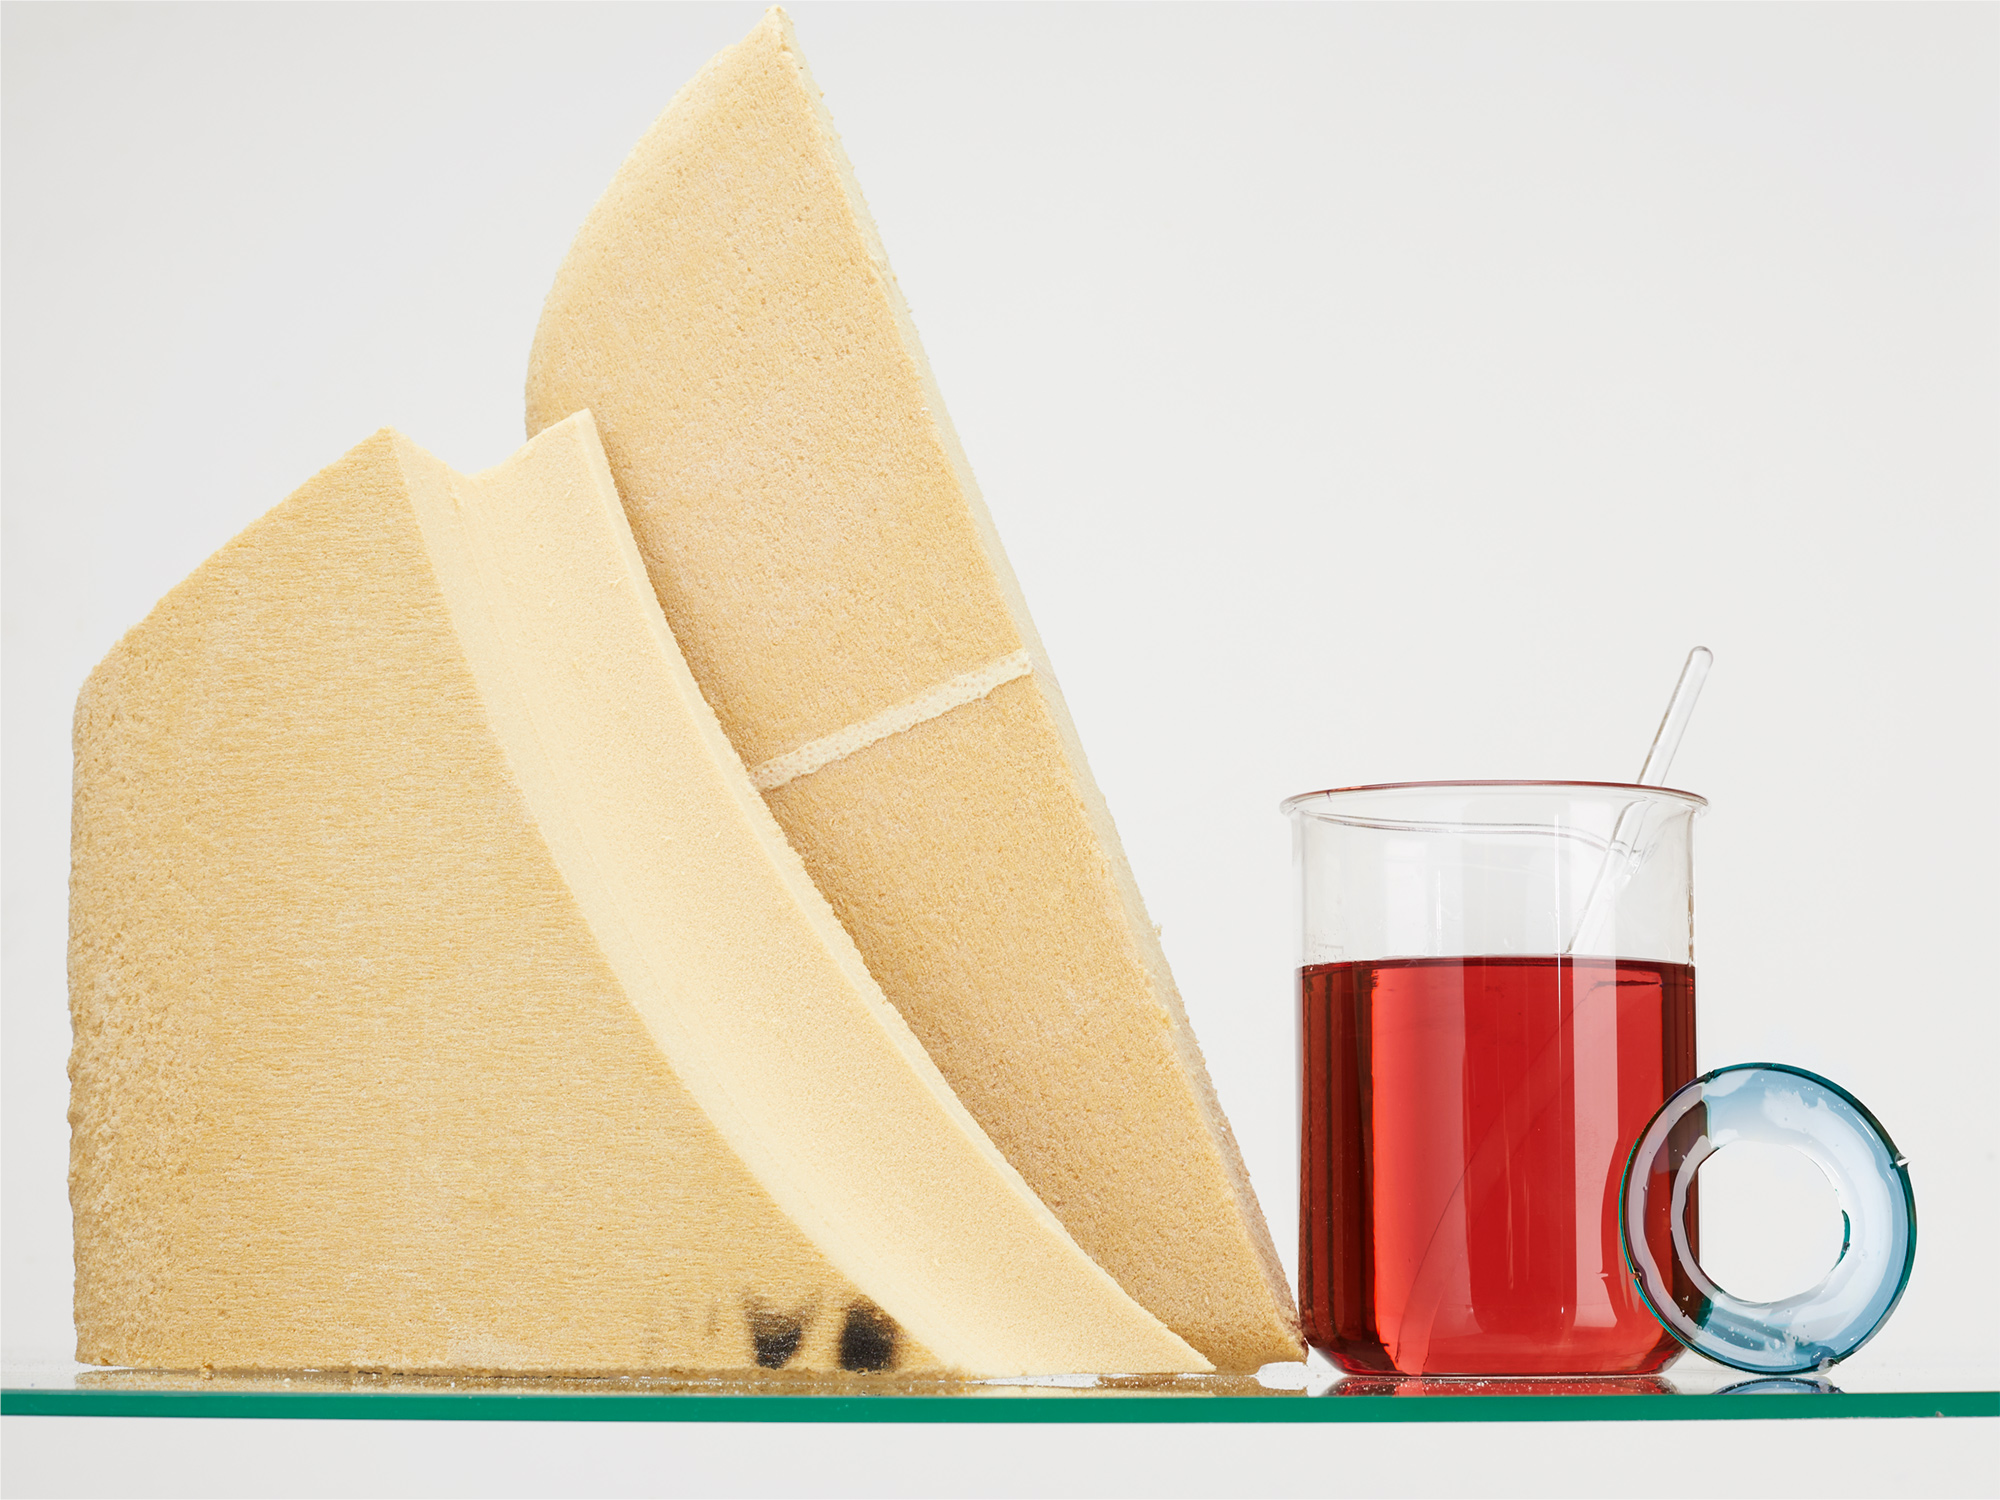
Thierry uses a Polyola Eco Blank, the most sustainable alternative on the market, which can be glassed with polyester and epoxy resin.
–> We recommend purchasing a D.I.Y. shaping kit from Viral Surf. It provides all the materials perfectly matched in one set. You can choose every shape from Retro Fish, Shortboard or Mid-lenght to Longboard. In the Dropdown menu you can always choose the Polyola Eco Blank option.
The right tools:
First, set up your workshop:
Shaping stand:
Build it yourself using wood or metal. You will also find the one in the picture at Viral Surf
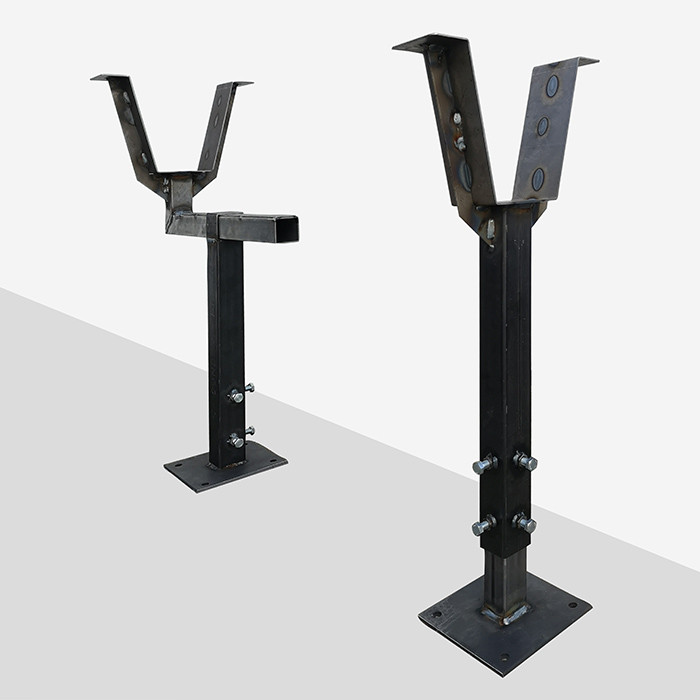
Picture: Viral Surf
Install lights:
Proper room lighting is essential to see all shadows, irregularities, and contours.
Place fluorescent lights at a height of about 1 meter on both sides of the room (minimum across the entire length of the planned board). The bottom of the room should be bright, while the top should be darker to avoid shadows on the board.
If possible, install an exhaust fan to remove dust from the room.
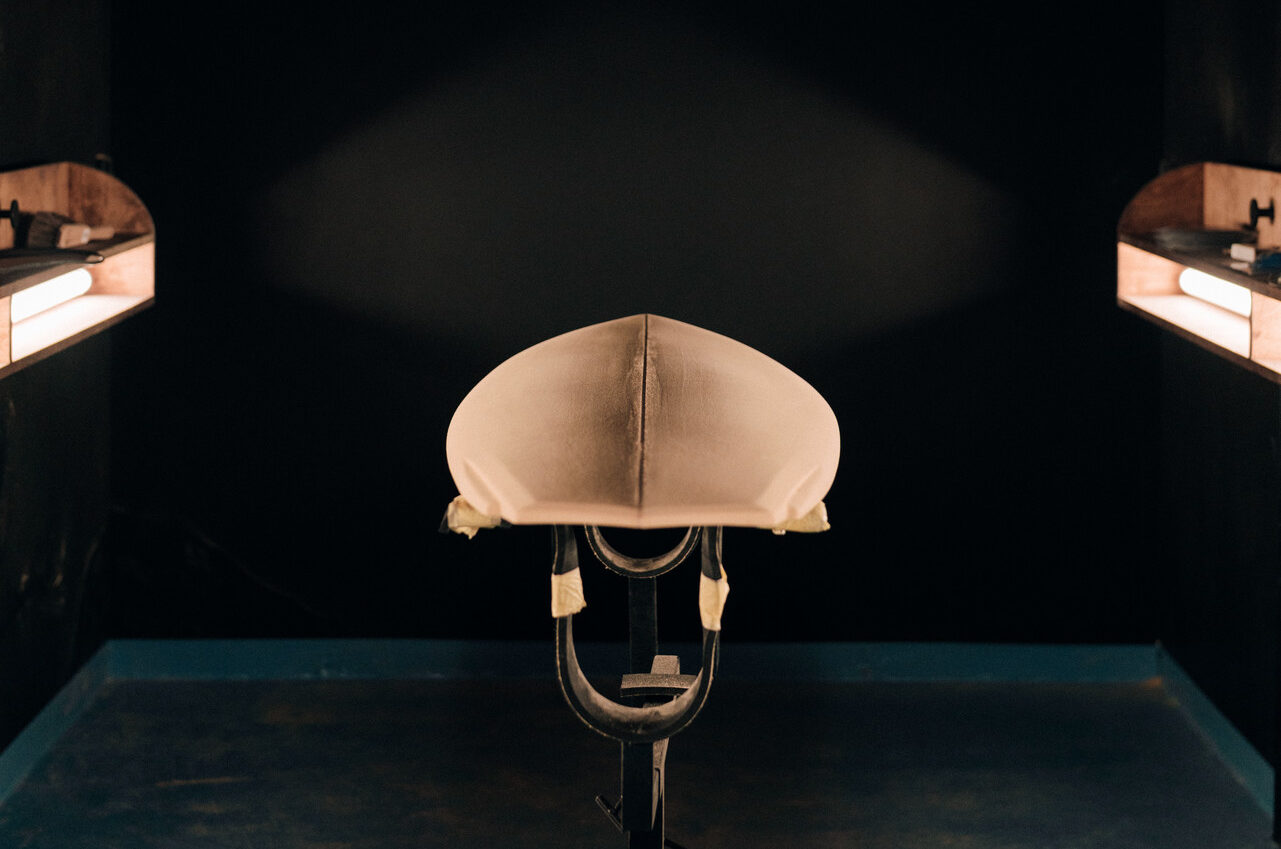
Picture by: TheWolfMike – wolfmike.com / Alaiabay shaping room
Surfboard Shaping tools:
- Blank – Polyola PU blank
- Polyester or epoxy resin (we recommend epoxy as it is more sustainable and has a longer processing time, which gives you a little more time during glassing process).
- Template
- Electric planer
- Saw
- Surform (fine plane/rasp)
- Mini hand plane
- Sandpaper
Tools / Material for Glassing:
- Fiberglass cloth (1x 4 or 6 OZ Bottom & 1x 4+6 OZ Deck)
- Resin (Epoxy or Polyester)
- Hardener
- Styrene Paraffin – To be able to sand the hotcoat (for Polyester resin)
- Router
- Hole saw
- Tape
- Respirator mask (Important: Proper filter! For organic vapors and gases)
- Protective gloves
- Cutter / Single-sided razor blade
- Sanding machine
- Squeegee
- Masking paper
- Brush
- Resin mixing cup
- Scale or dispenser
Tools for Finishing:
- Sanding machine
- Tape
- Sandpaper (for resin)
Check Viral Surf – they supply you with everything you need!
Keep going with How to Shape your own Surfboard Part 2 (will be puplished next monday)