
How to Shape your own Surfboard – Part 2 the blank shaping process
The blank shaping process
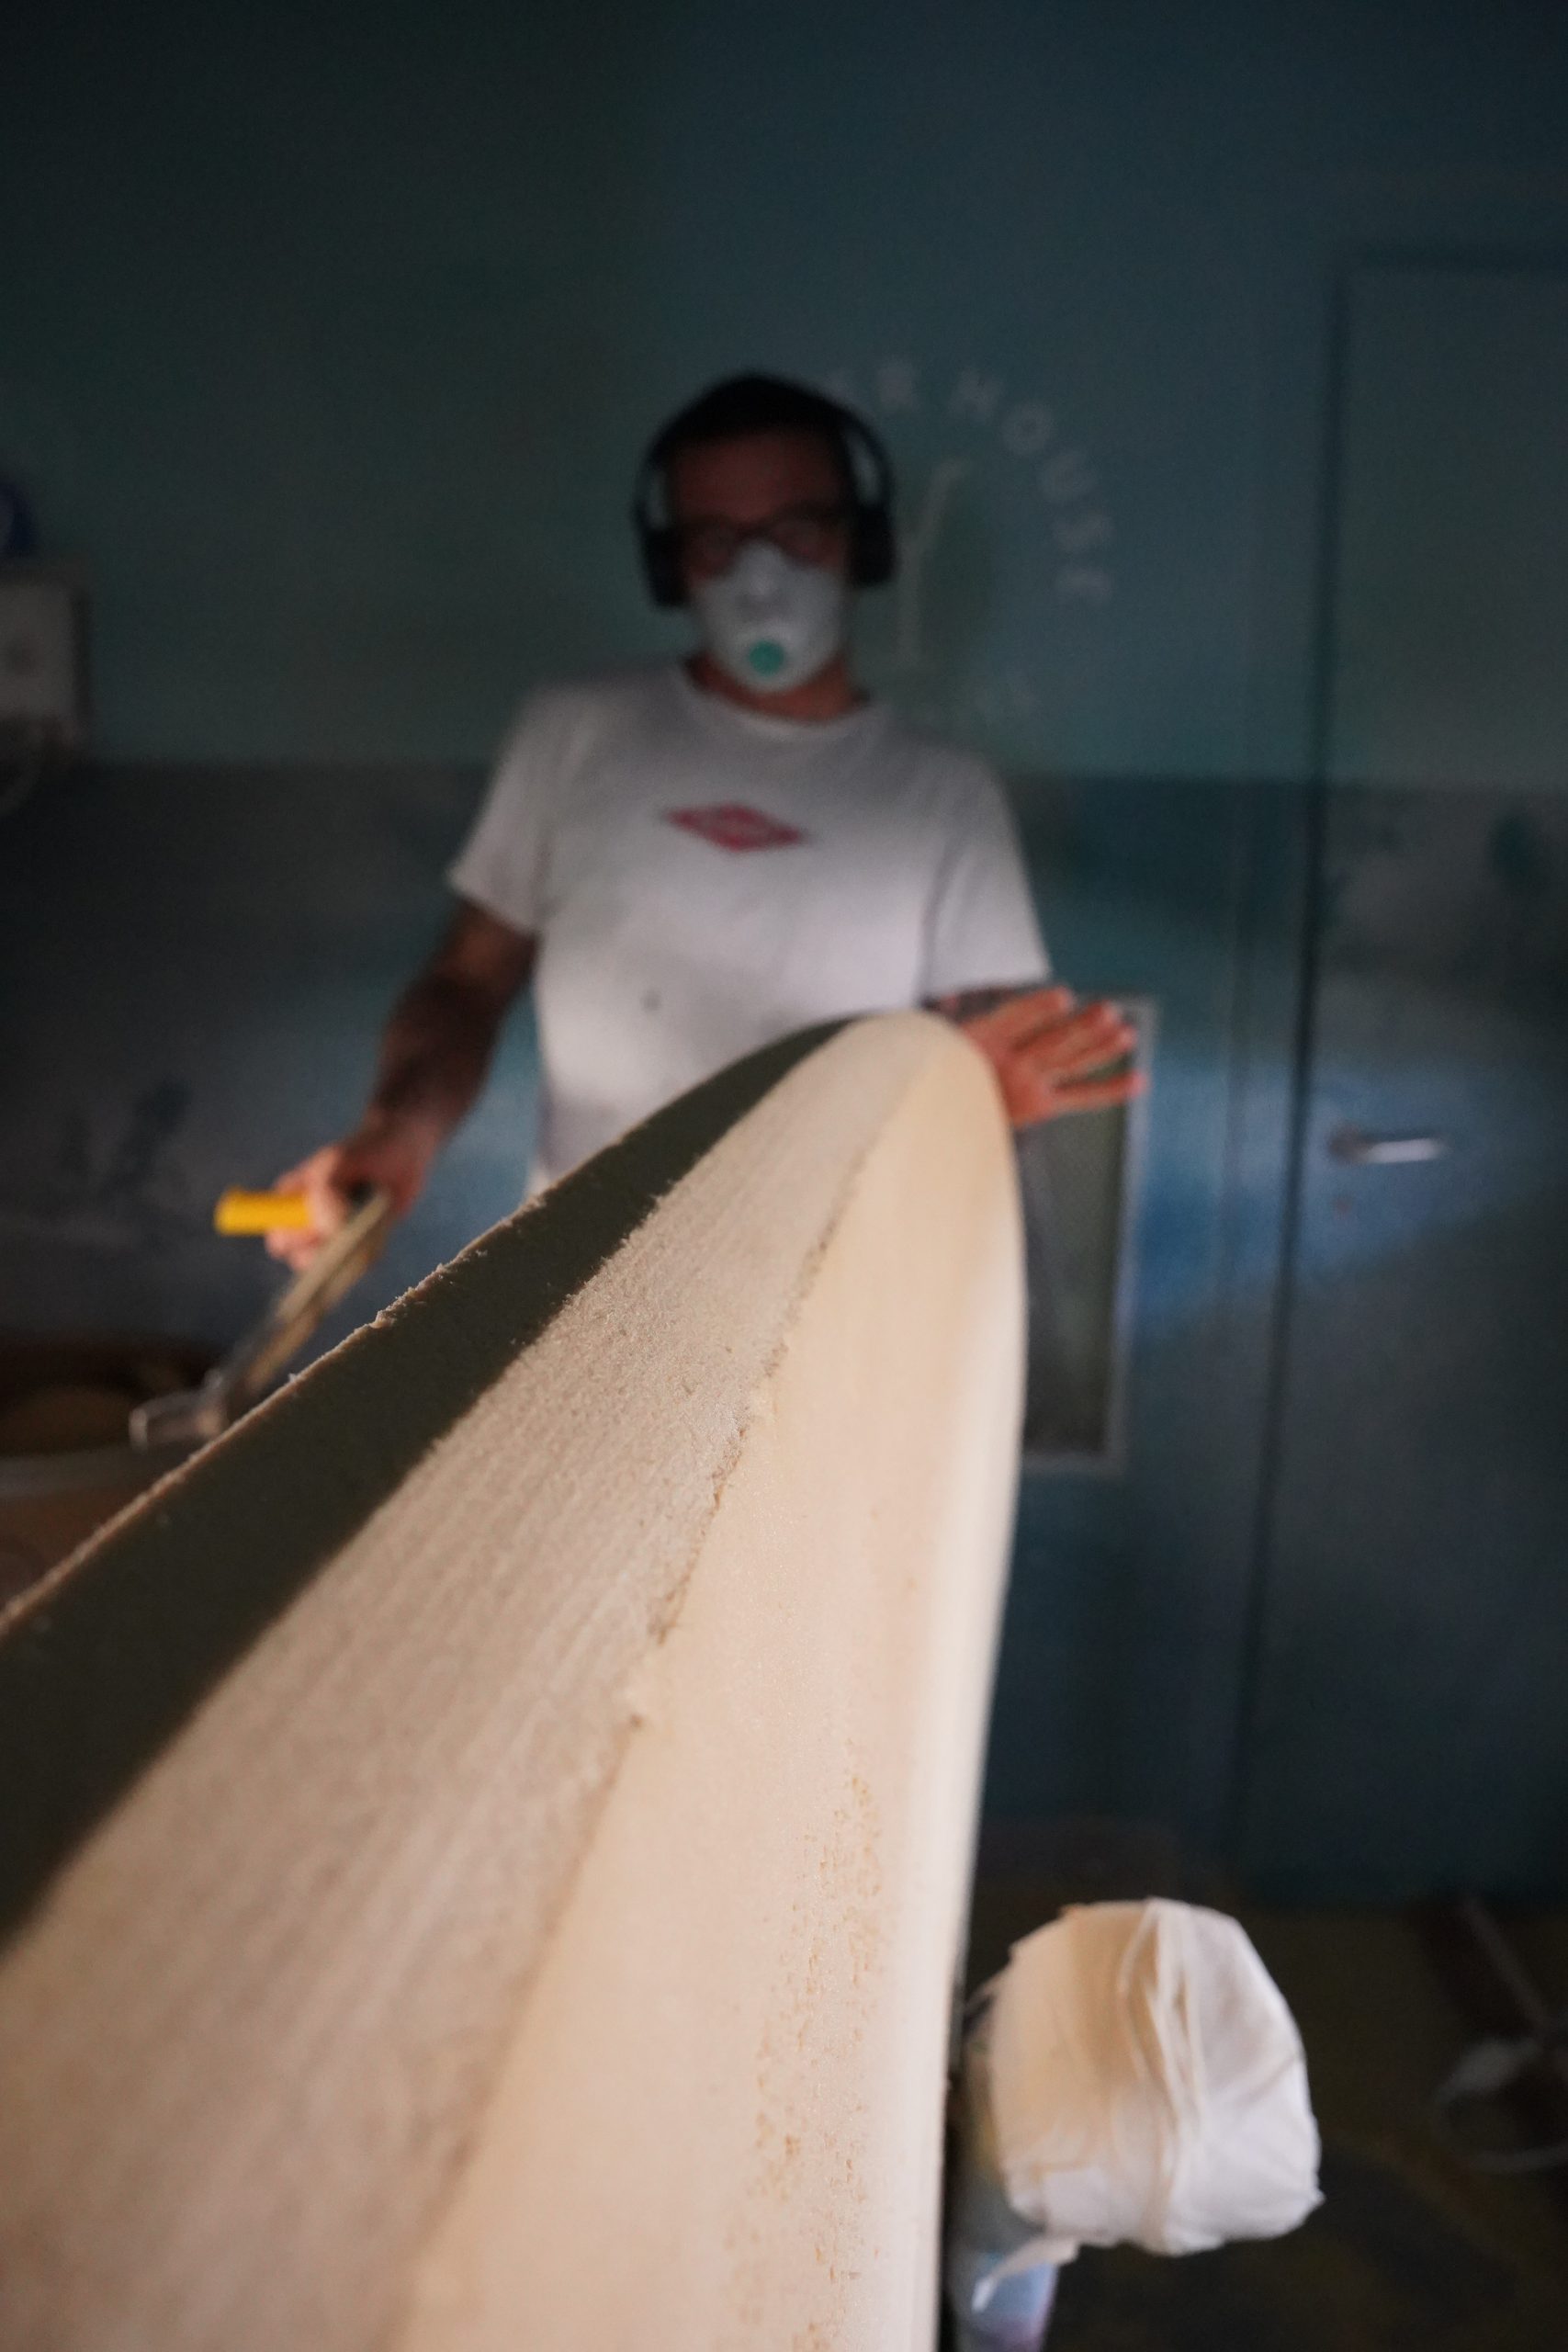
After we introduced you to the basics and tools in the first edition of our DIY How to Shape your own Surfboard Tutorial, we now continue with the active blank shaping process.
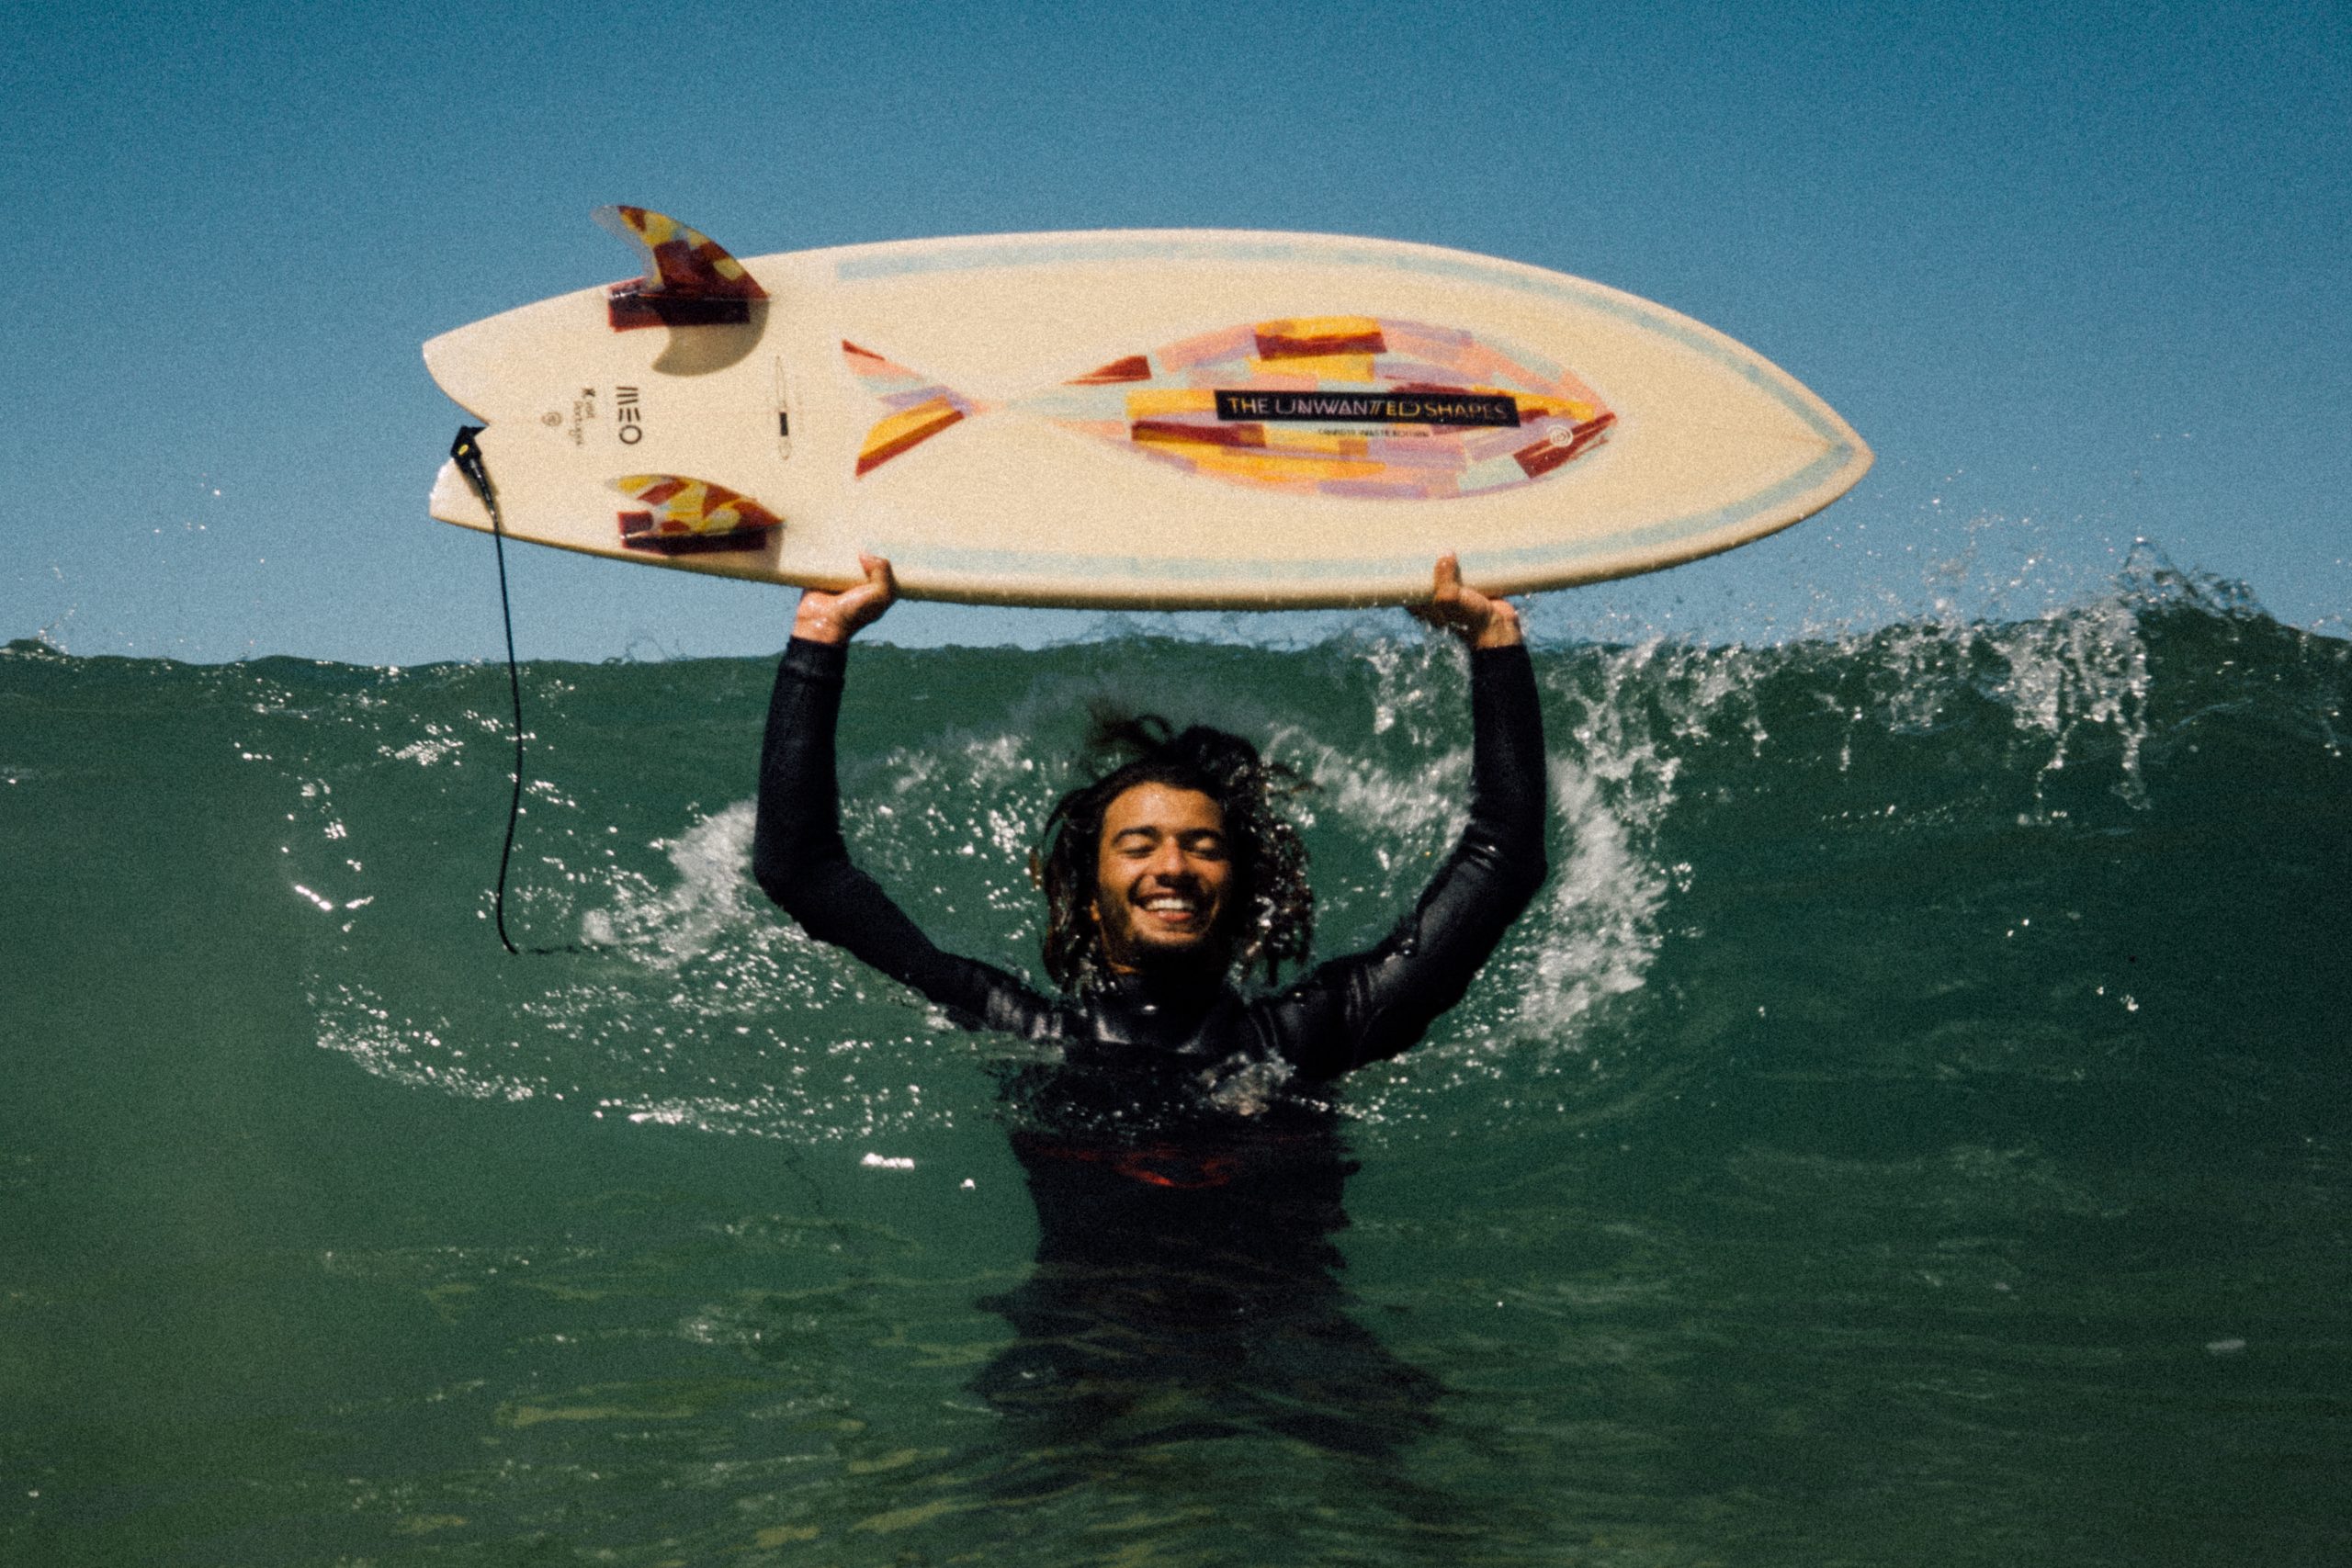
Once again we teamed up with Thierry André from Terry Surfboards in the Shaper House in Biarritz, who provided us not only with info, but also with pictures and tips.
If you missed Part 1 of our DIY Surfboard Shaping Tutorial just check out How to Shape your own Surfboard – Part 1
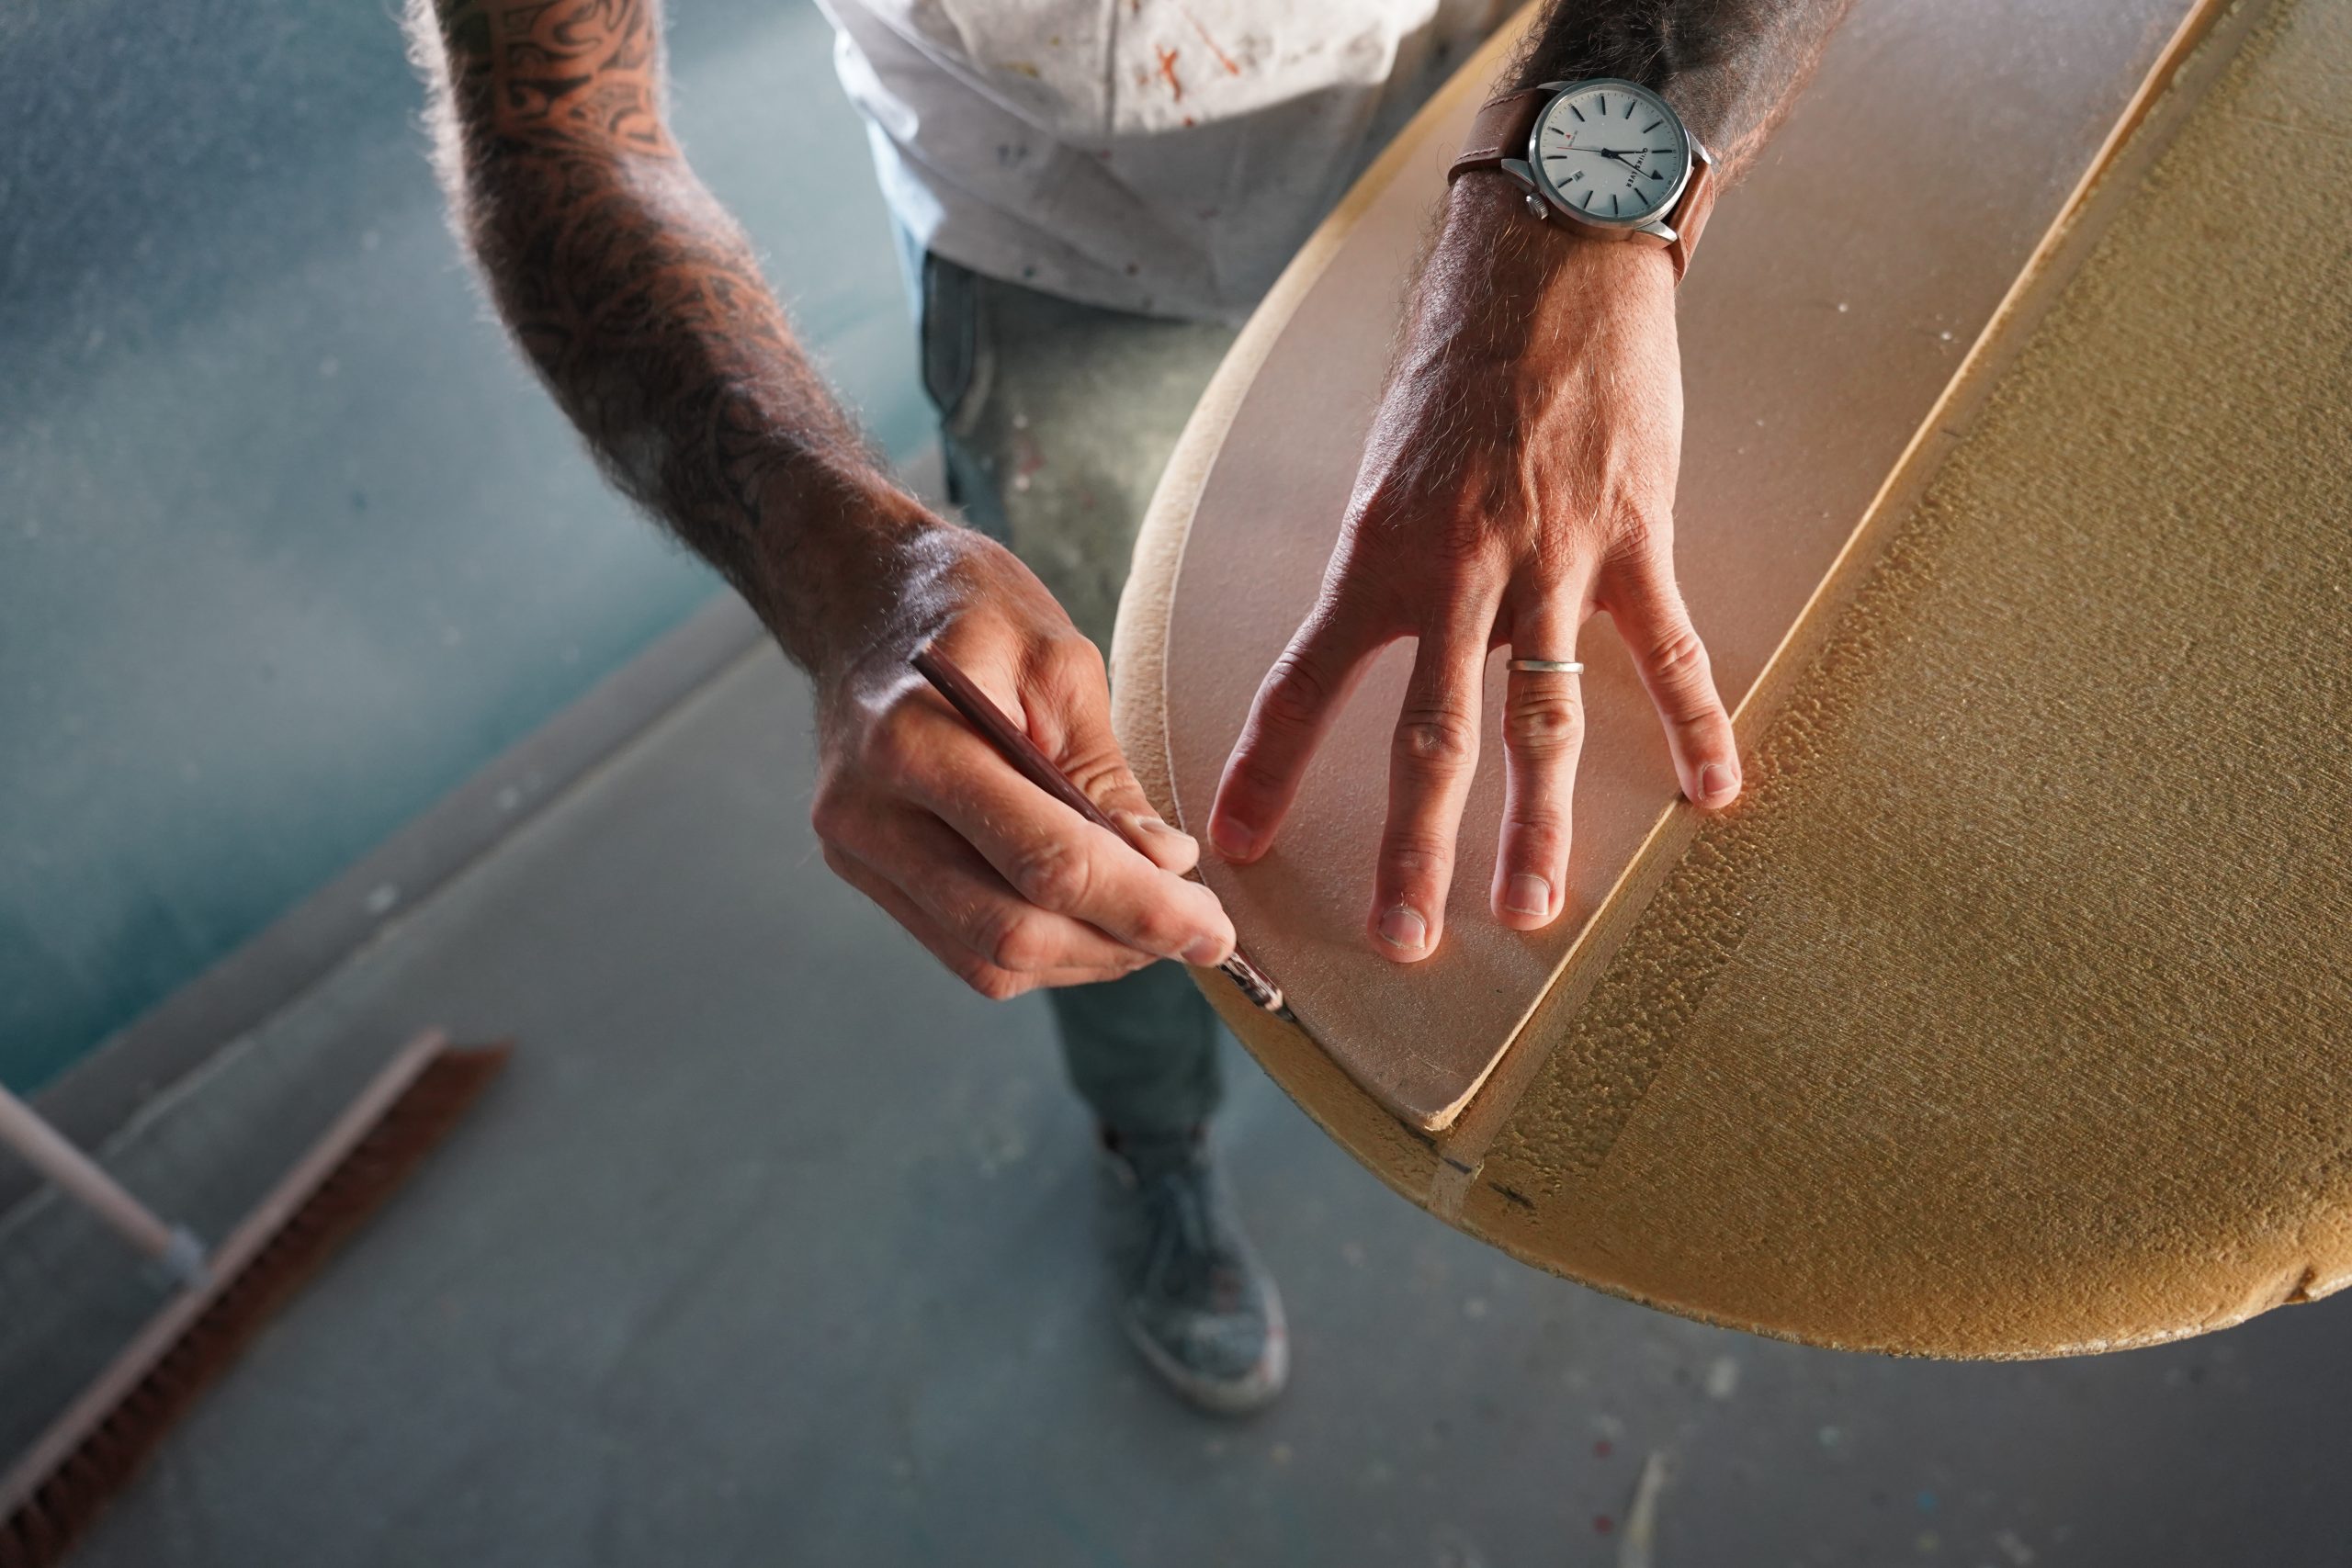
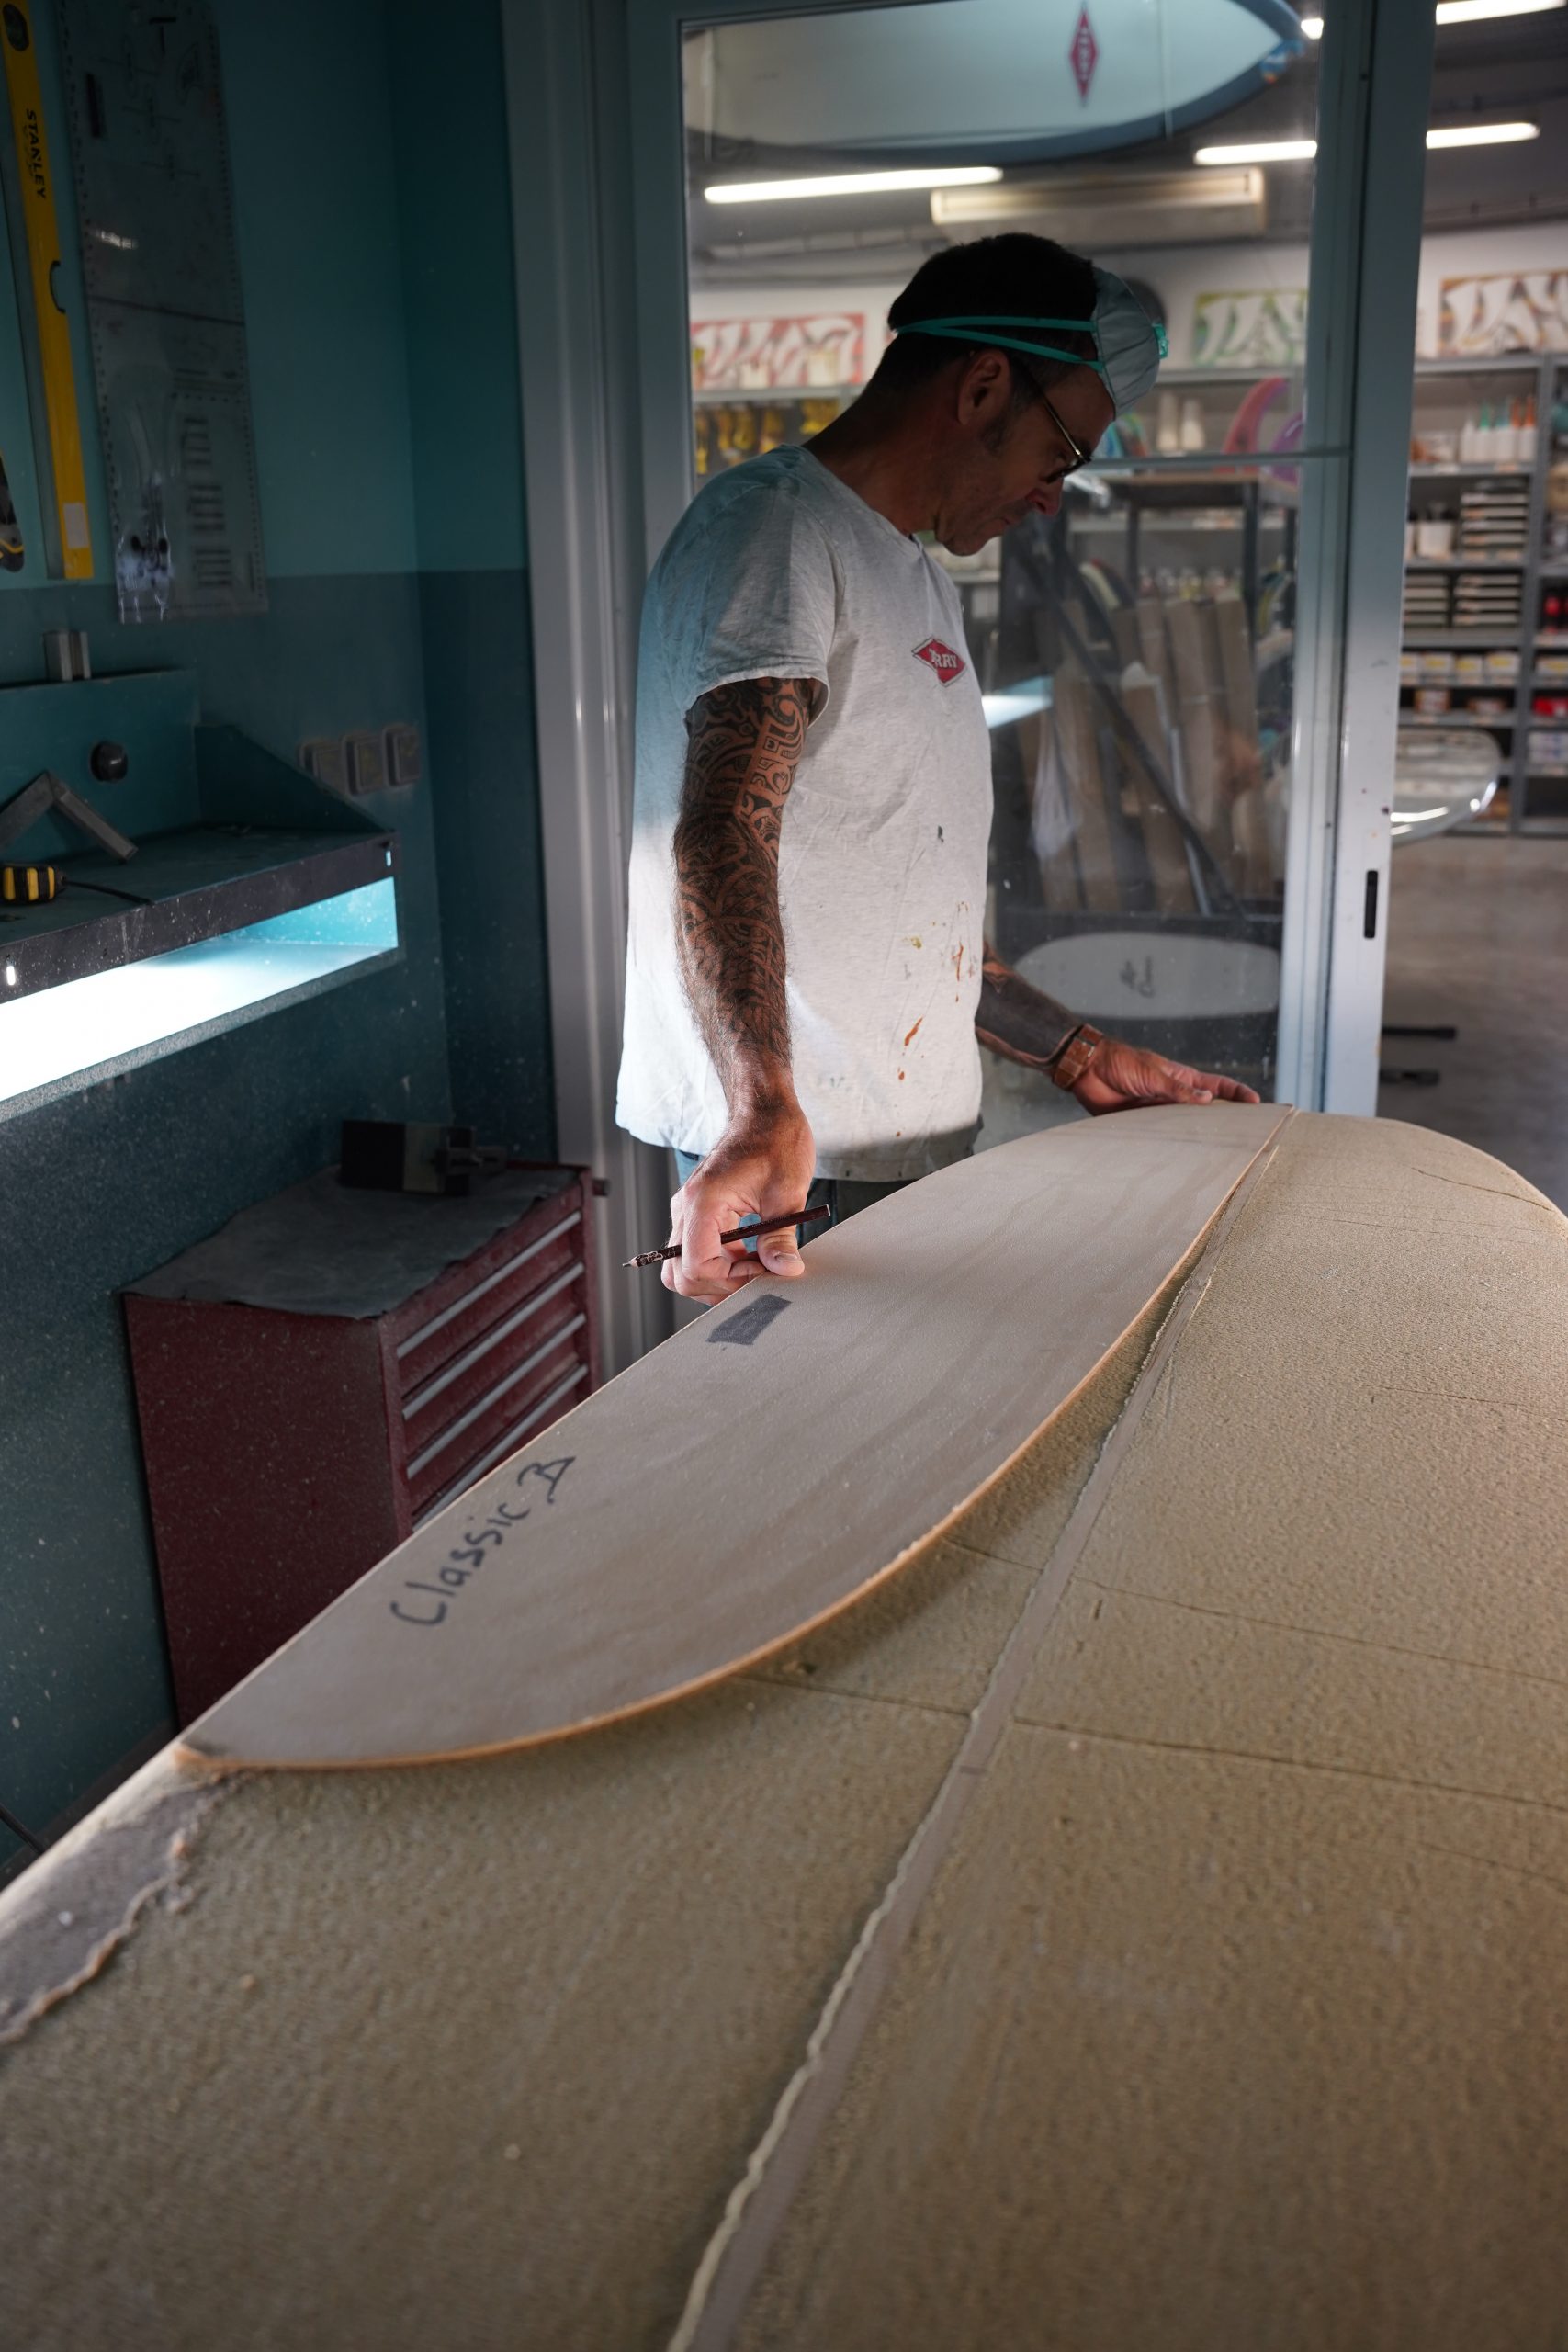
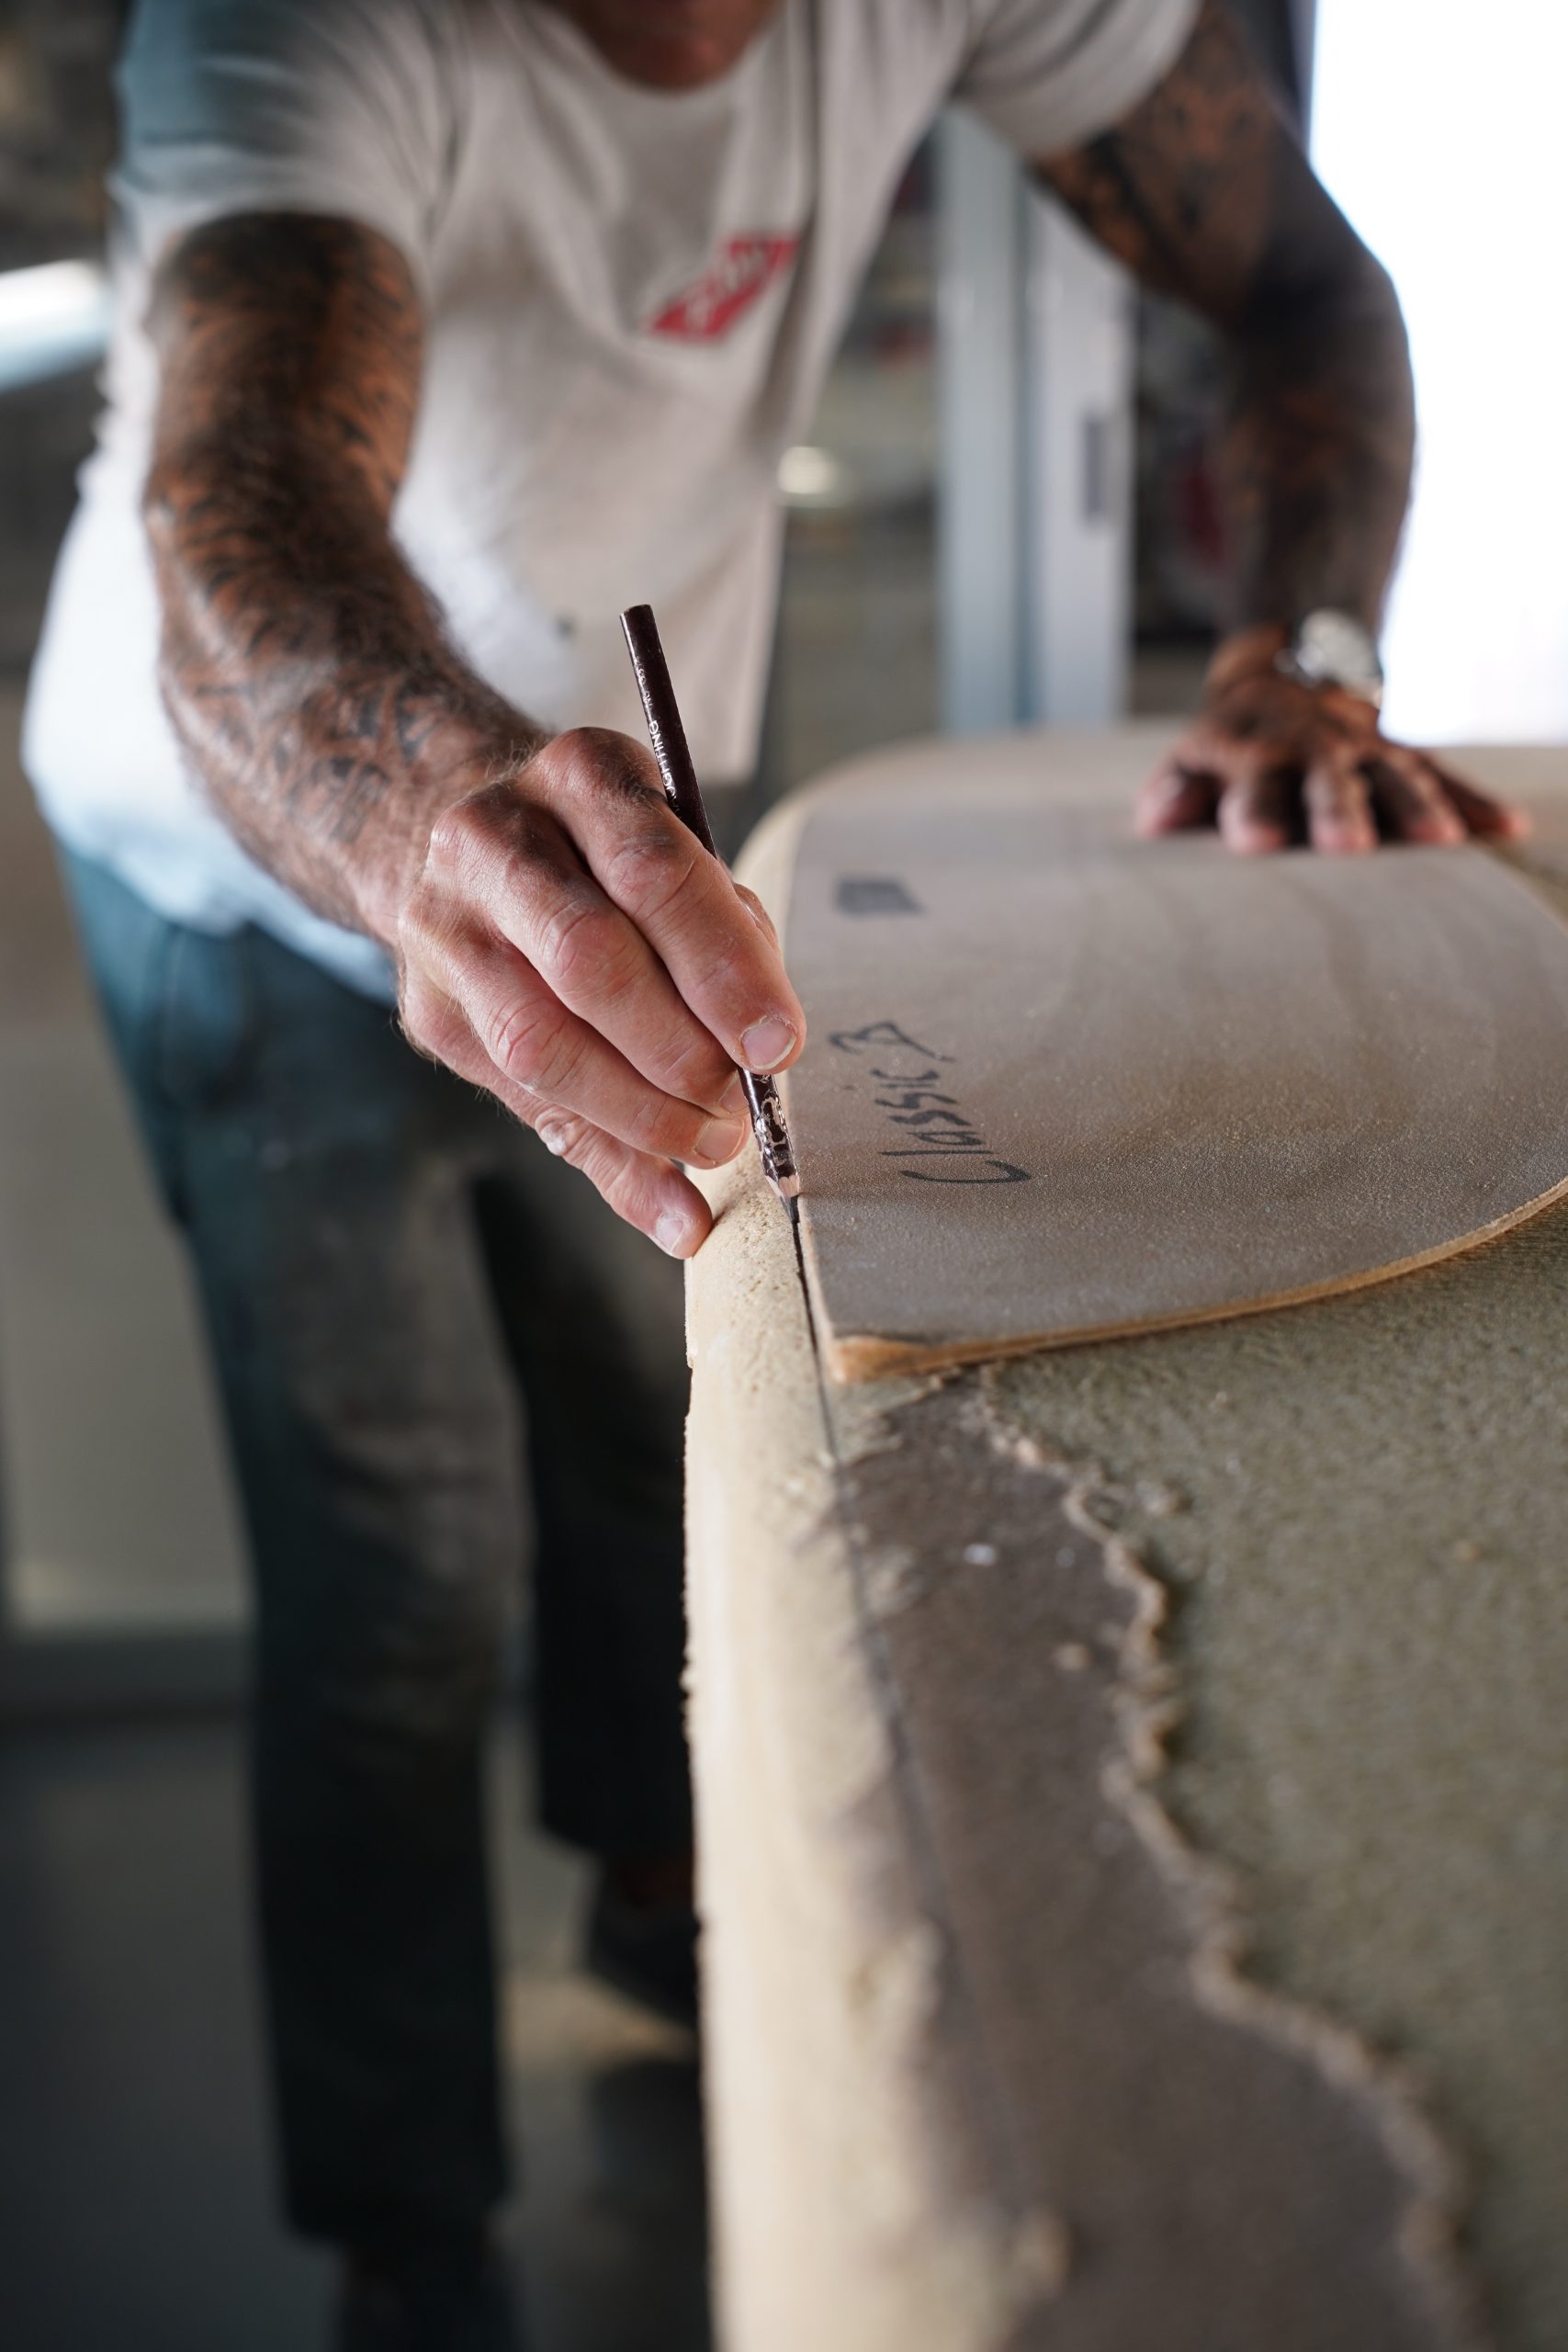
Drawing the Outline
After we have racked our brains about what shape our surfboard should get, it’s time to put the blank with the bottom up on the built / bought shape stand and draw in the outline. Follow the steps
- Place the blank with the bottom facing up on the built/purchased shaping stand.
- Measure the length of the shape with a measuring tape and mark it on the bottom of the blank. Start by marking the desired length and the center of the shape.
- Then set a mark at 1FT (approximately 30.5cm) from the nose and tail.

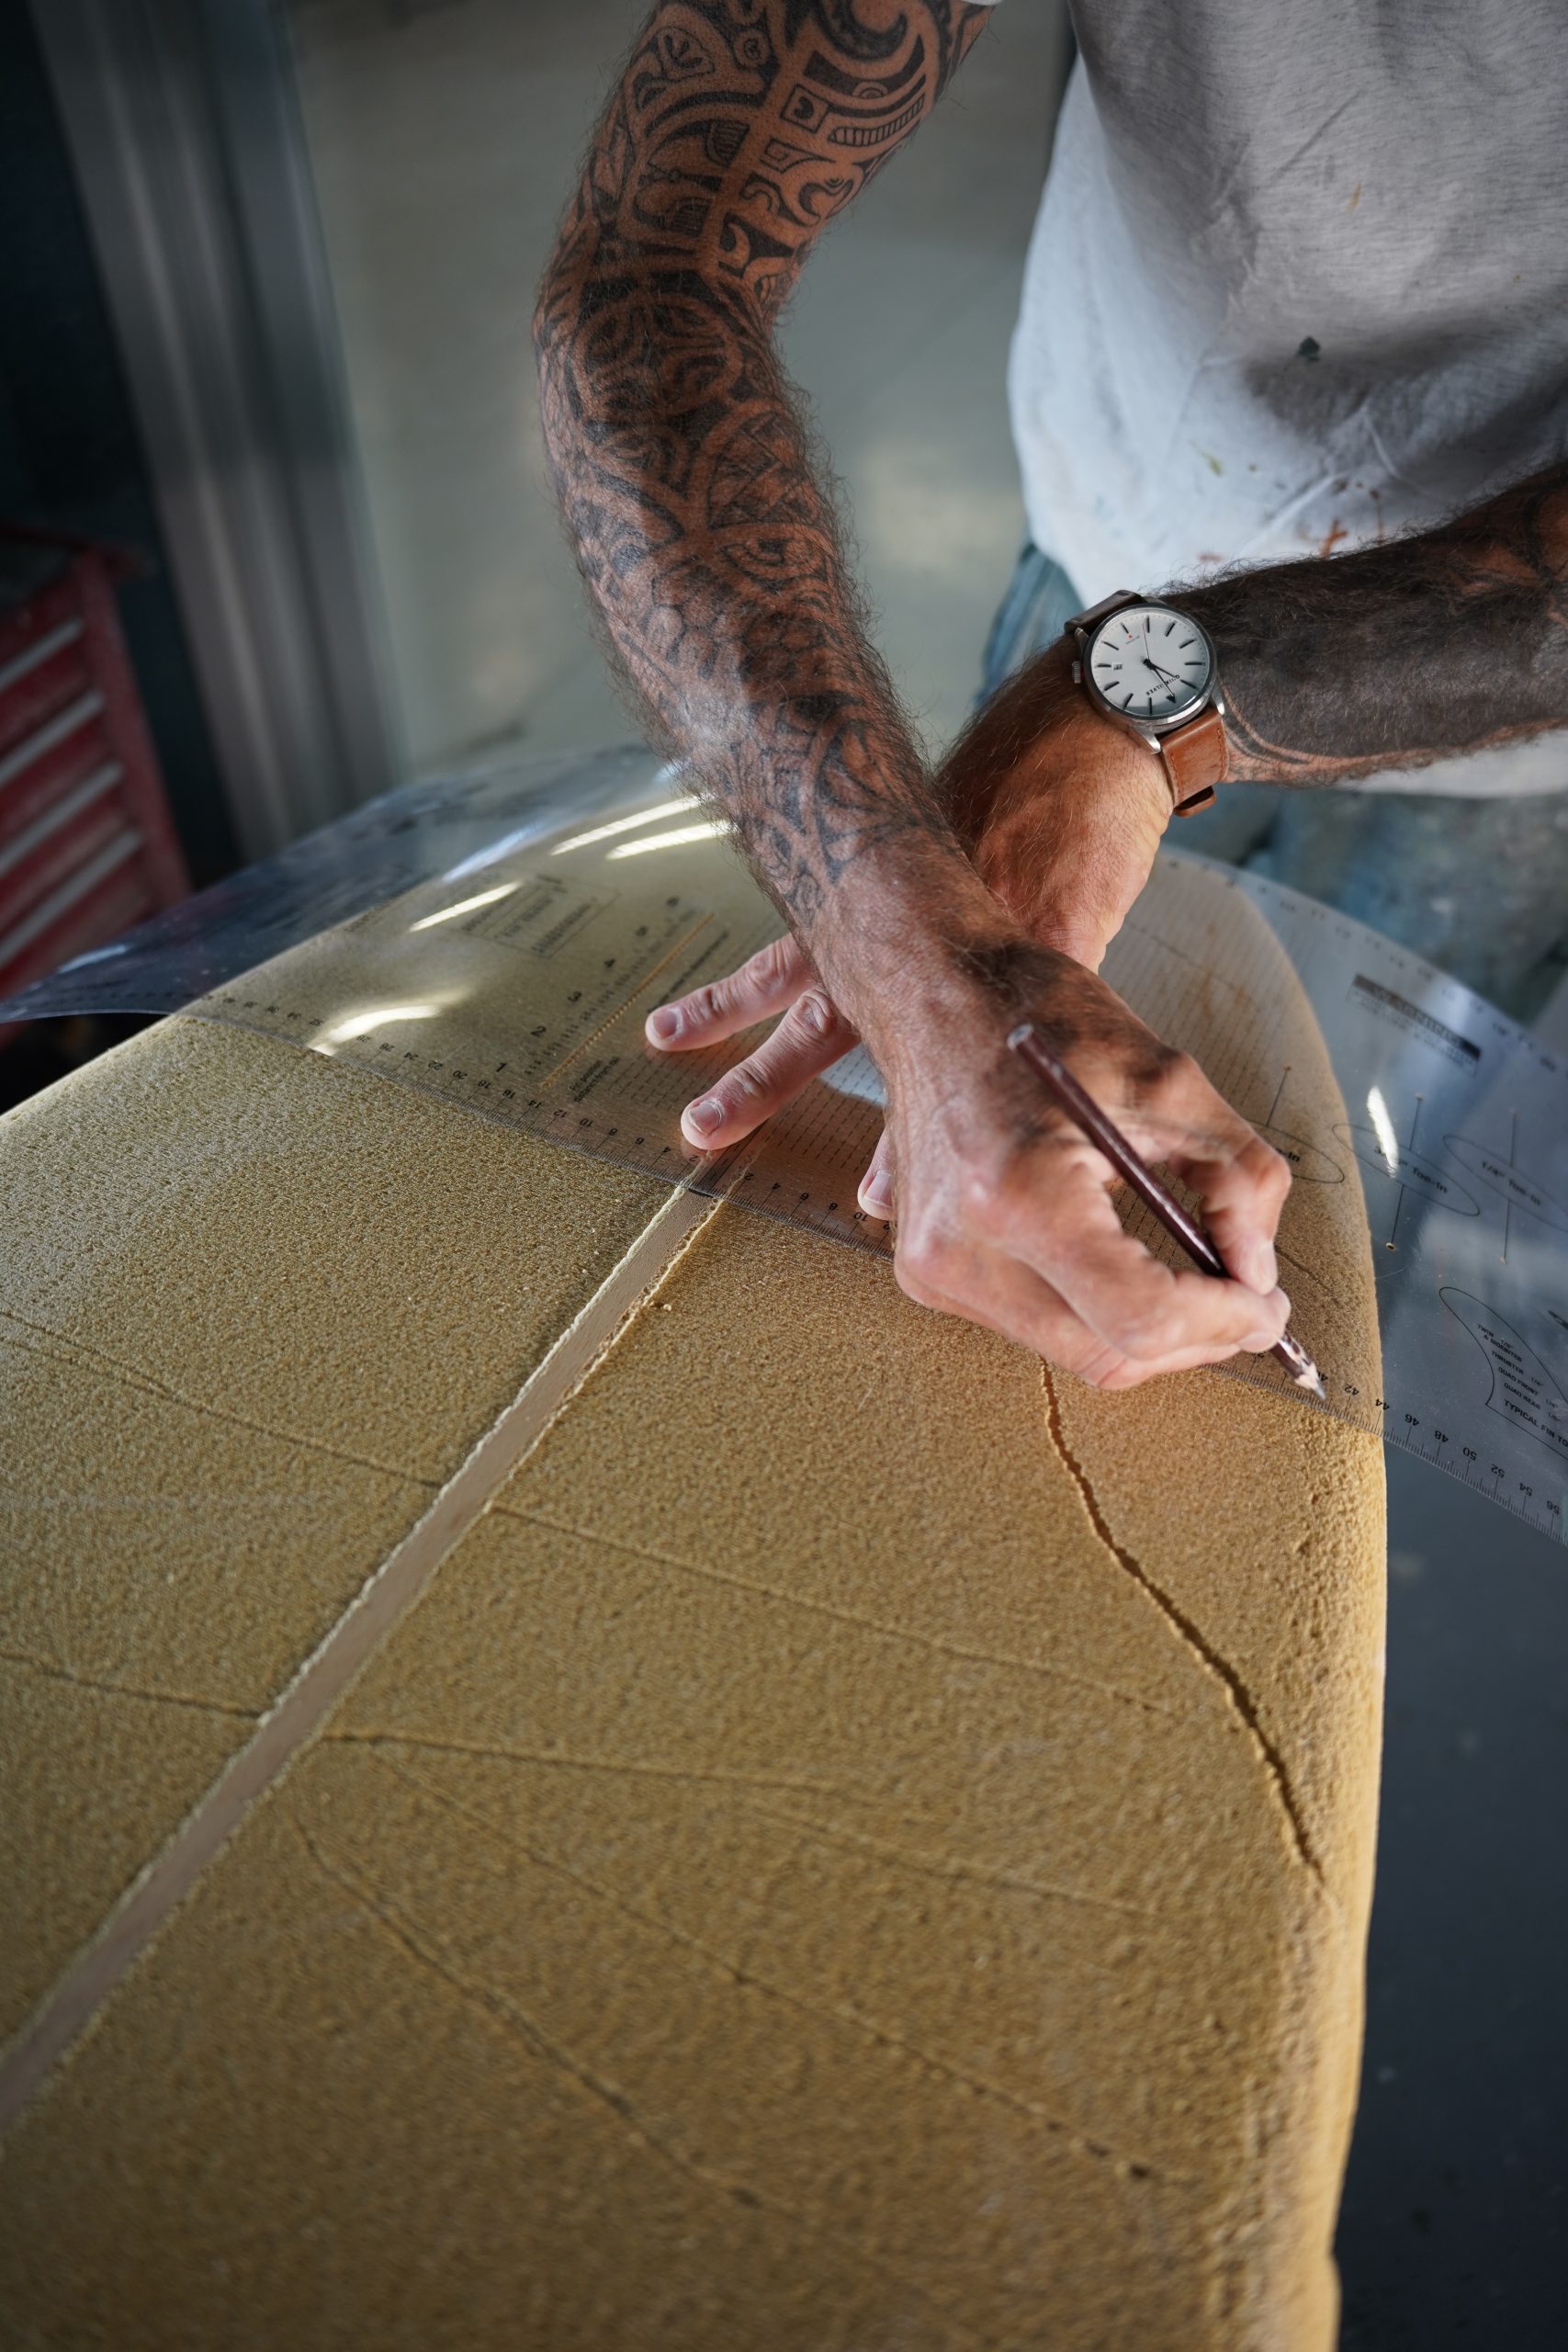
- Use the previously made sketch and the template to draw the outline on the bottom of the blank.
- Orient yourself with the stringer (the stringer determines the center of the blank).
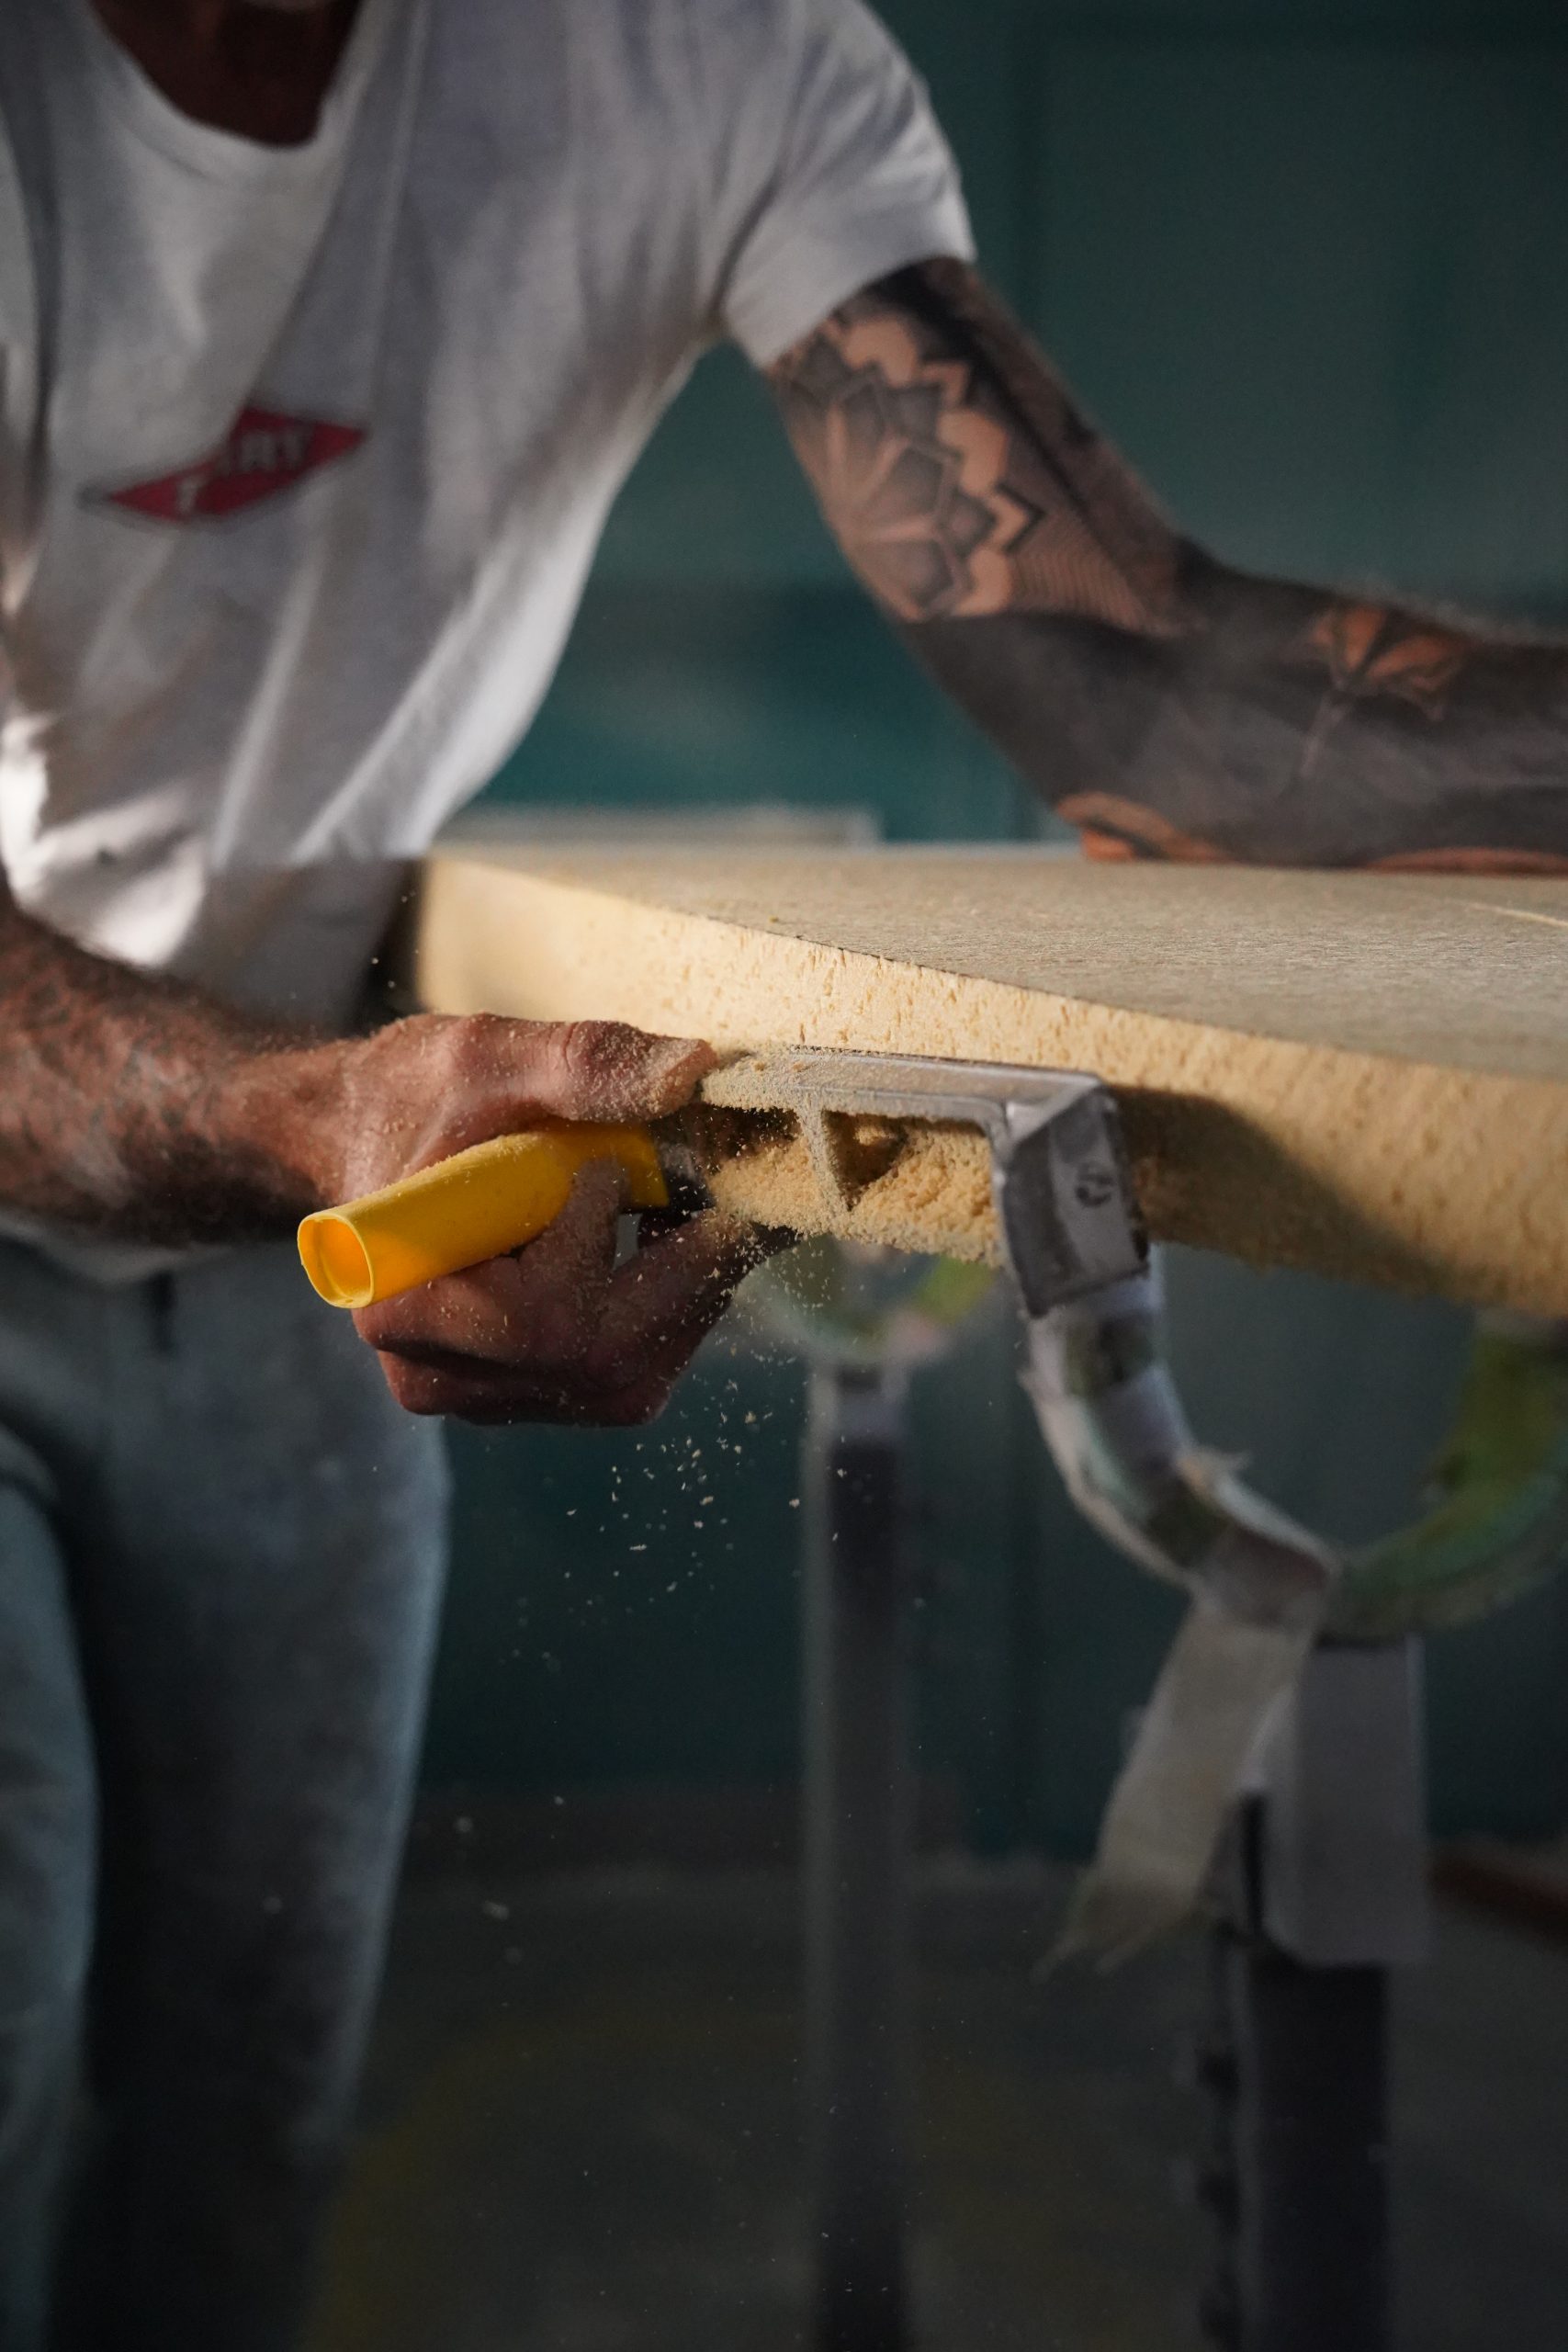
- Draw both sides symmetrically with the template (regularly check for symmetry at each step!). Sawing and sanding the outline
- Use a hand saw or jigsaw to (about 5mm outside the outline; we recommend beginners to start 1-2 cm outside the line).
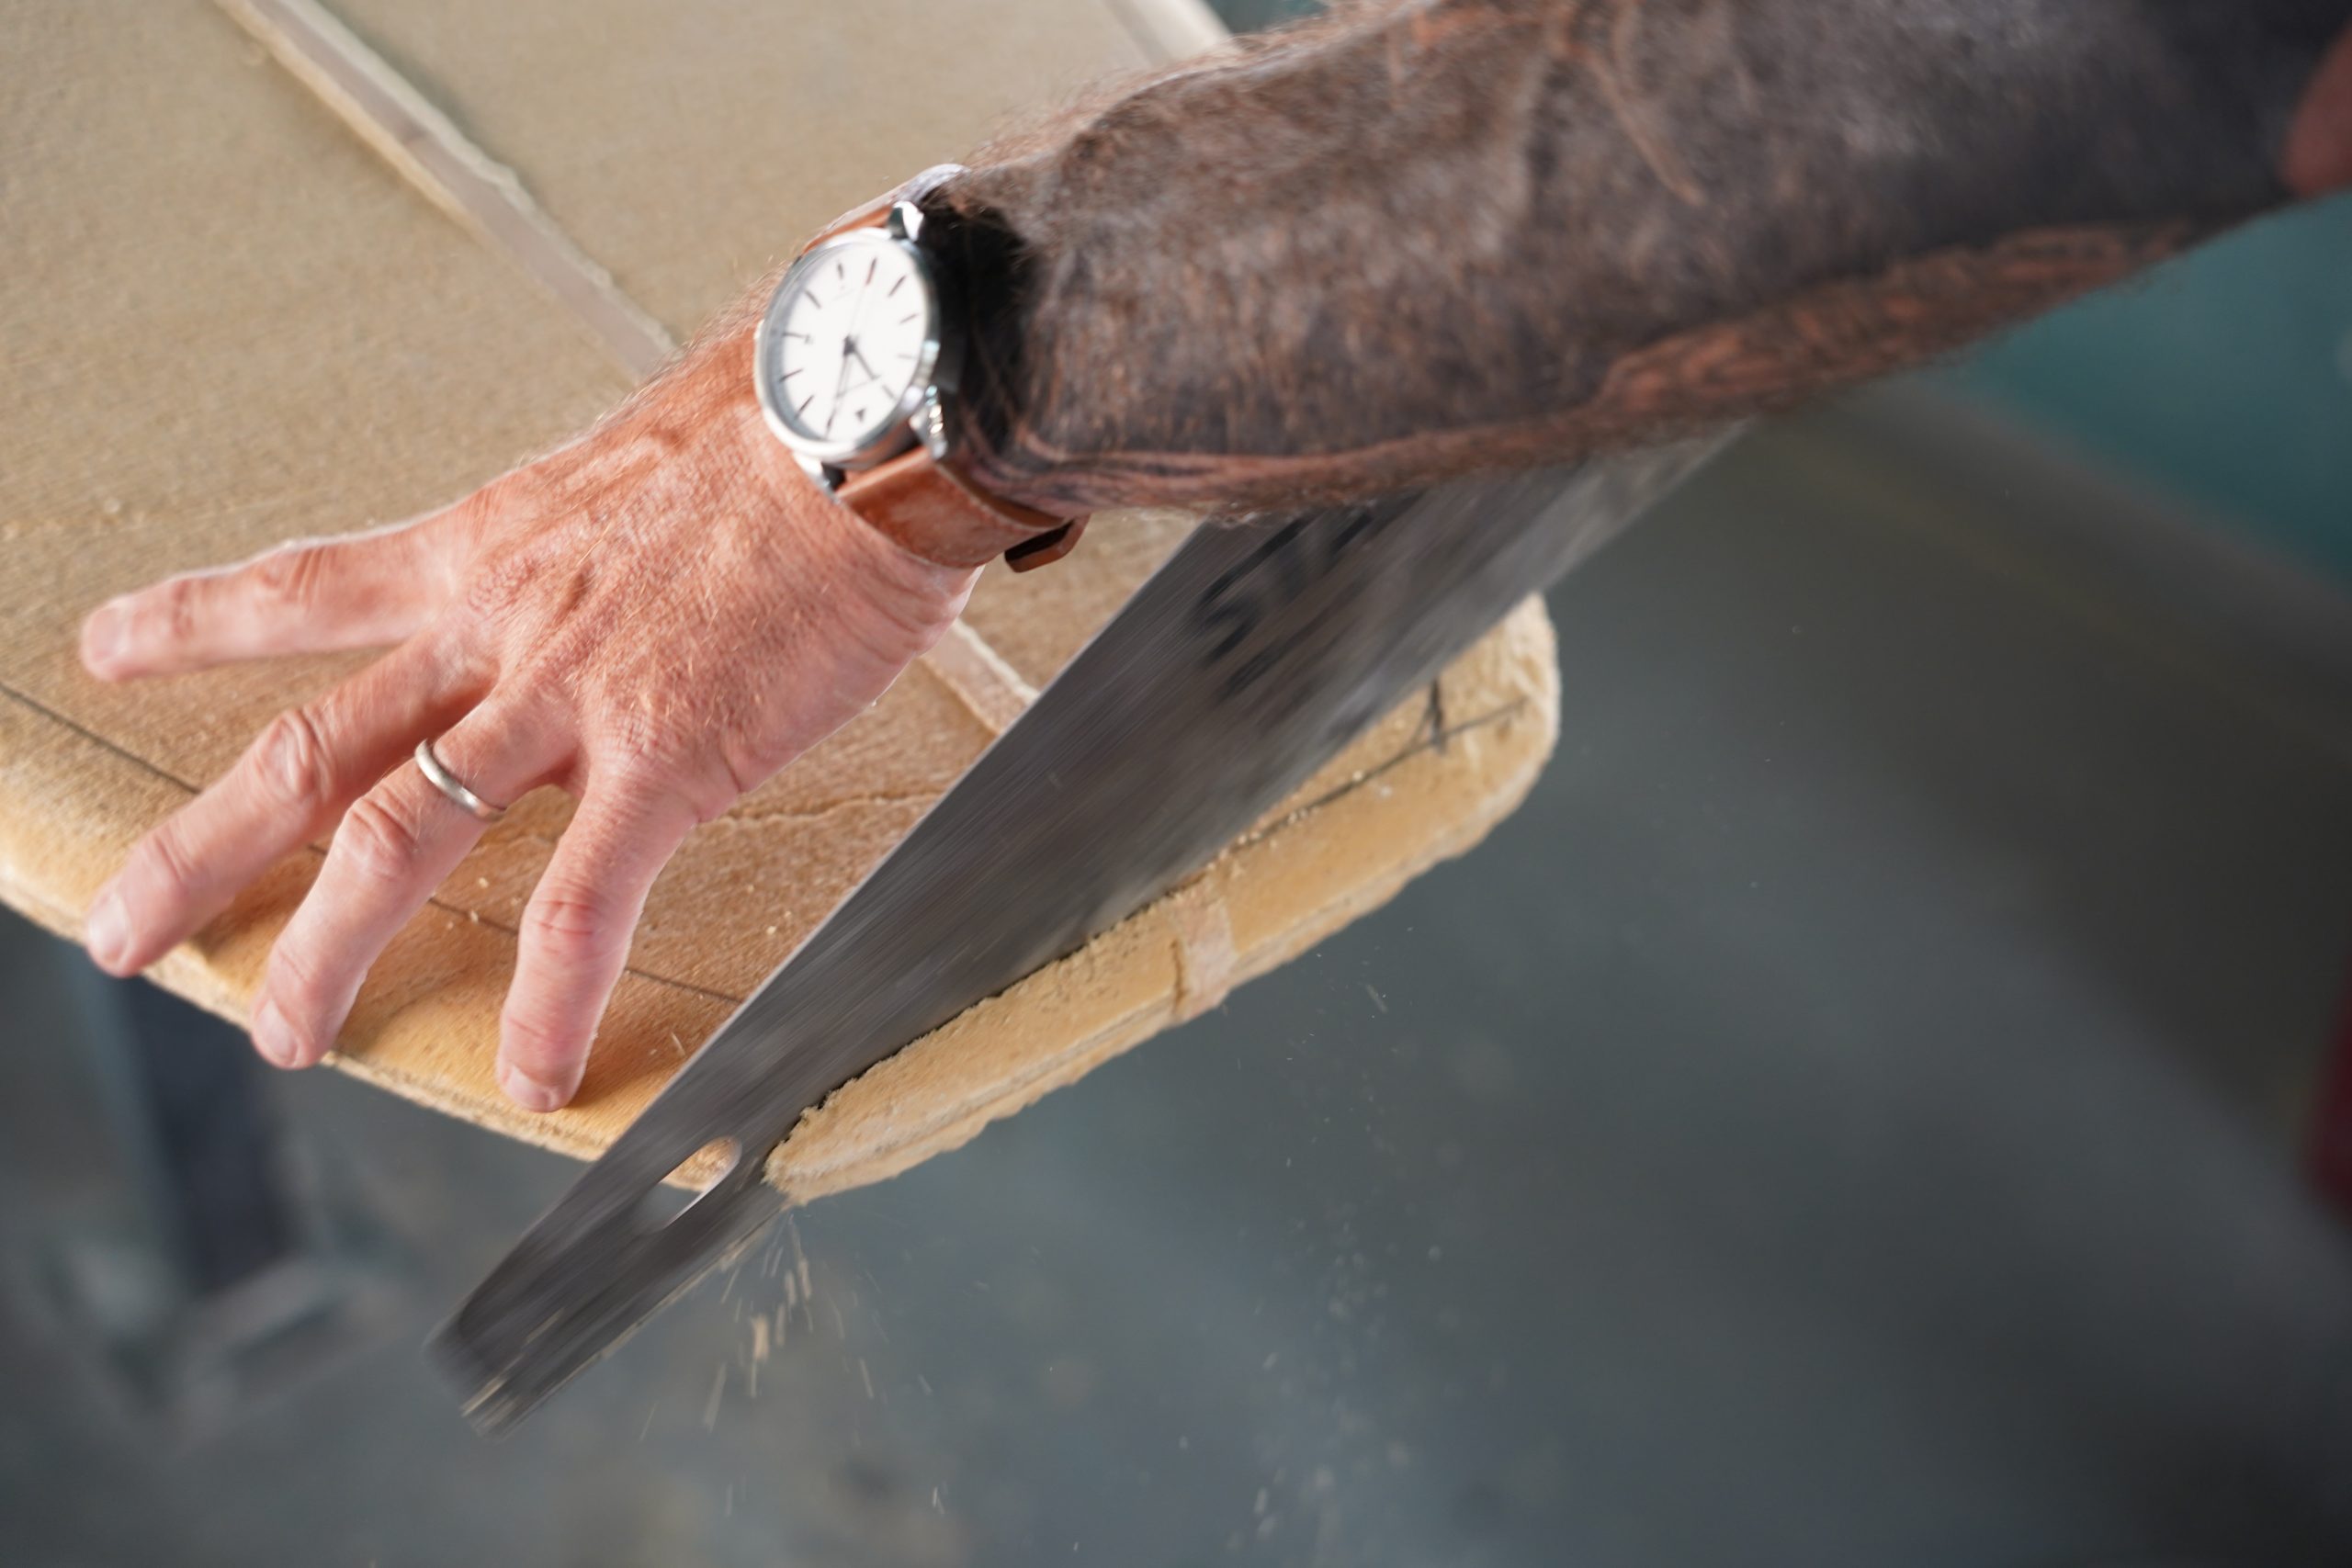
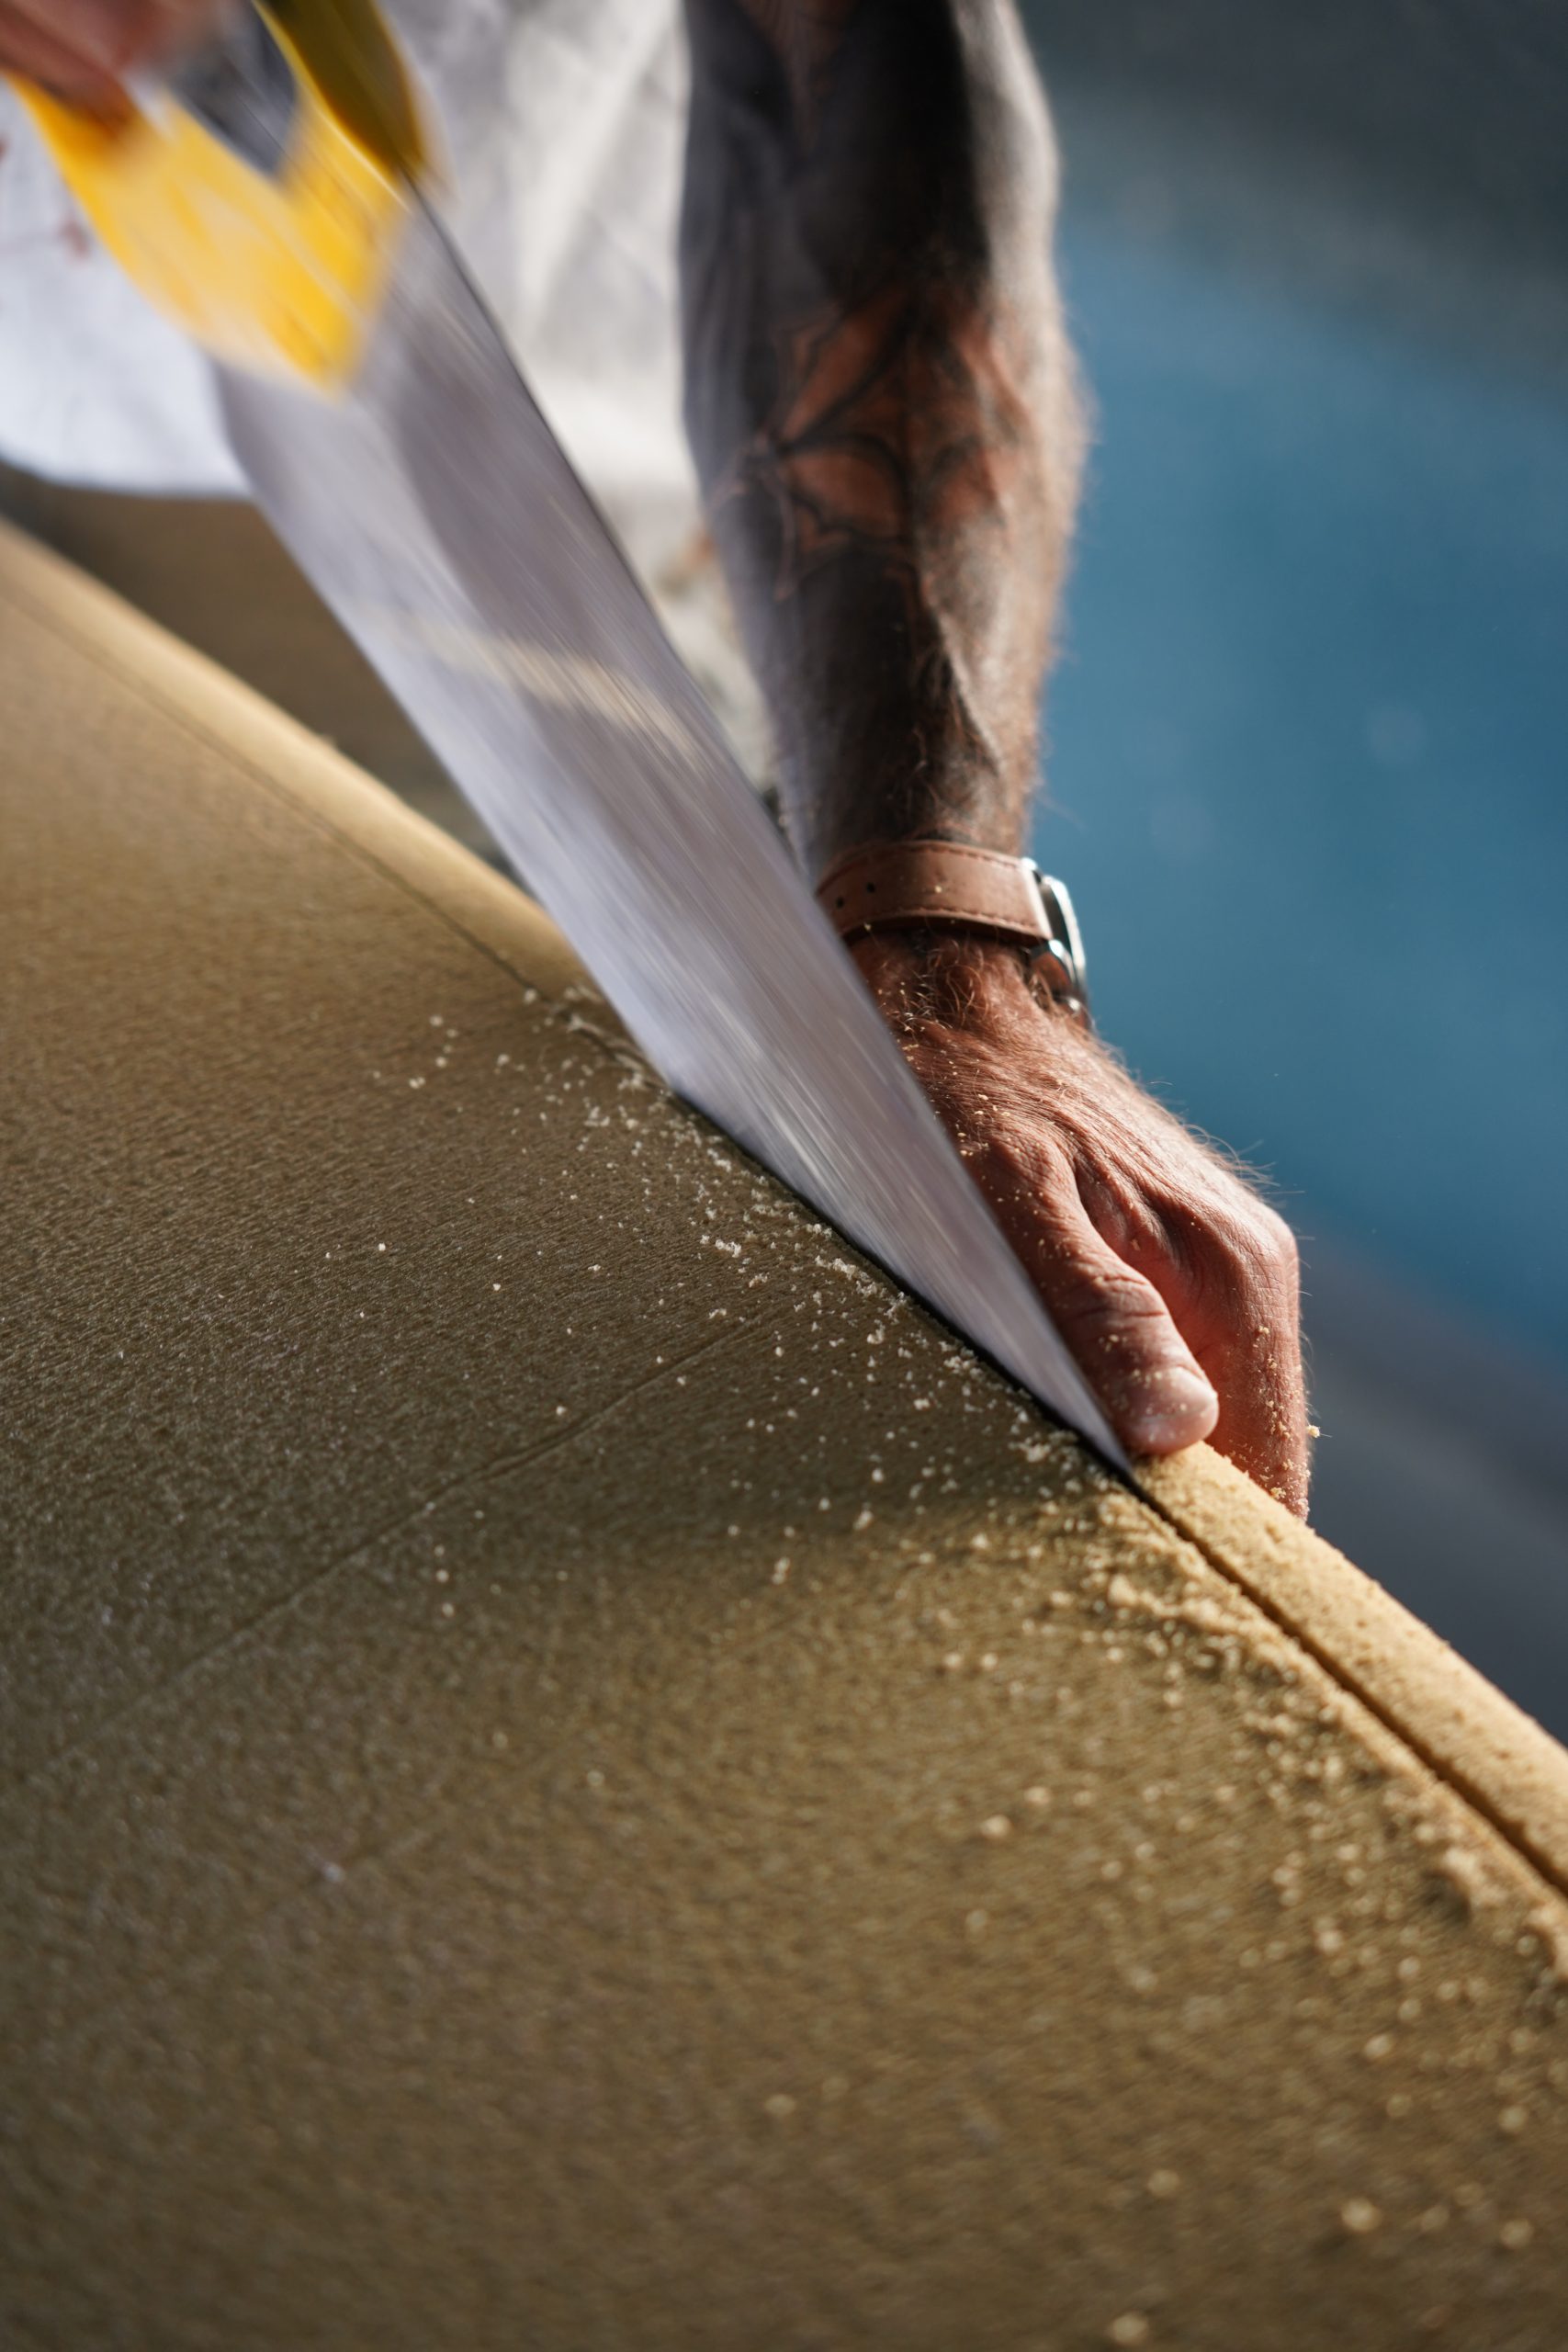
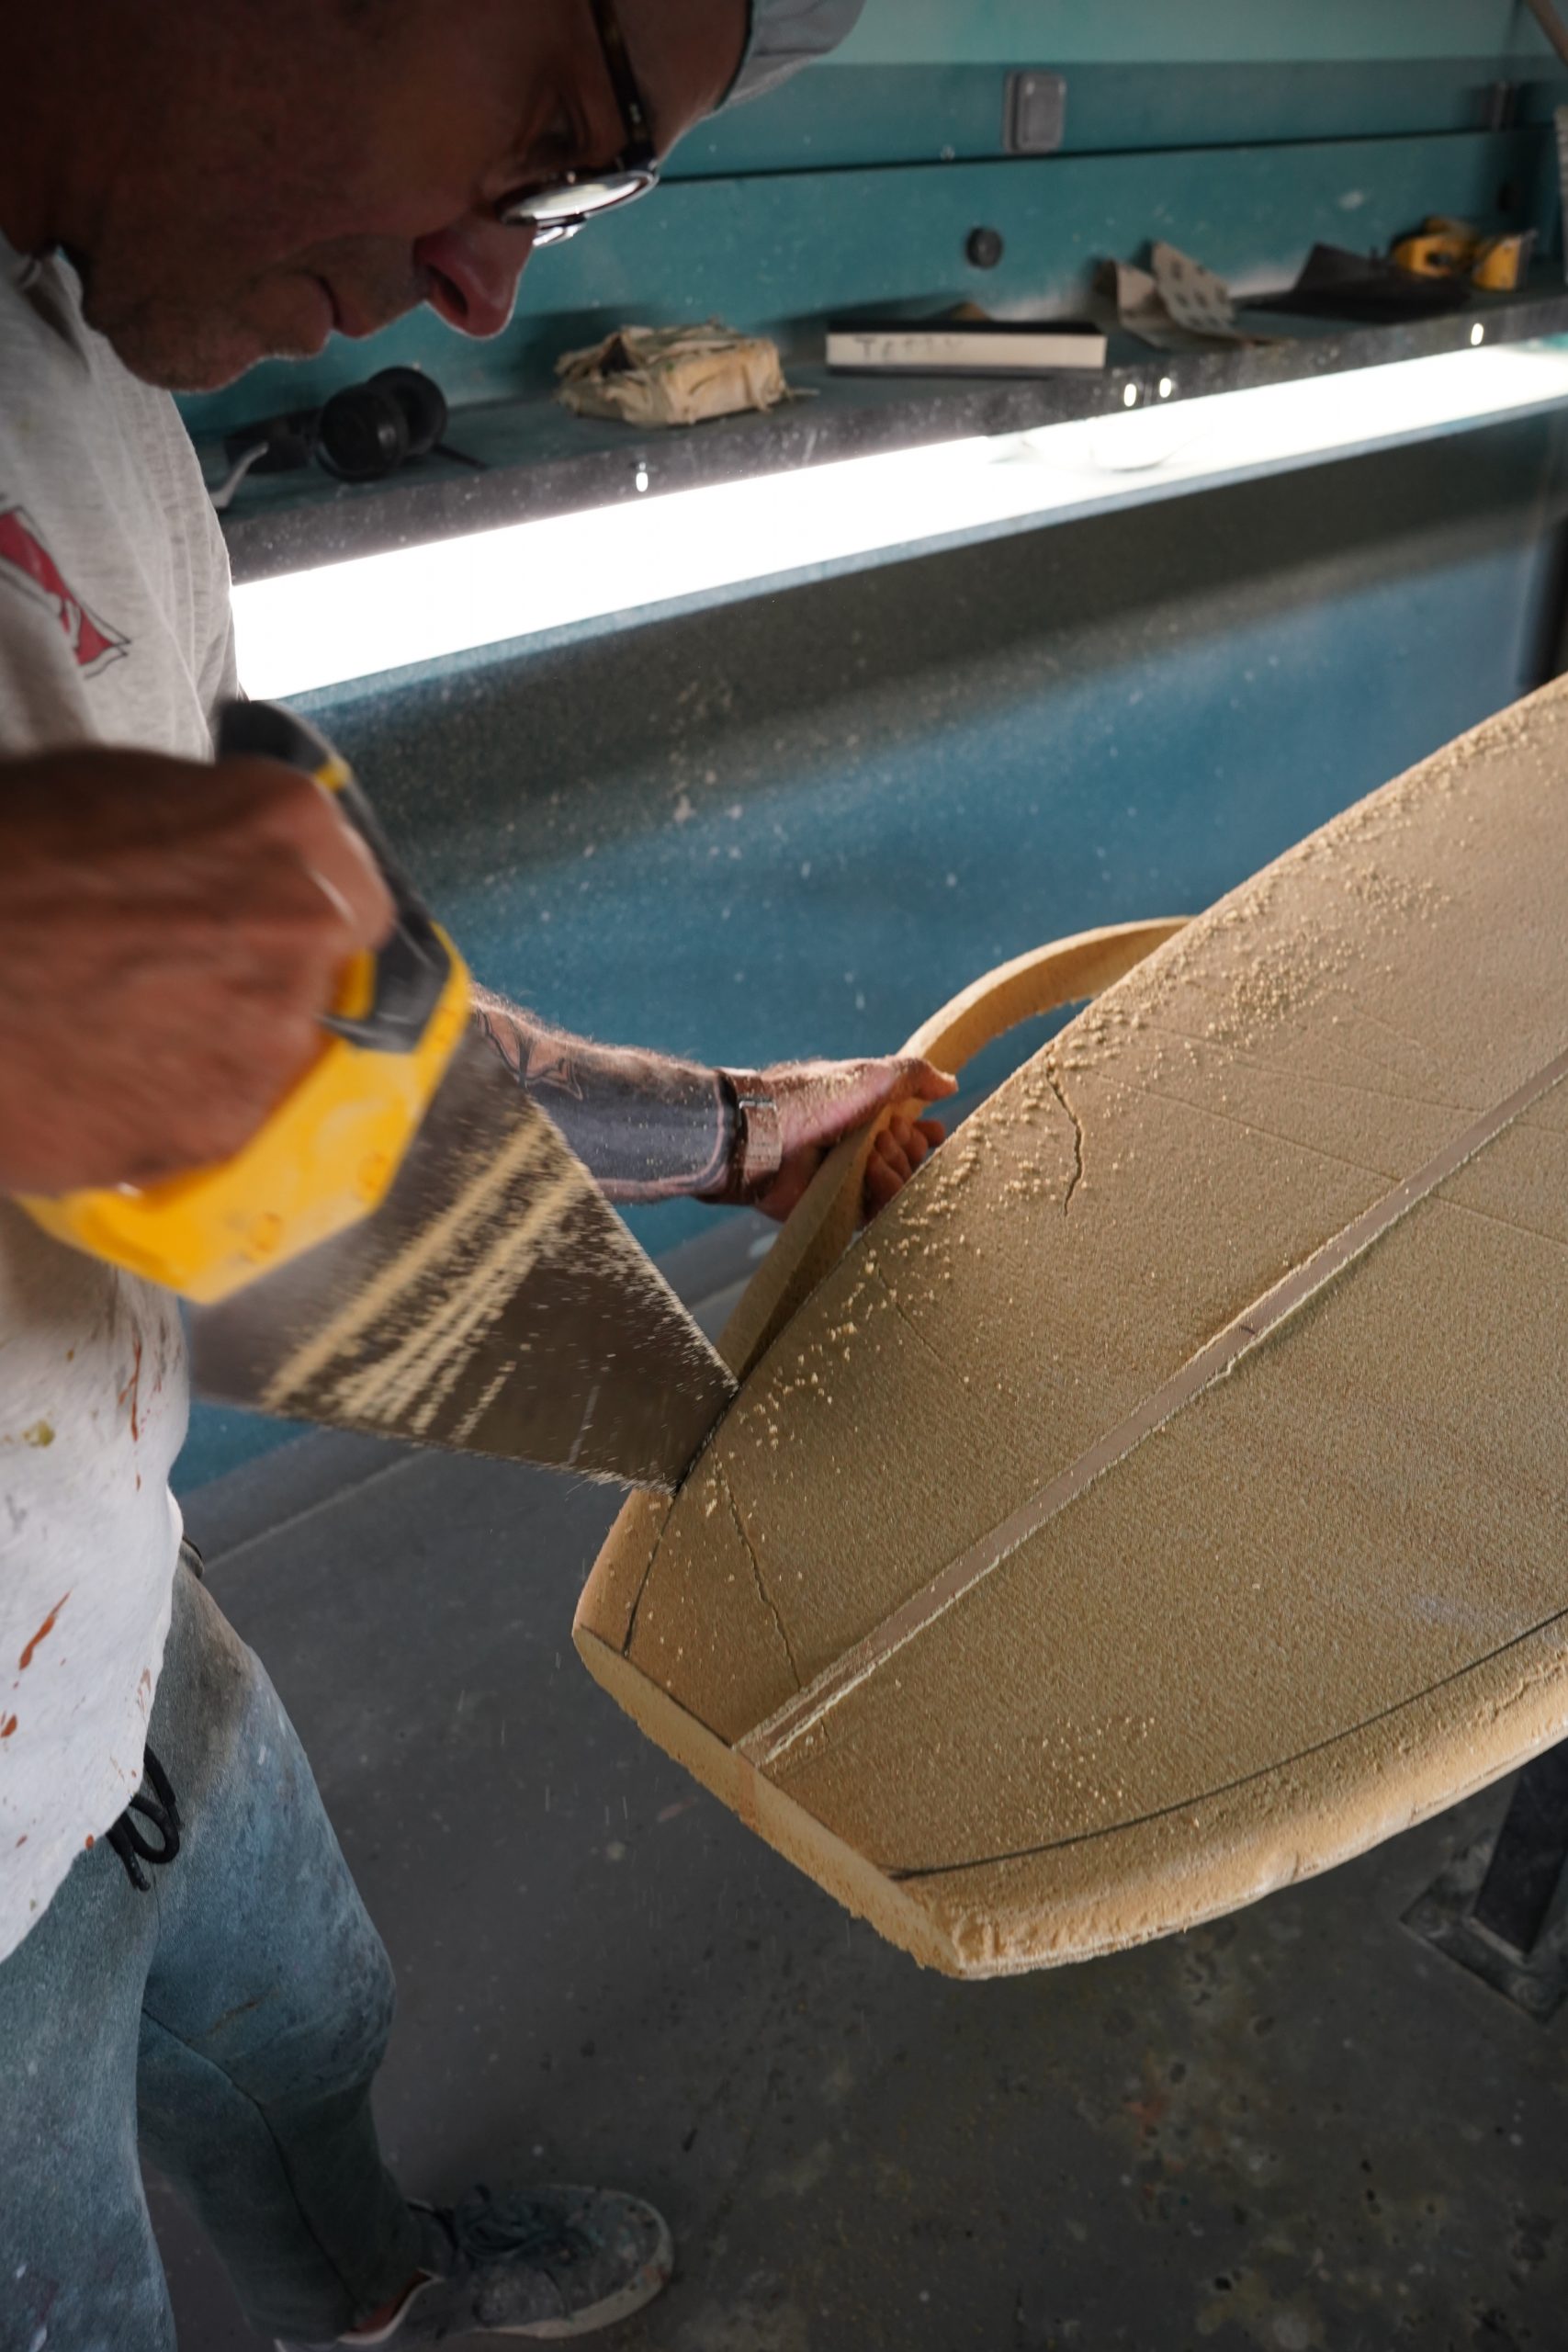
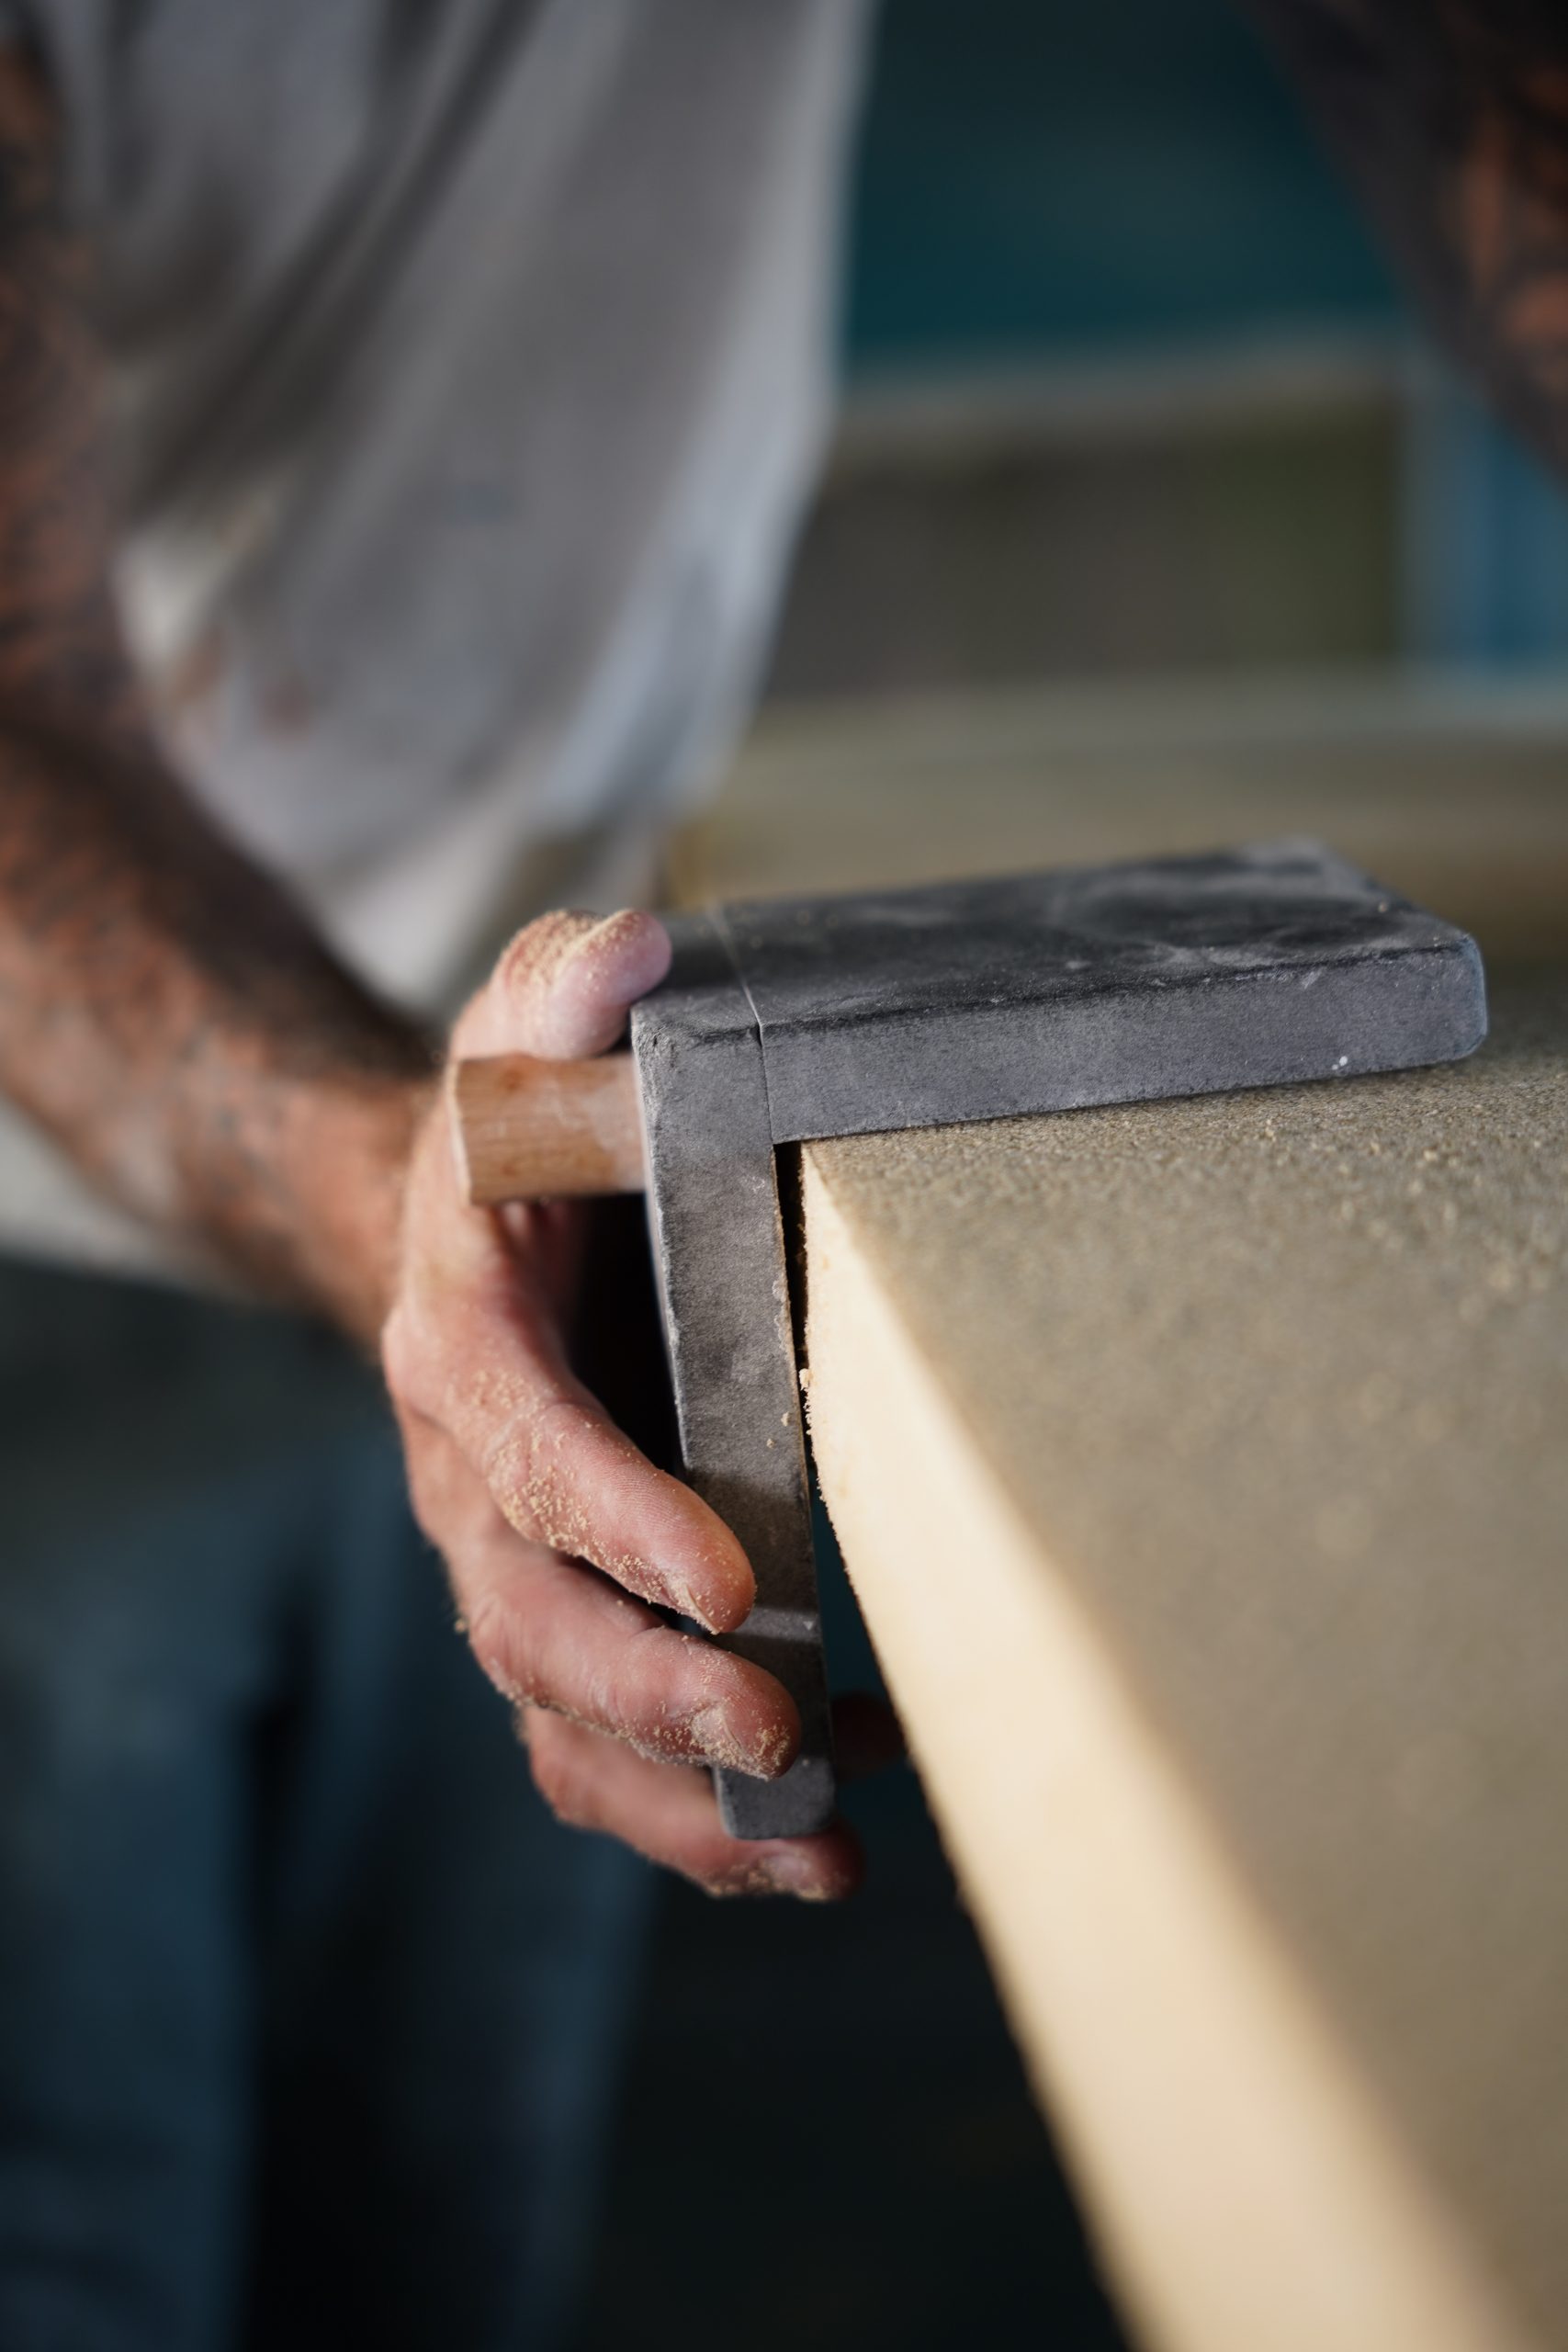
- Once the outline is completely cut out, use a surform, sanding block, or railrunner tool to sand evenly at a 90° angle to the line.

Shaping:
- Draw the nose and tail rocker according to the sketch, as well as the thickness at the midpoint (best done on the rail/edge for reference).
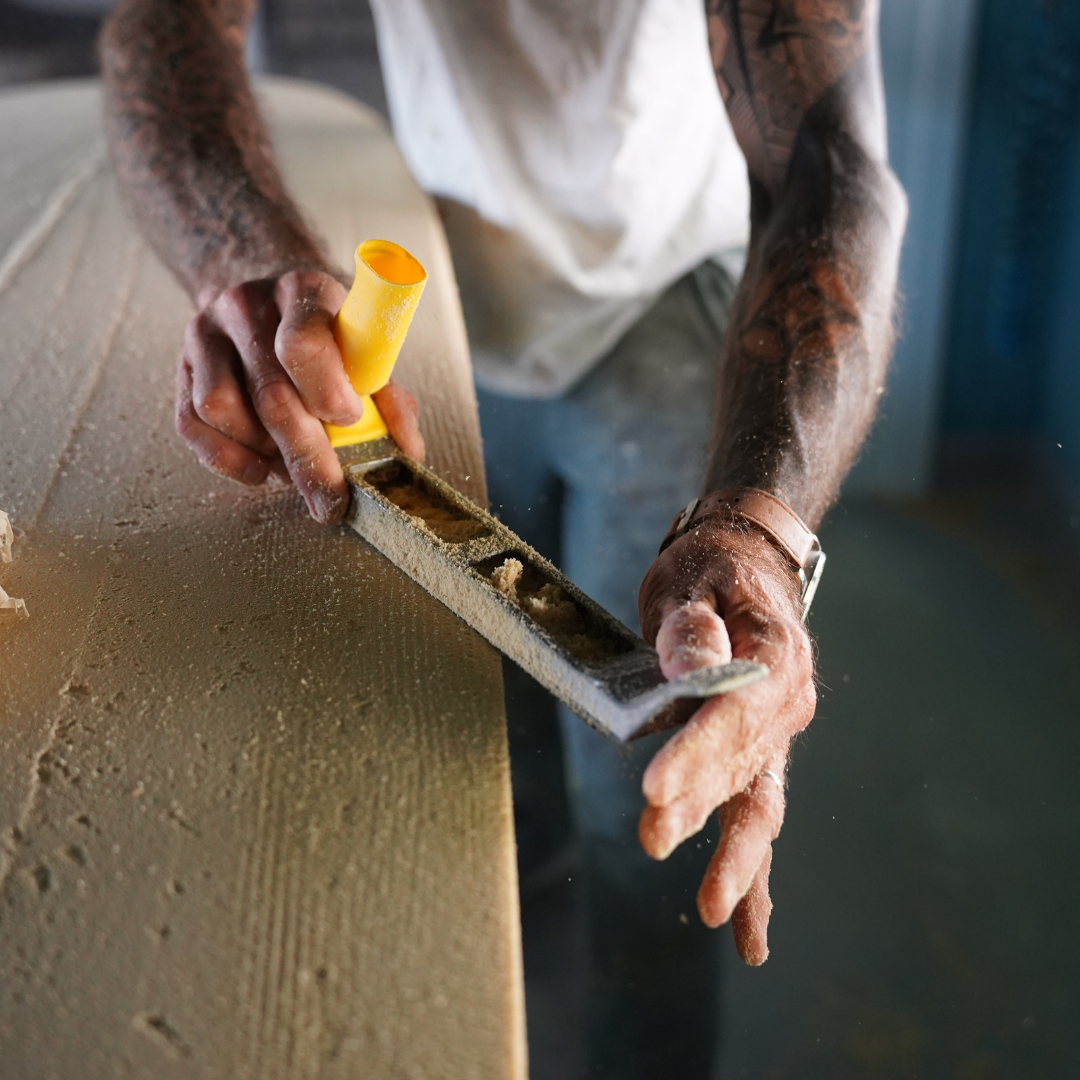
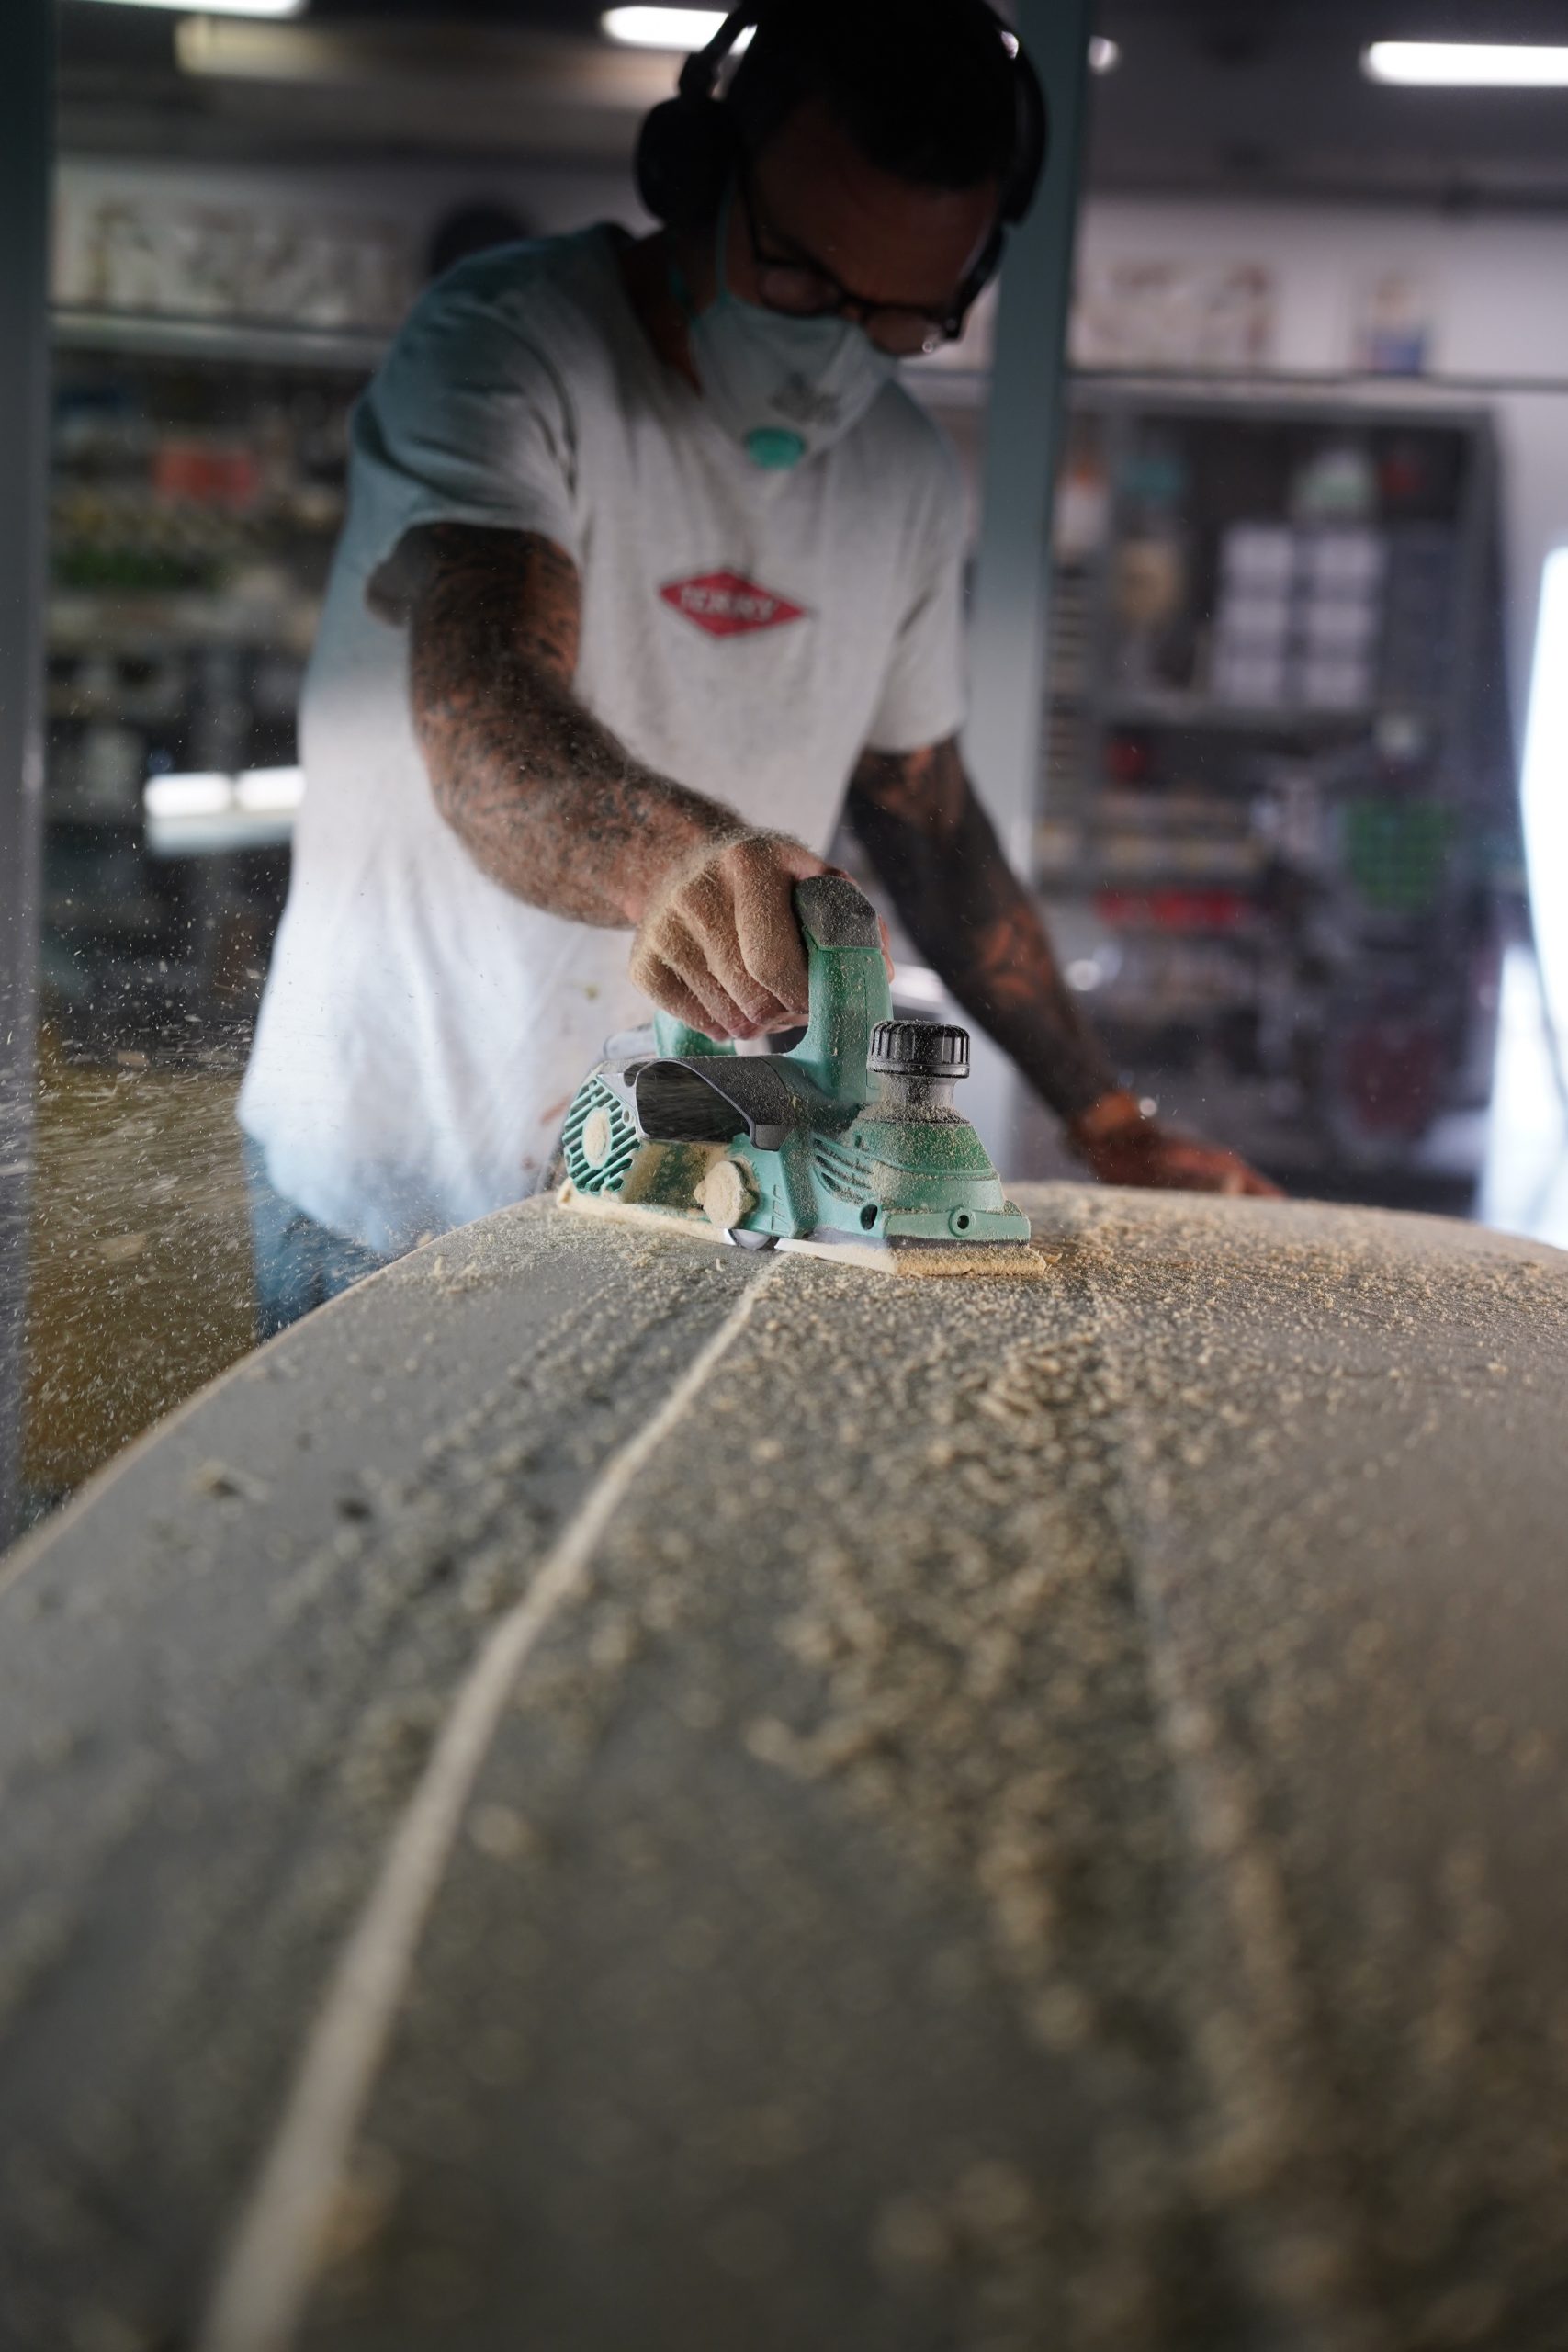
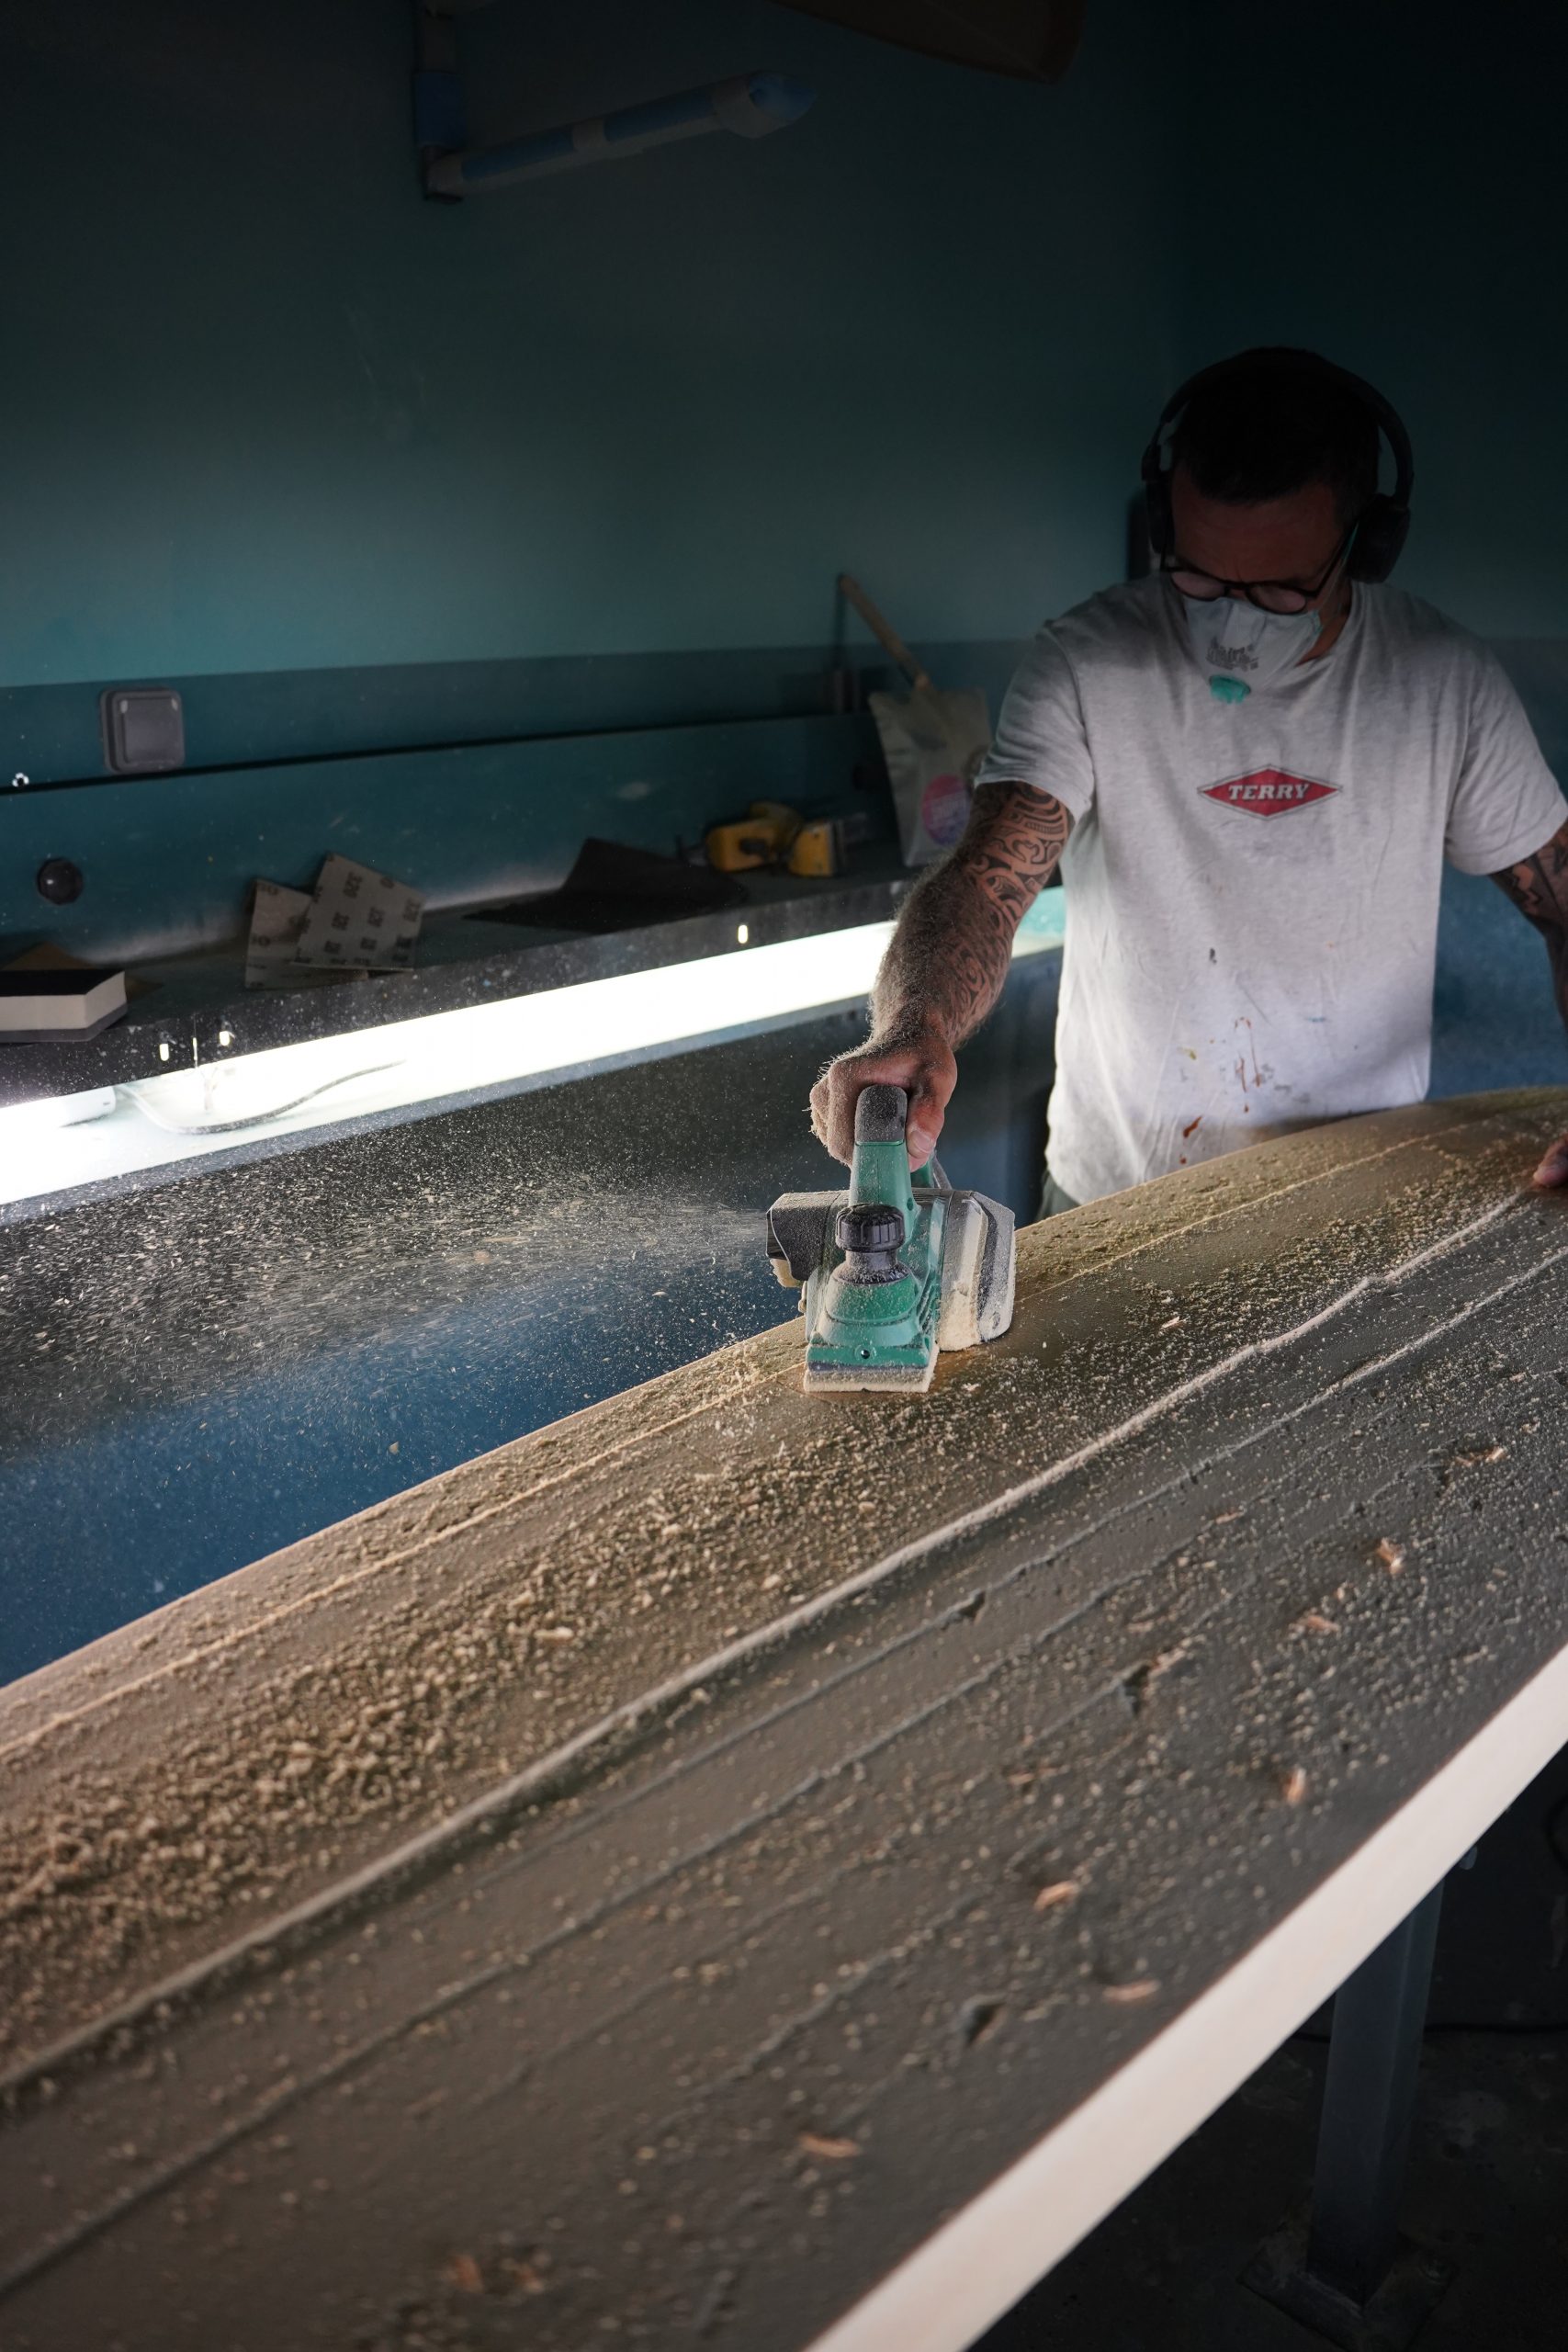
- Now, layer by layer, use an electric planer to remove material from the blank (set the planer to remove the desired amount).
- Ensure to remove the material as symmetrically as possible.
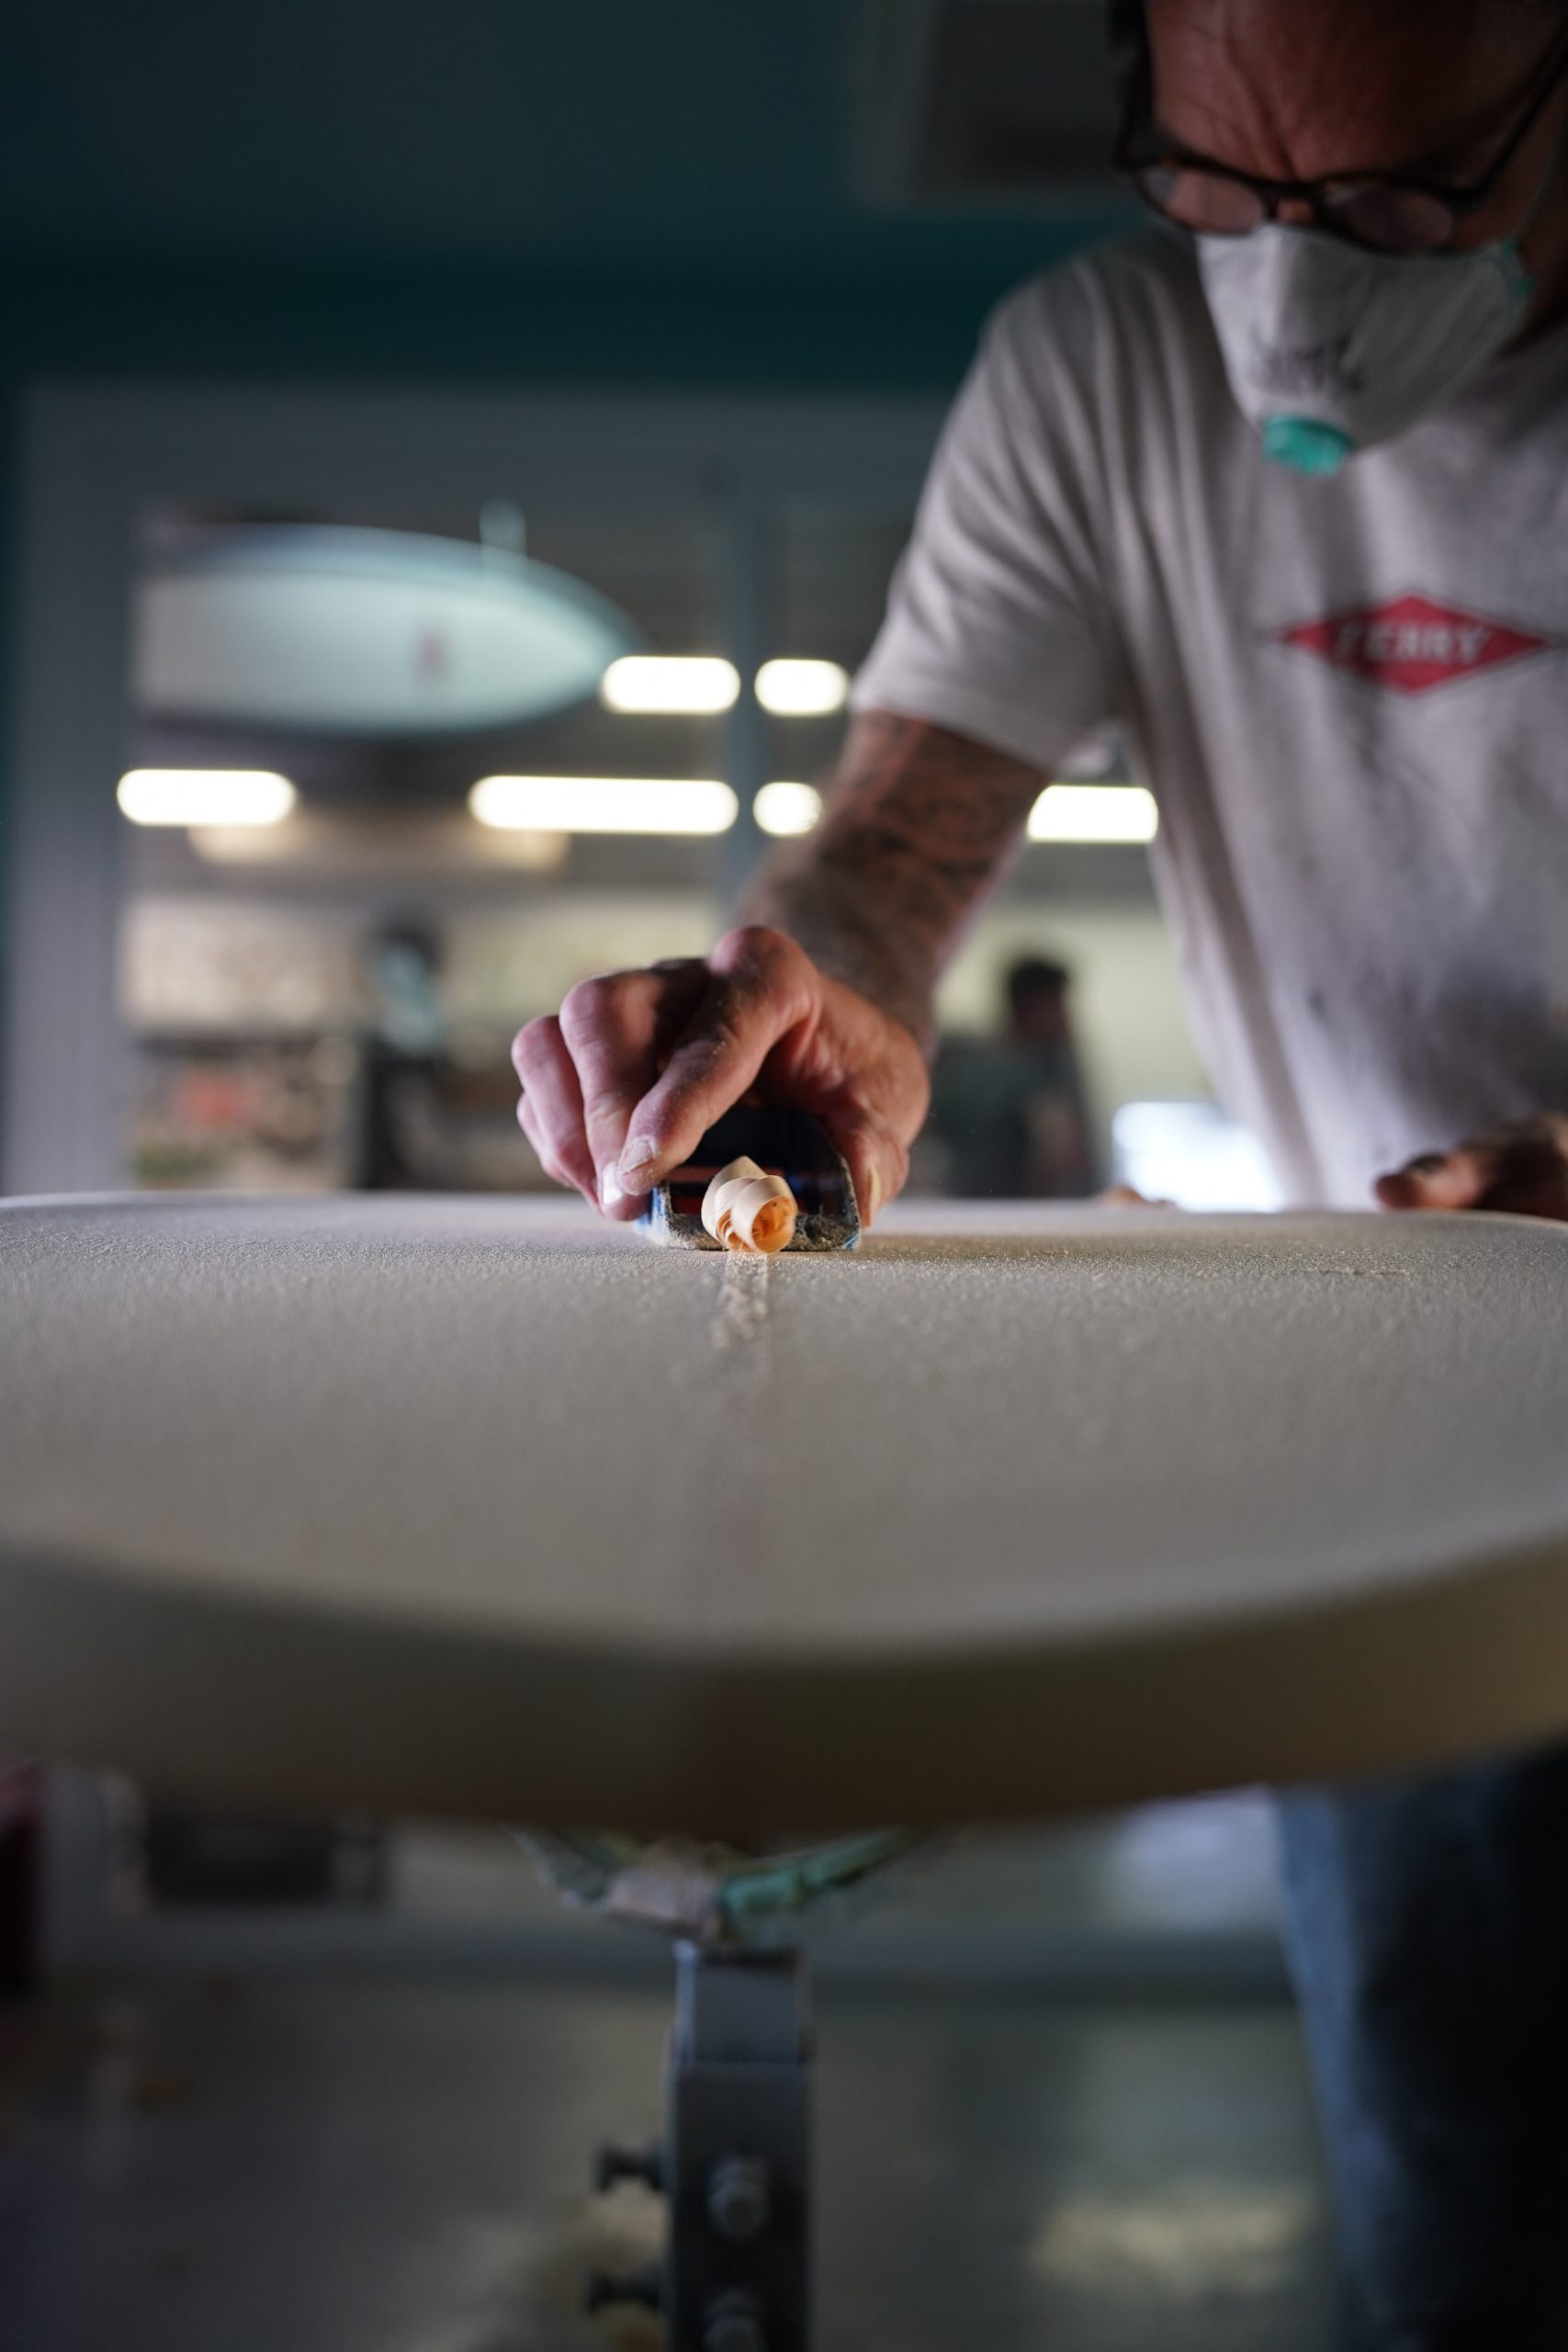
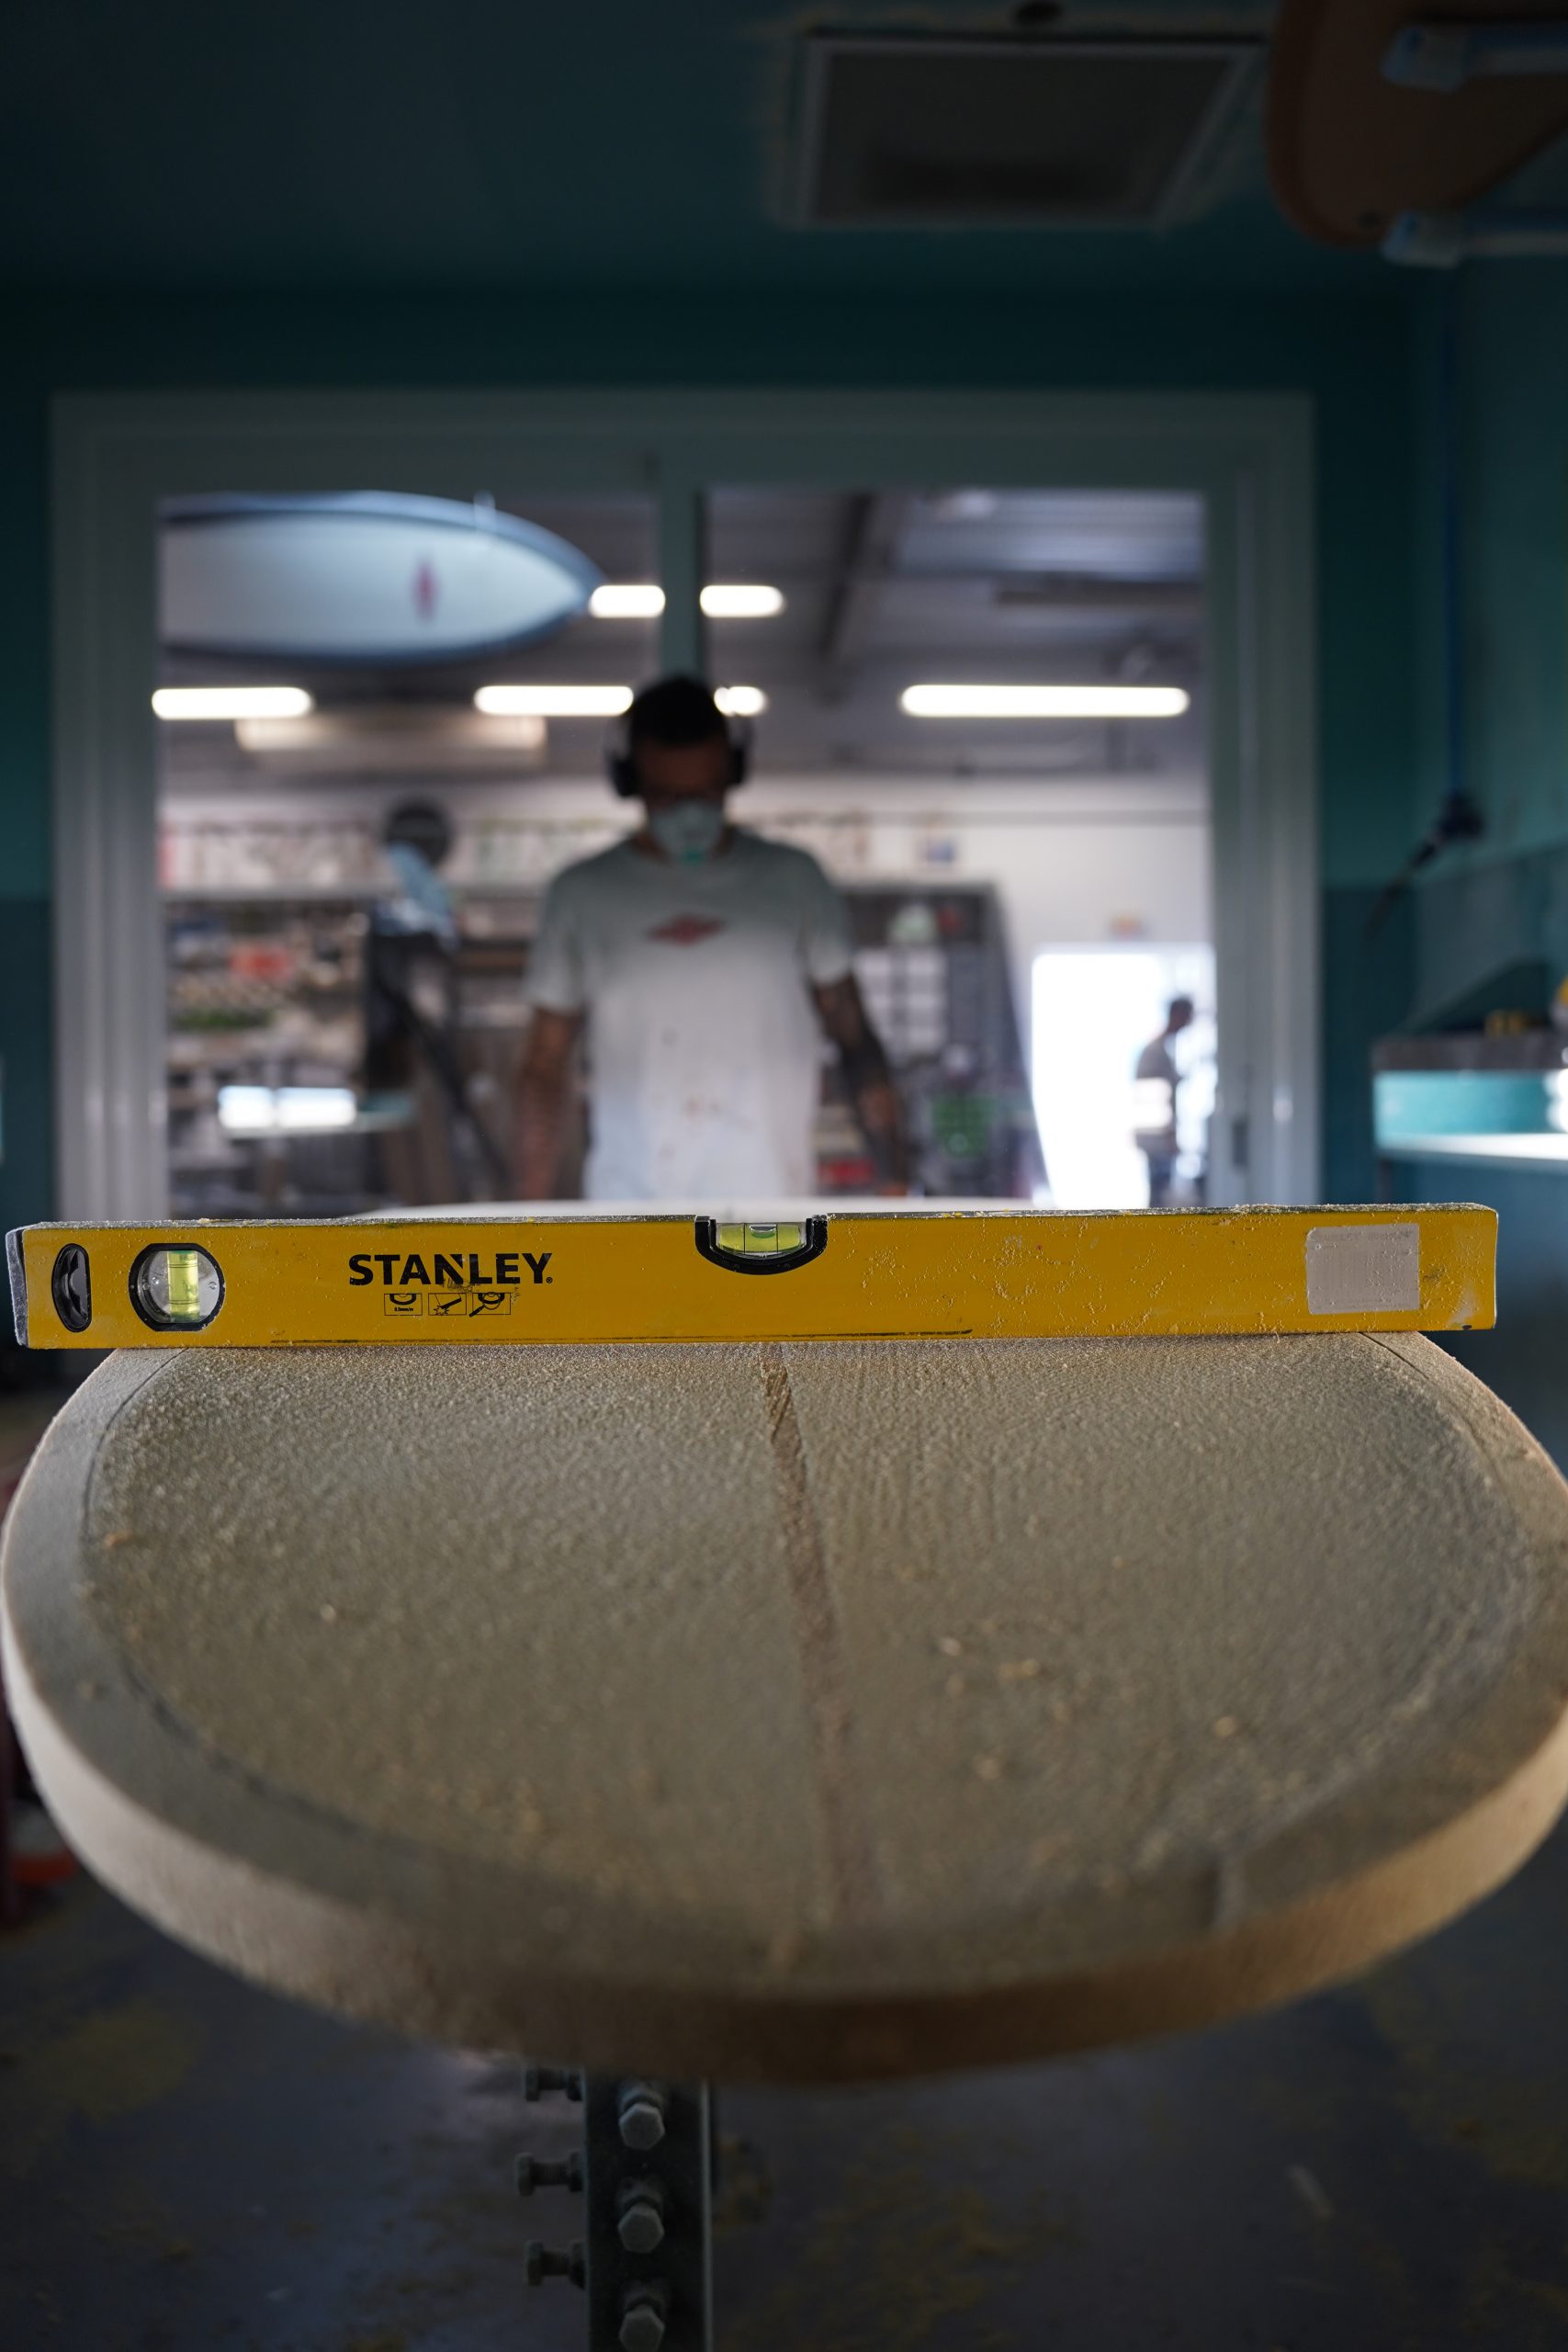
- Regularly check the thickness of the shape.
- Repeat the same process on the deck. Depending on the planned deck contour, you may only “skin” the deck (remove as little material as possible since conventional PU blanks are thickest on the outer layer). Polyola blanks, on the other hand, have a homogenous thickness throughout the blank due to a new and innovative formulation.
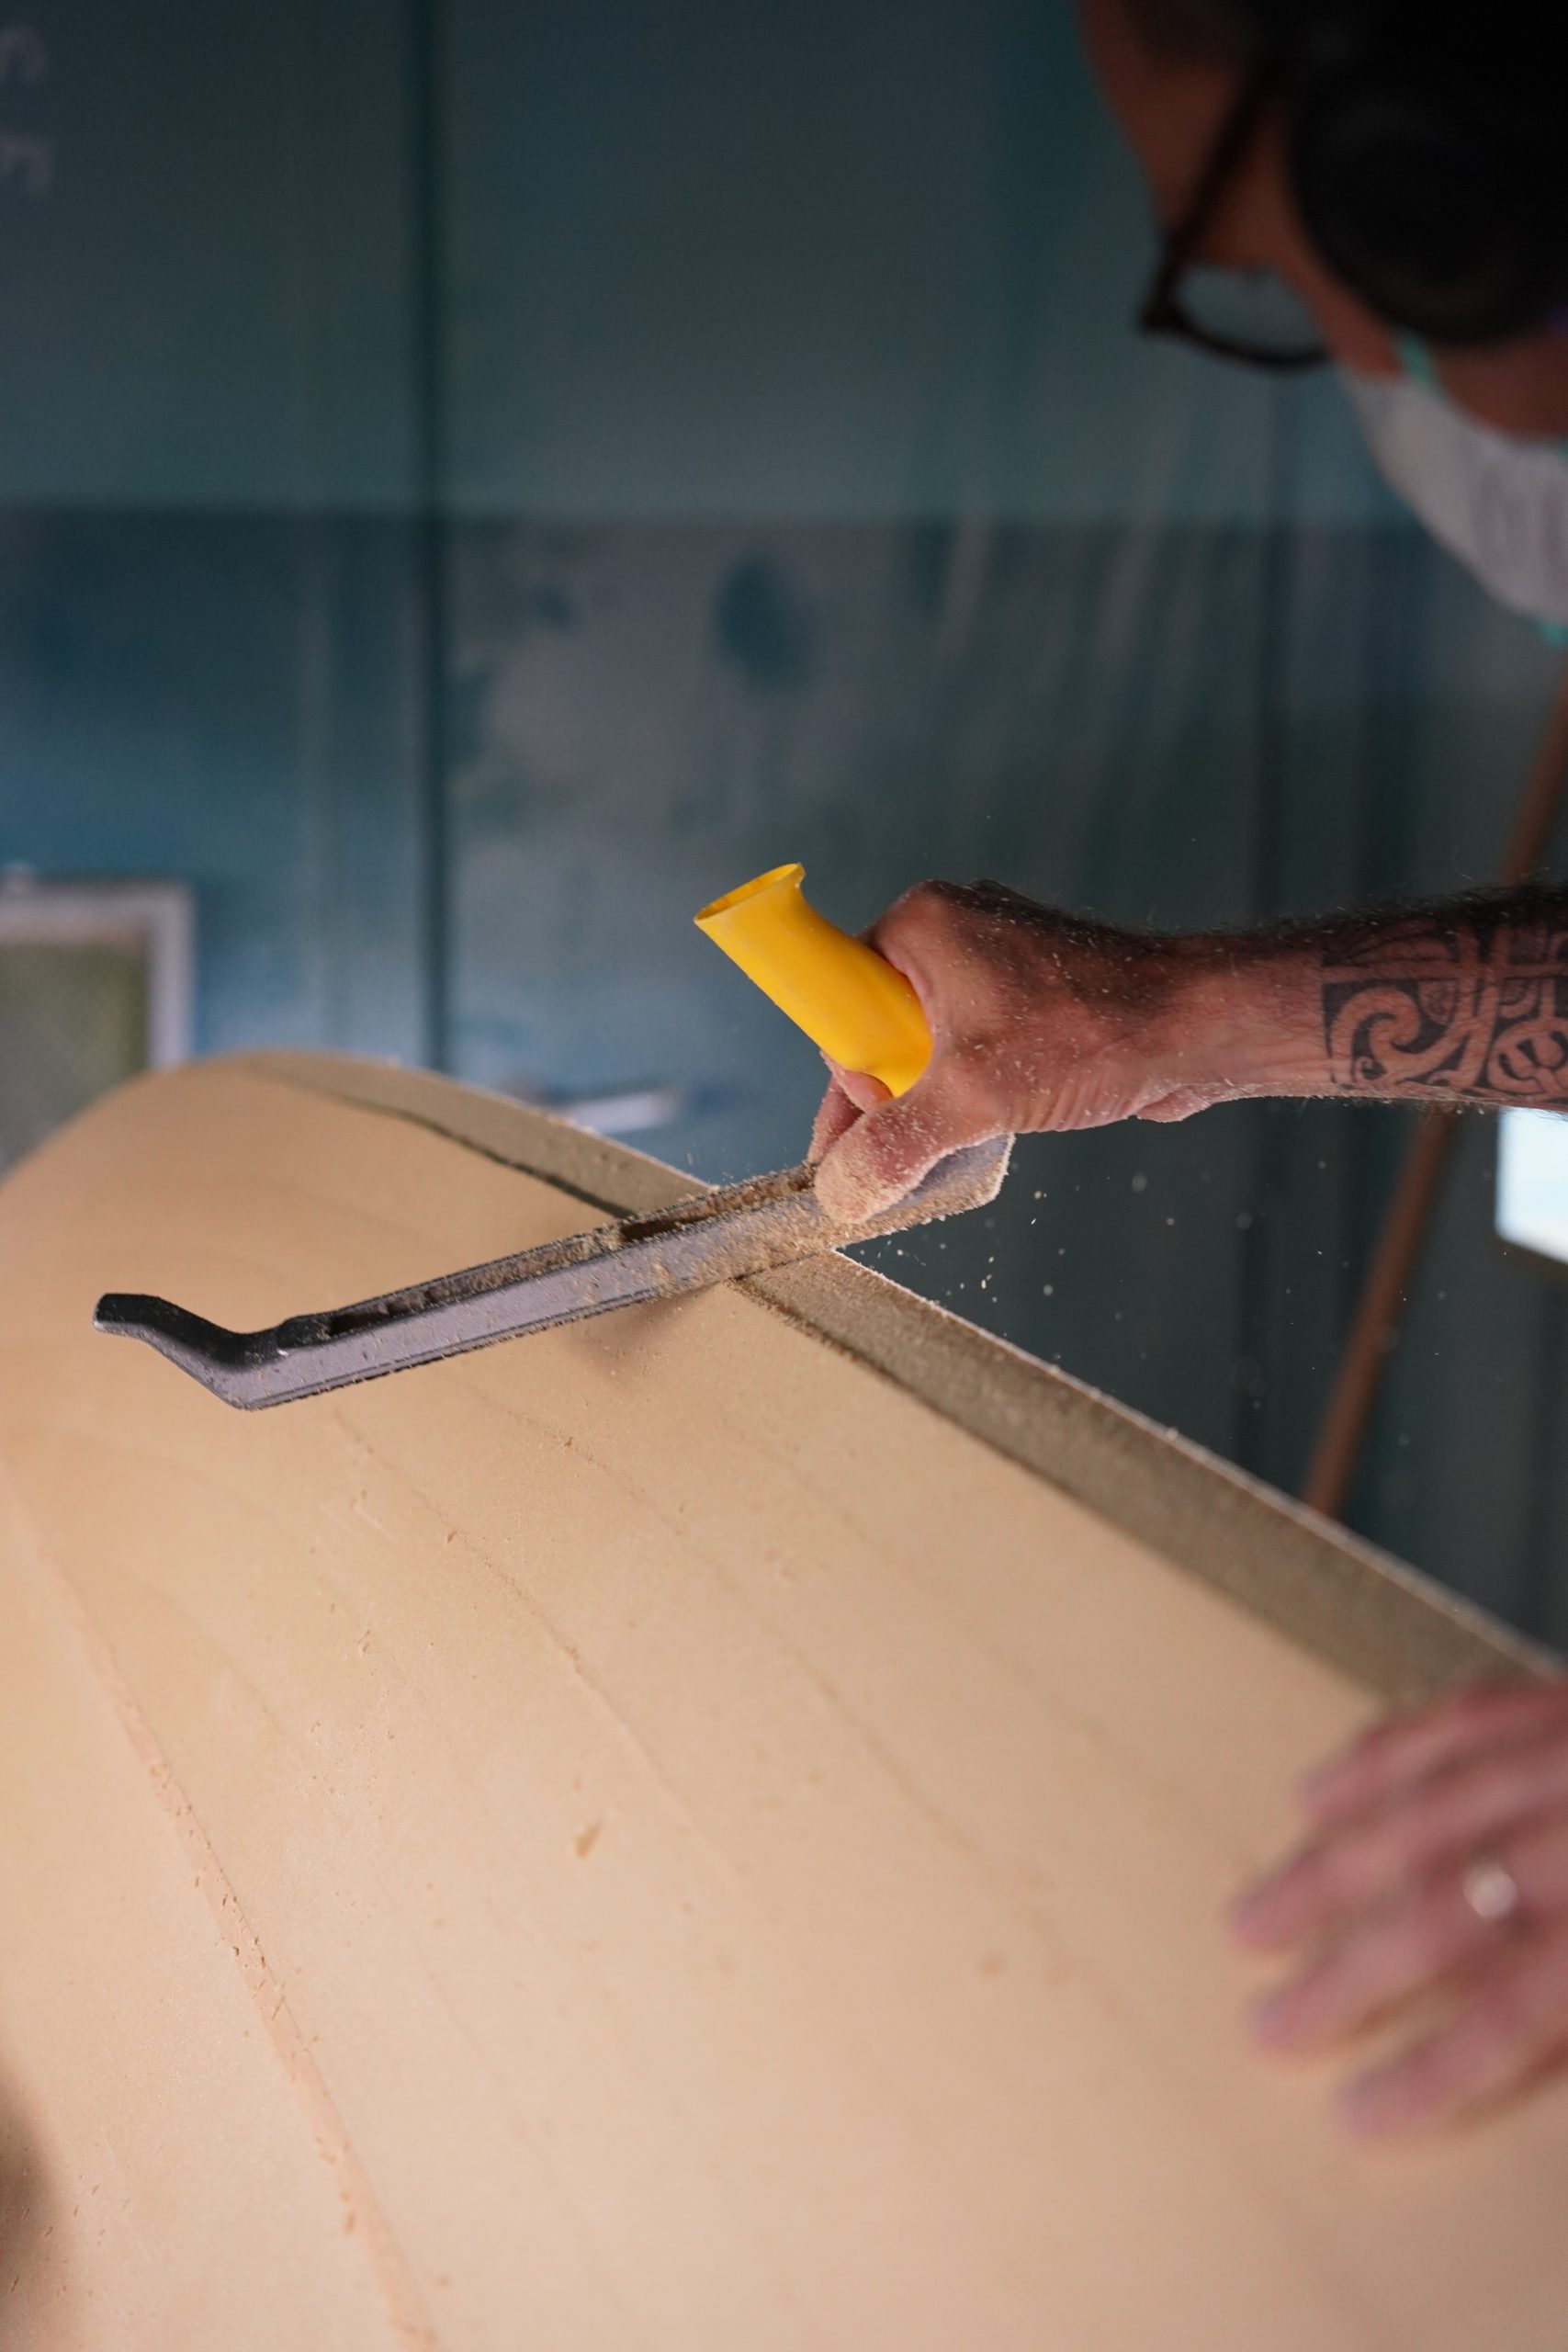
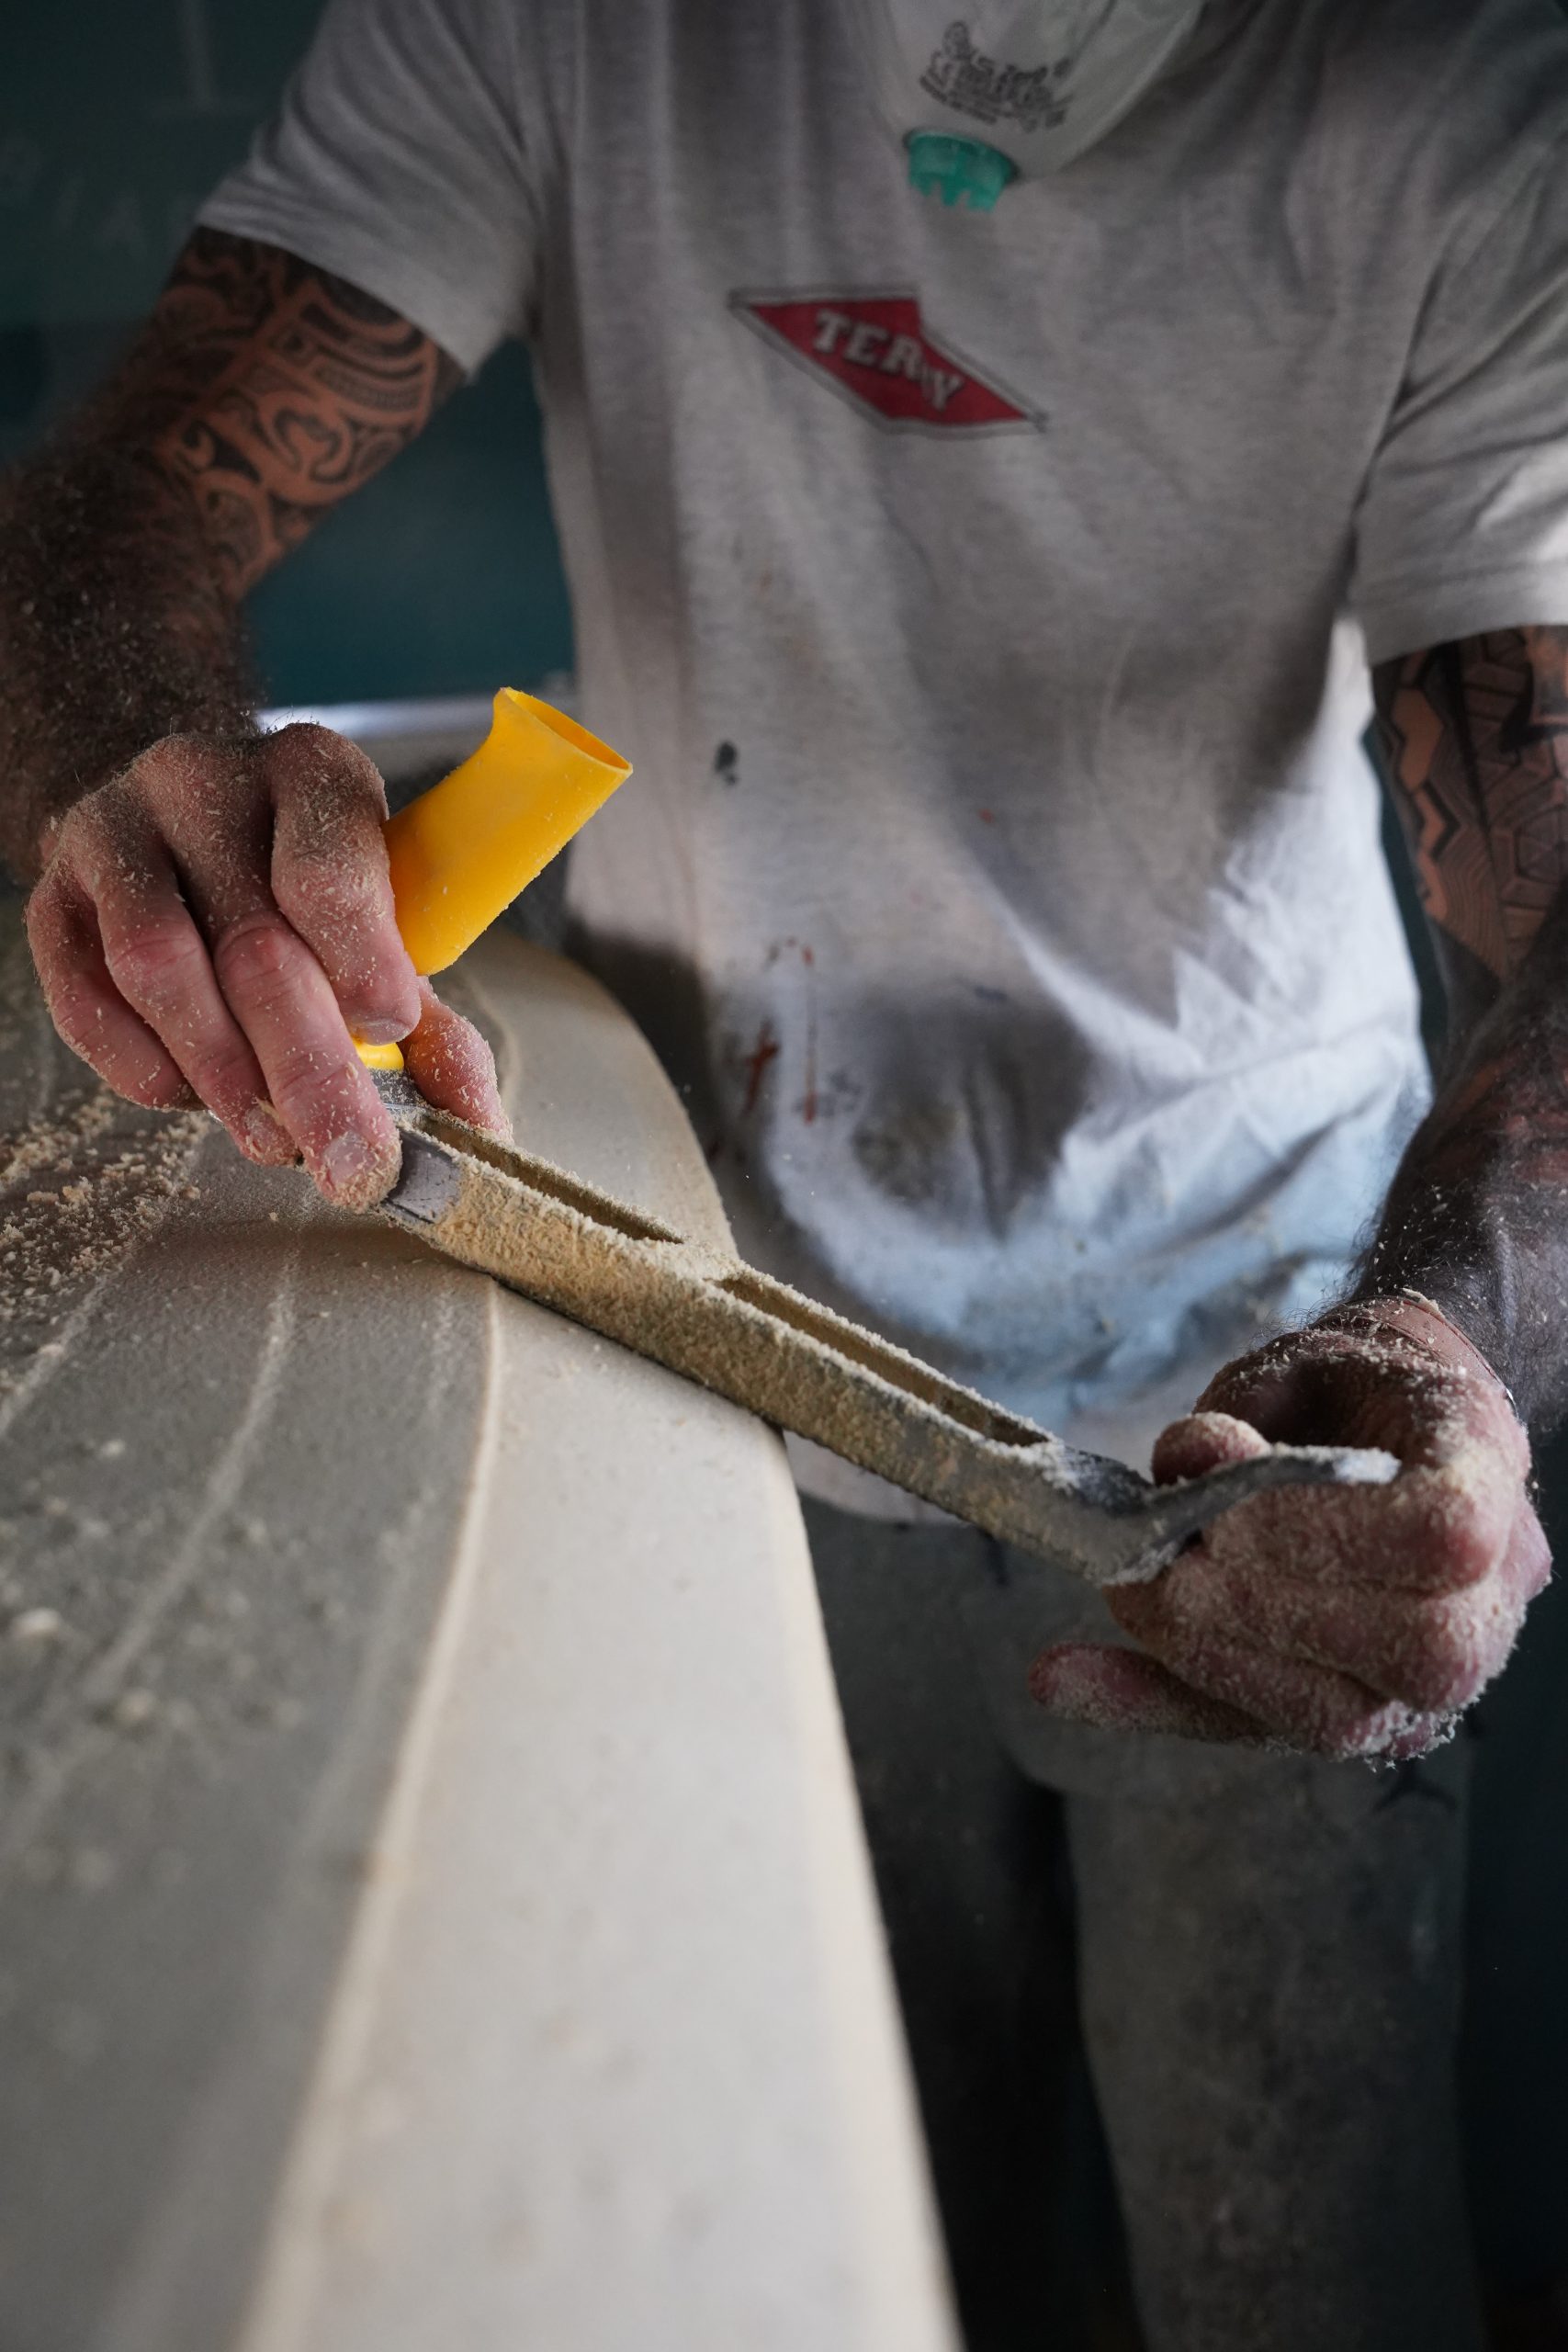
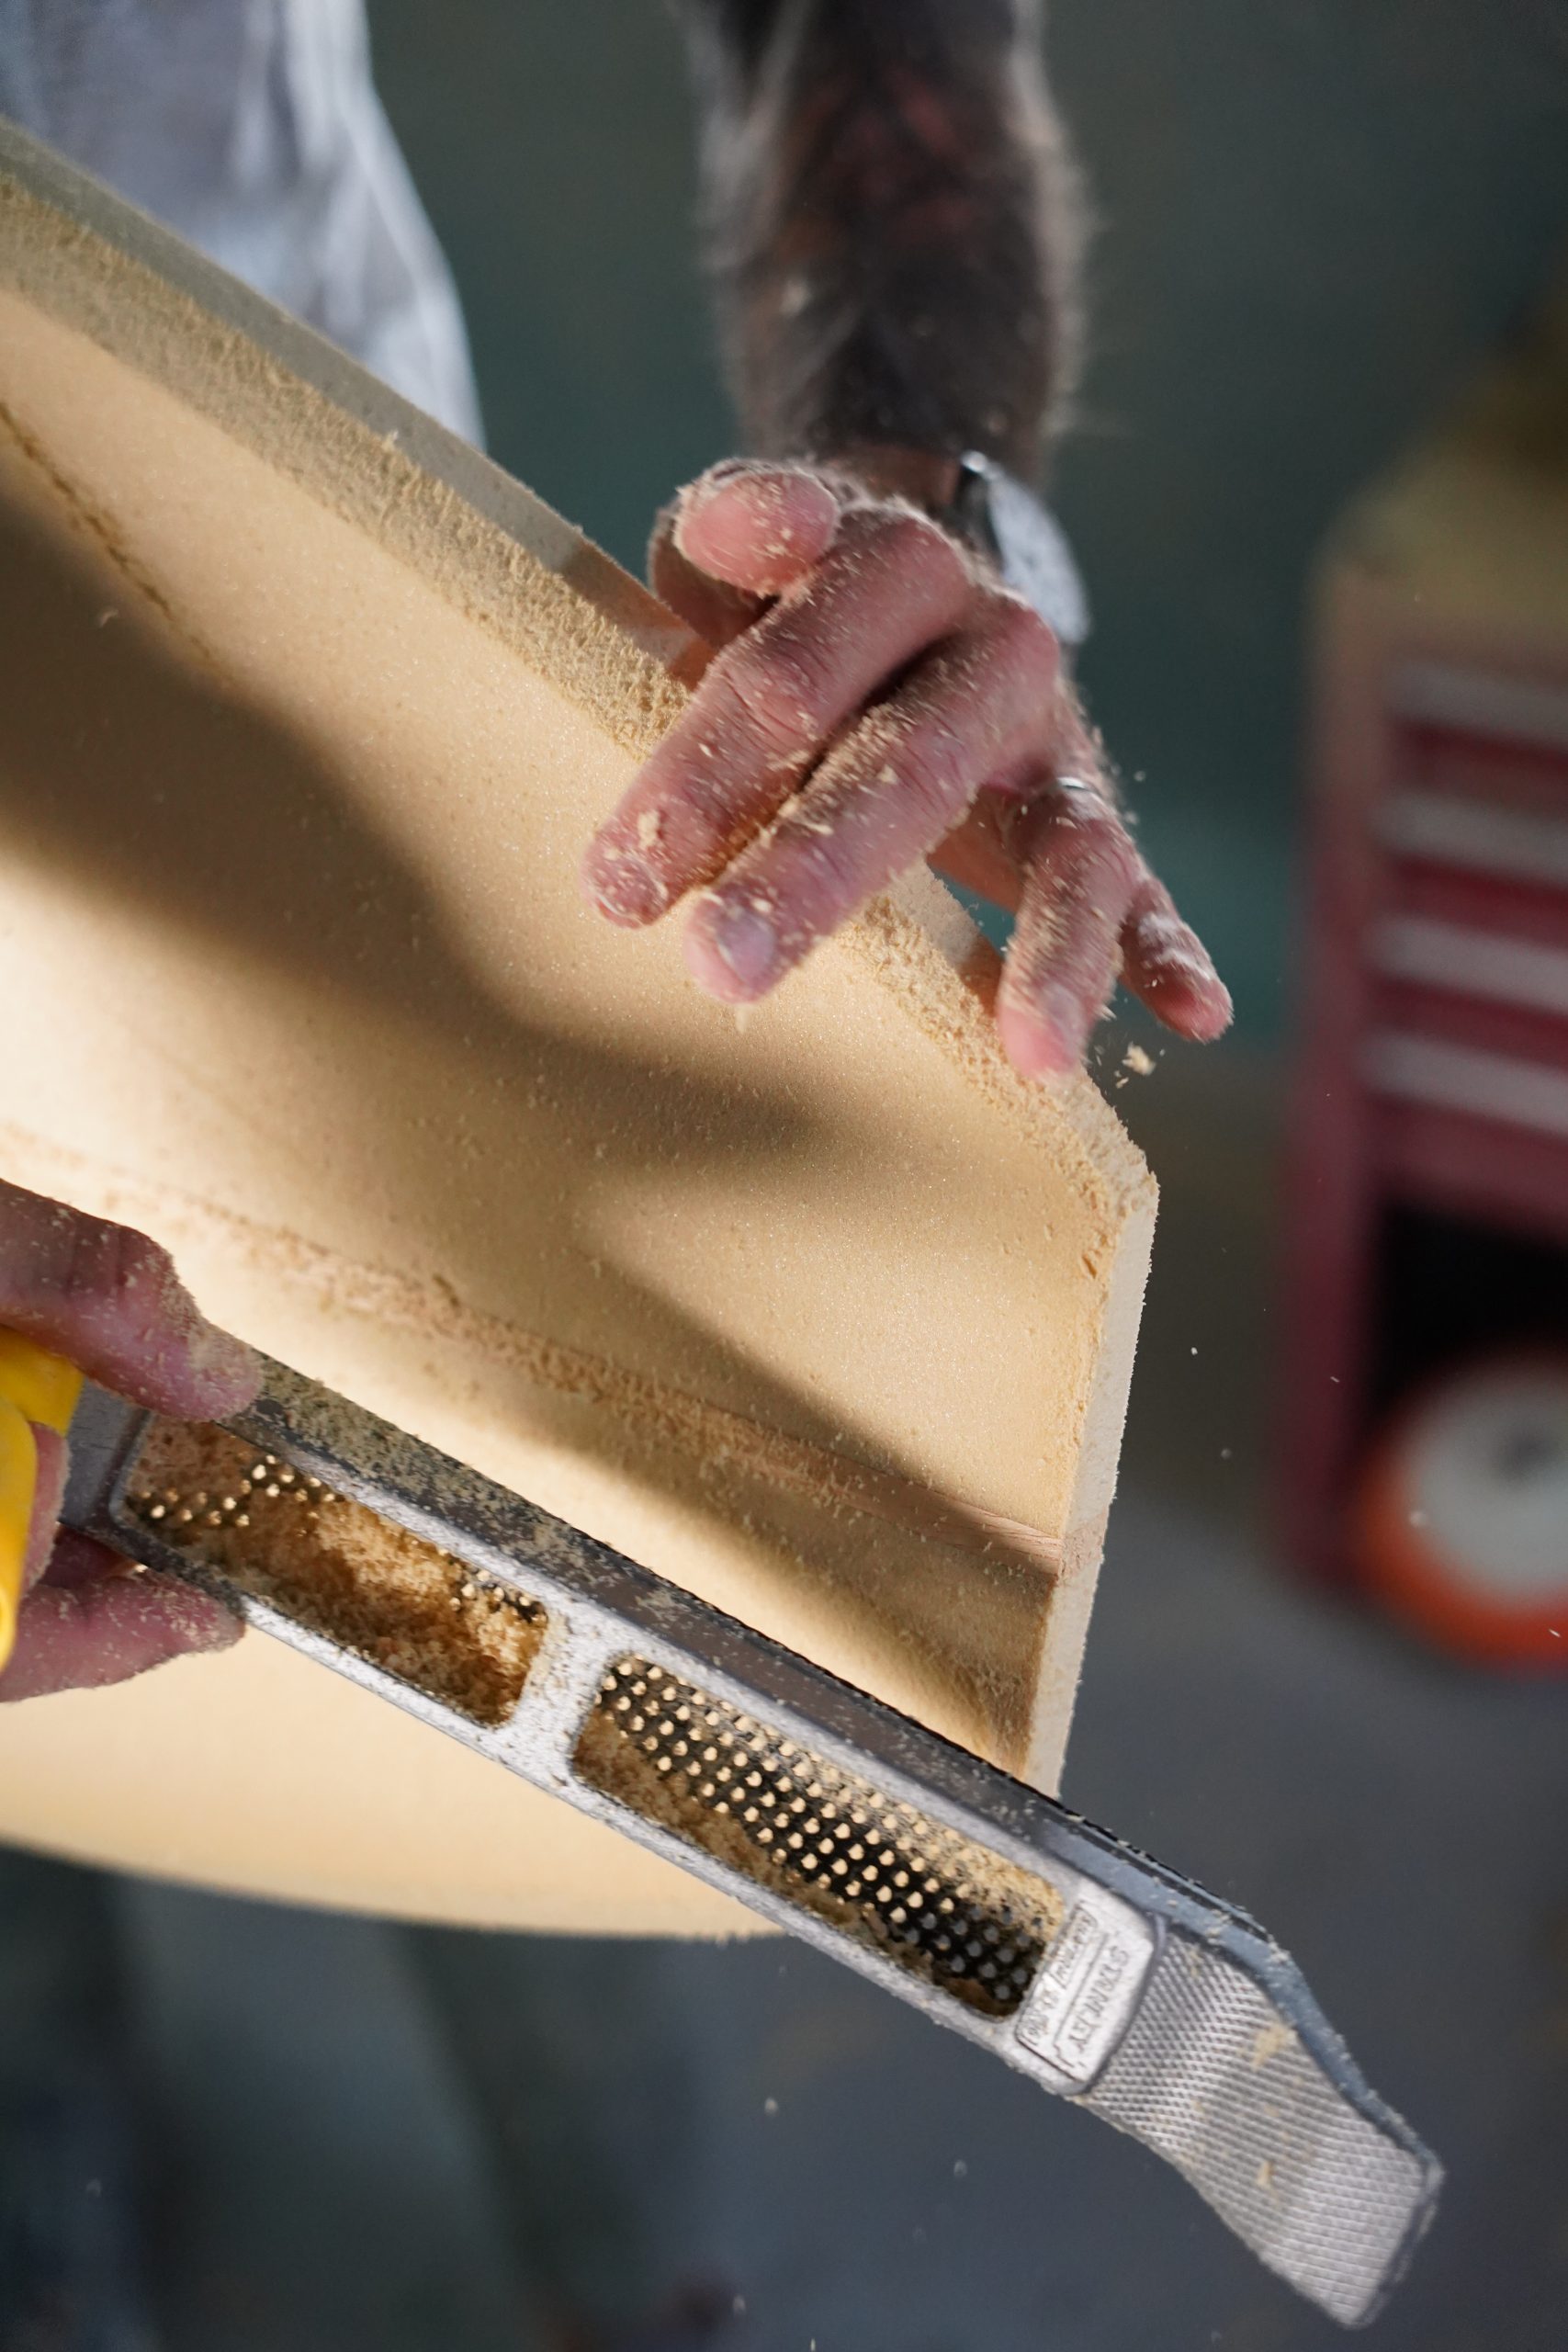
- Once the blank is shaped to the desired form, even it out using a surform/rasp.
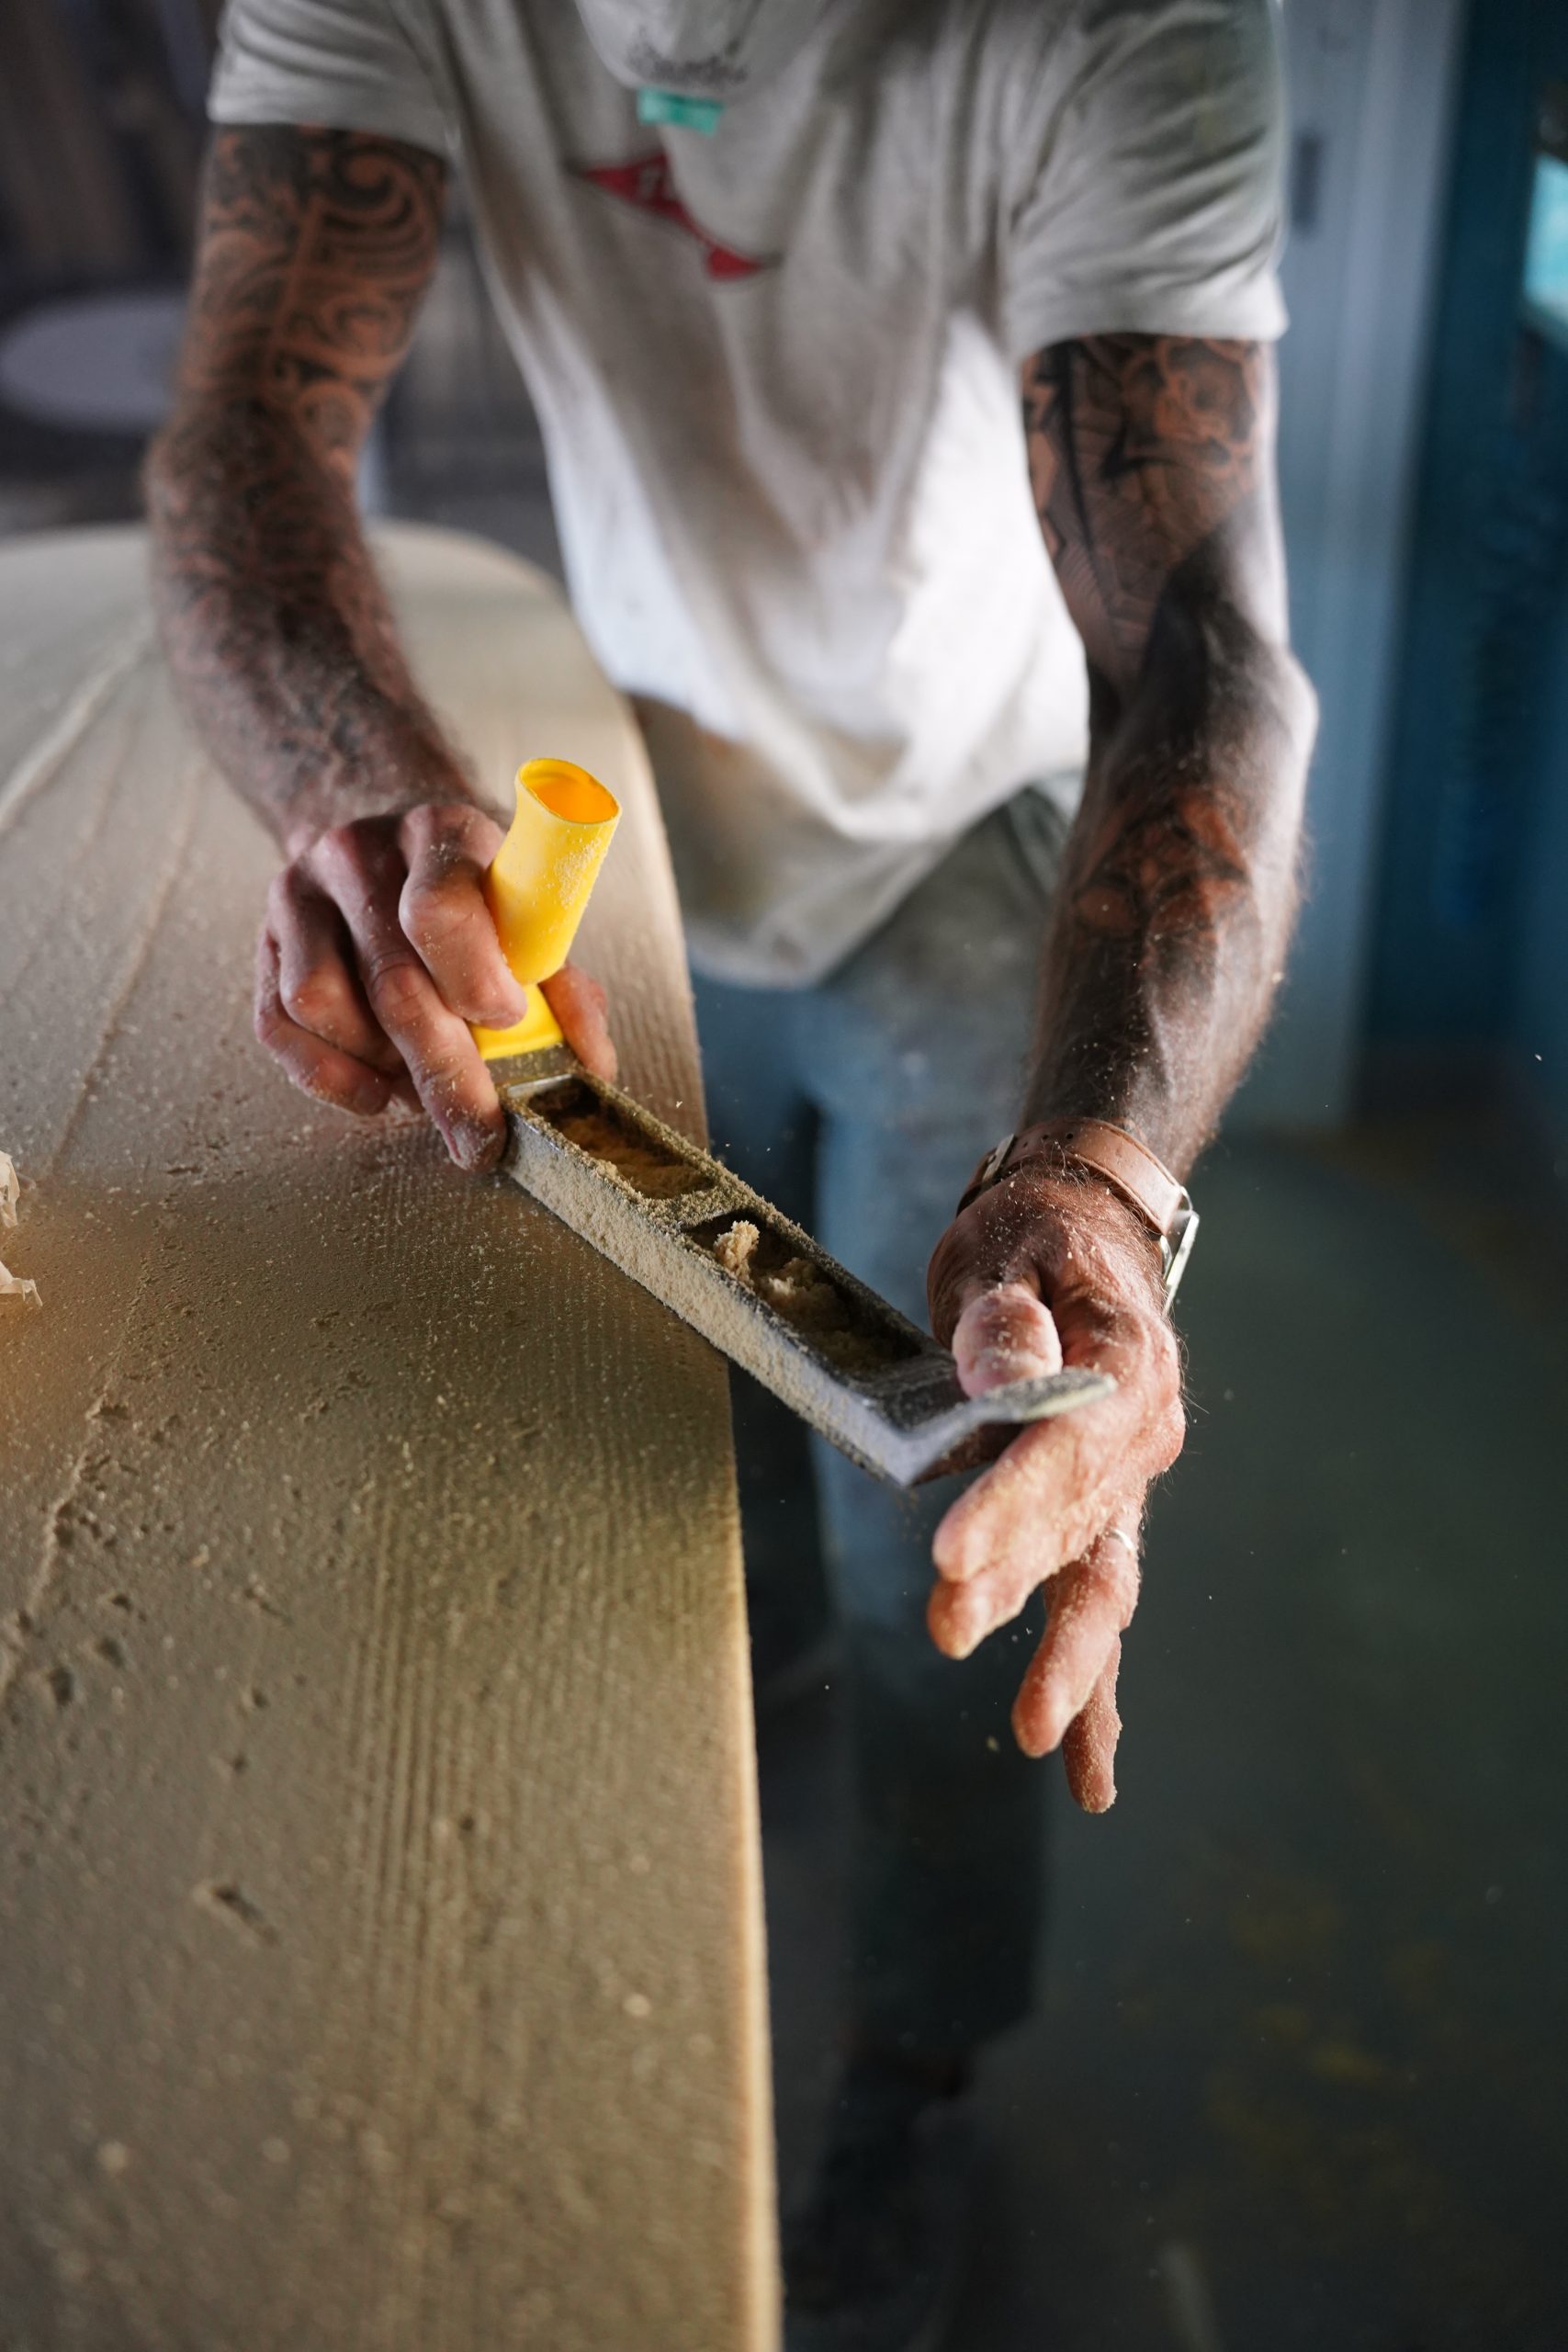
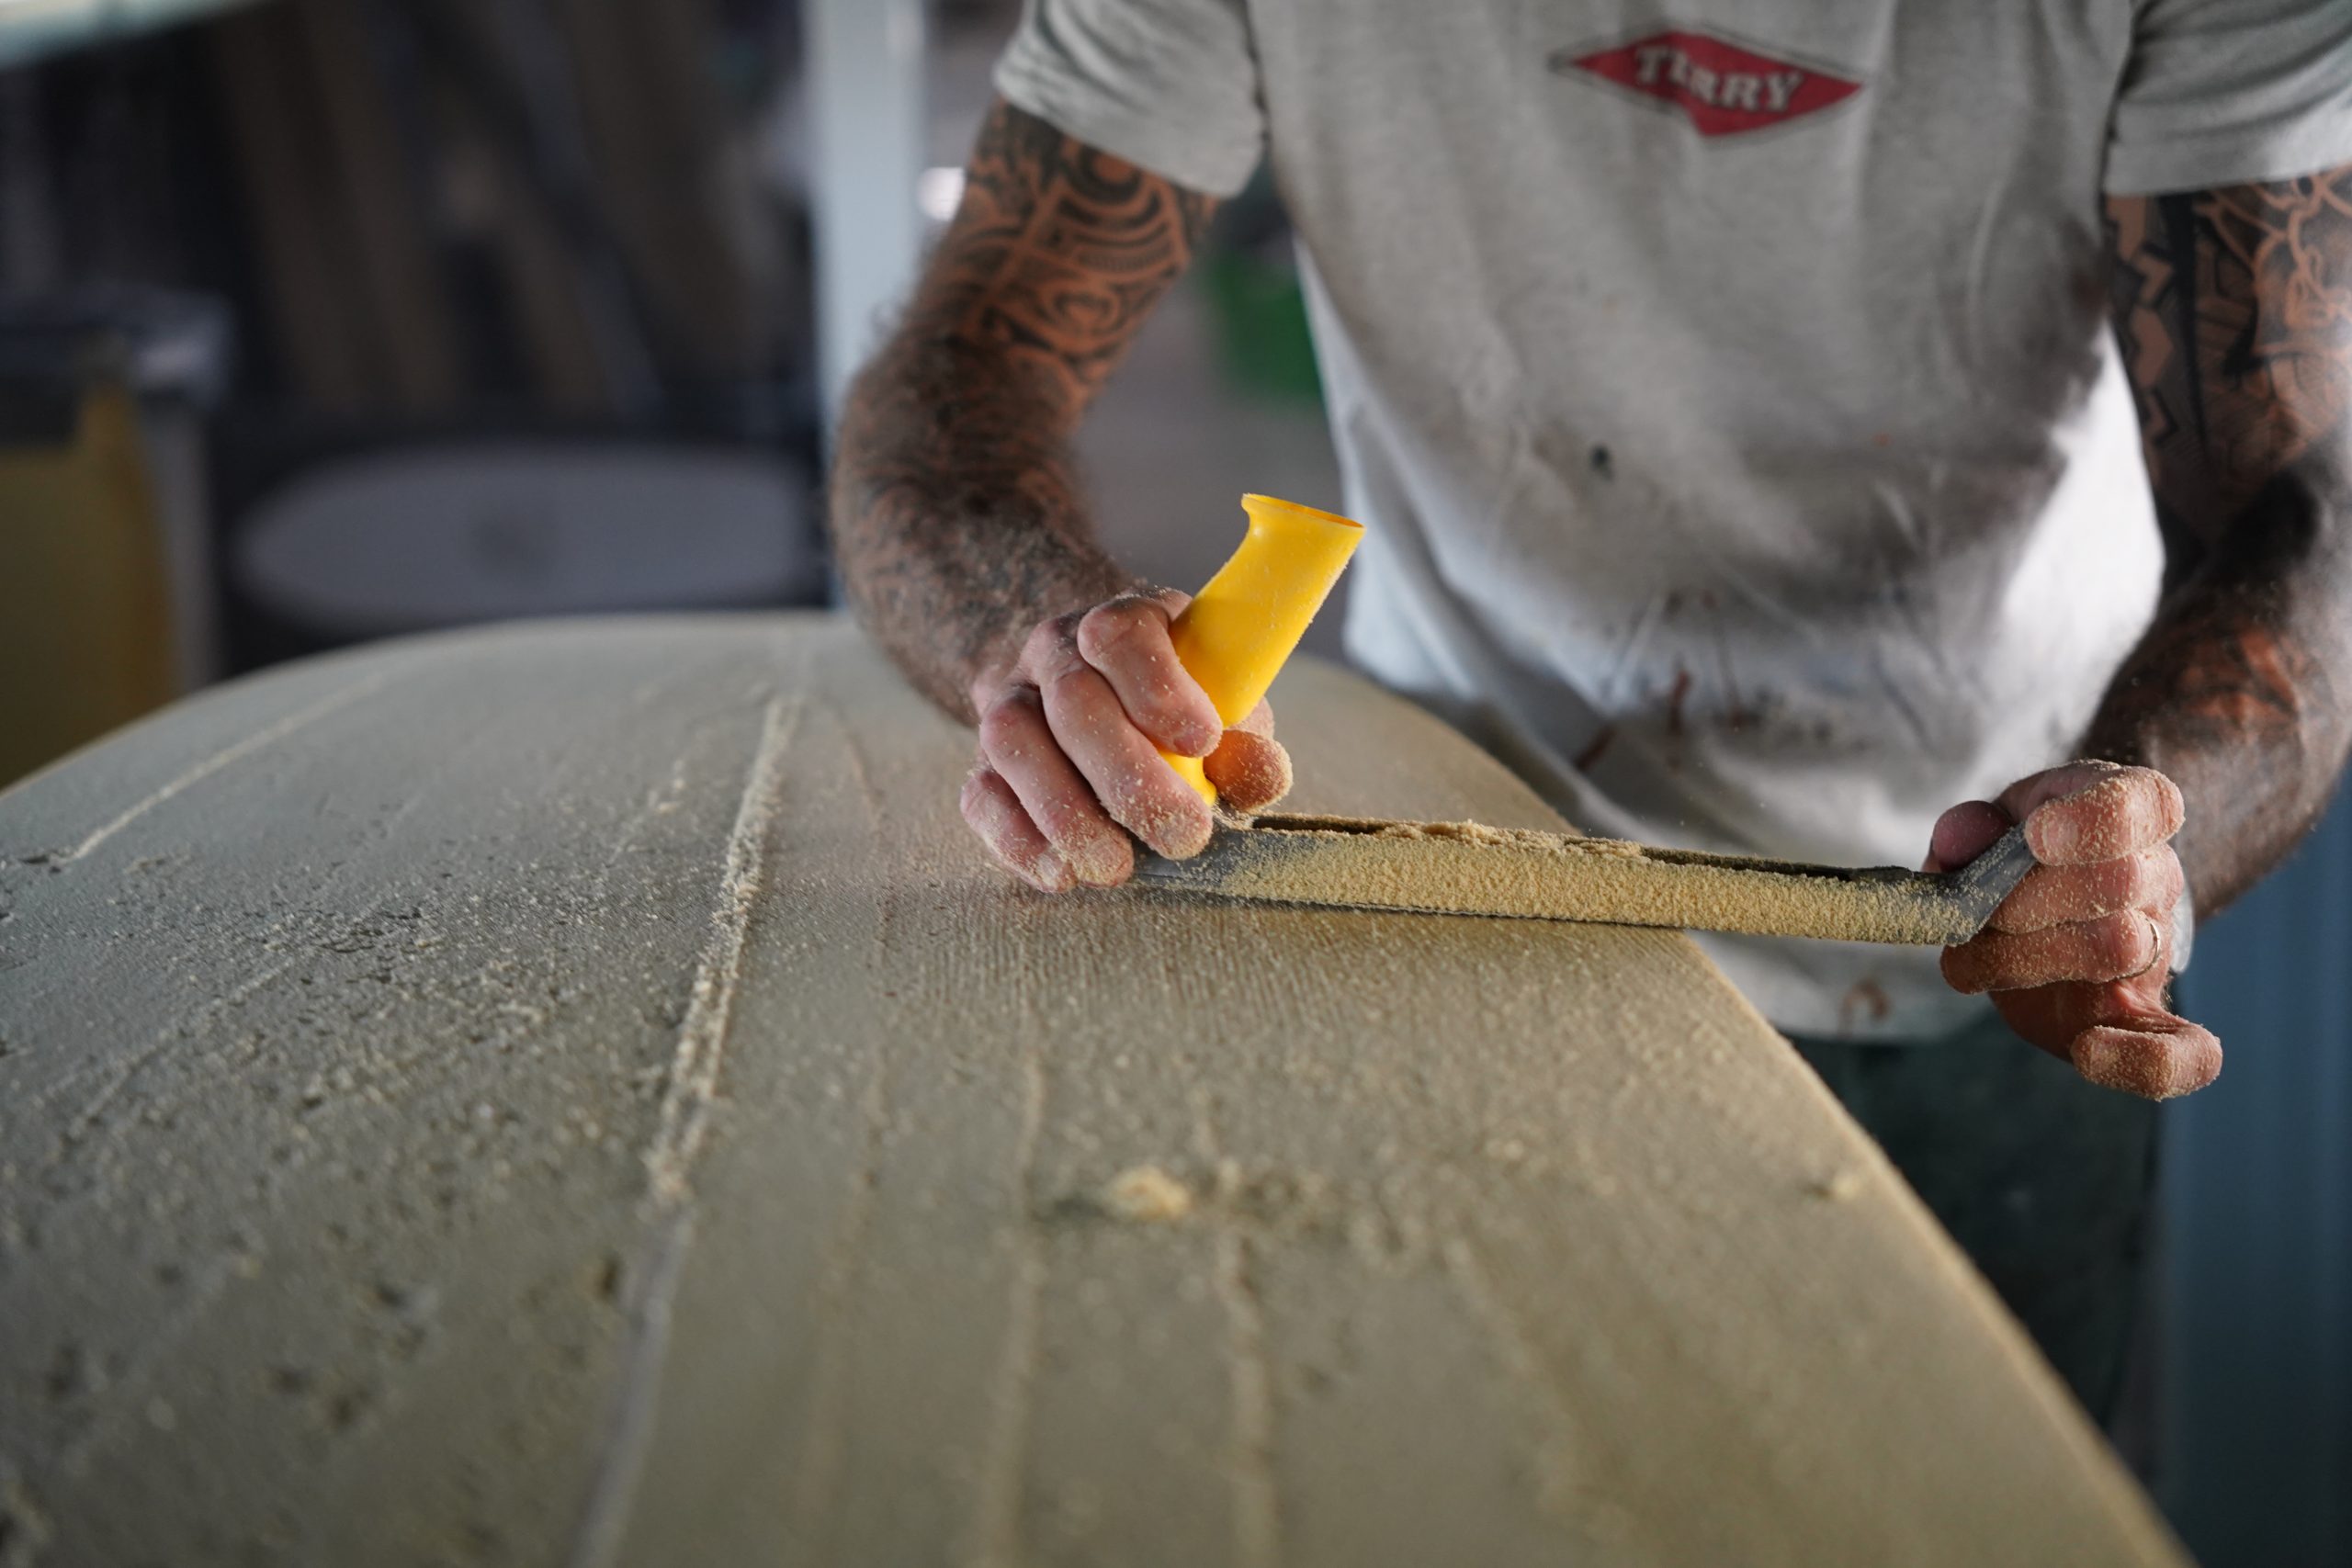
- Use a sanding block to refine the remaining unevenness.
- Use a mini hand plane to bring the stringer to the height of the foam.
- Ensure that the deck and bottom contours match the original sketch.
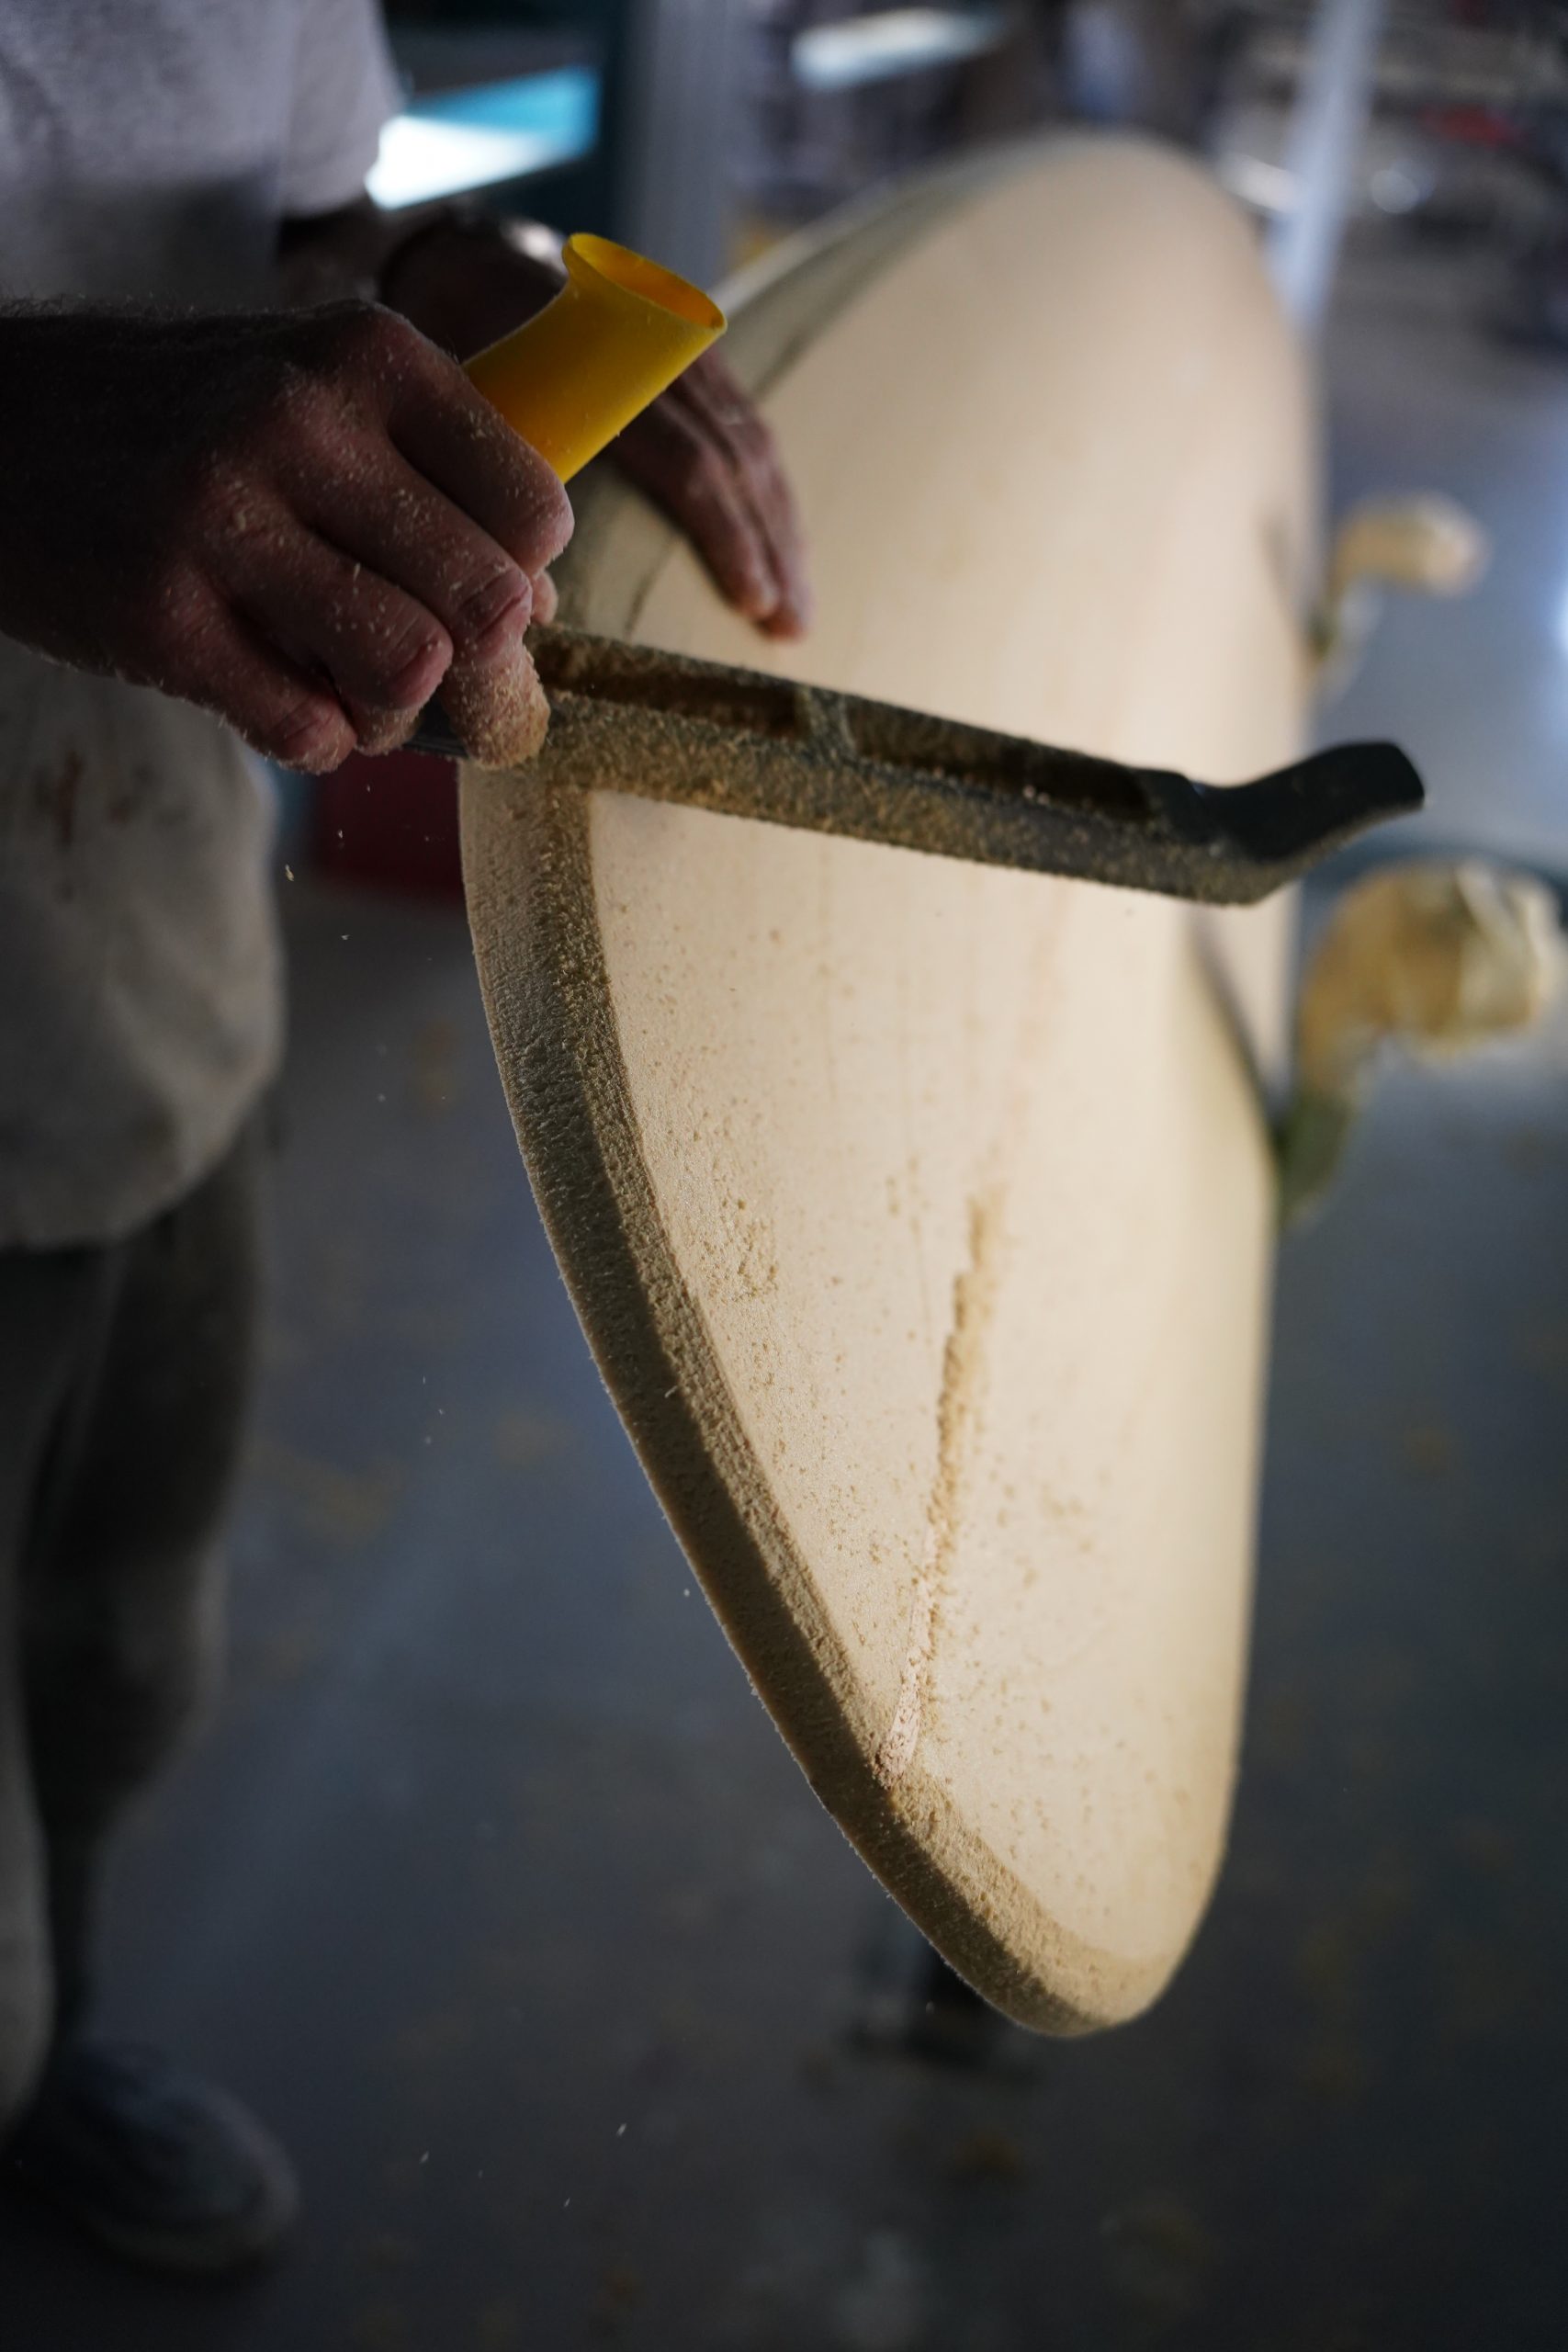
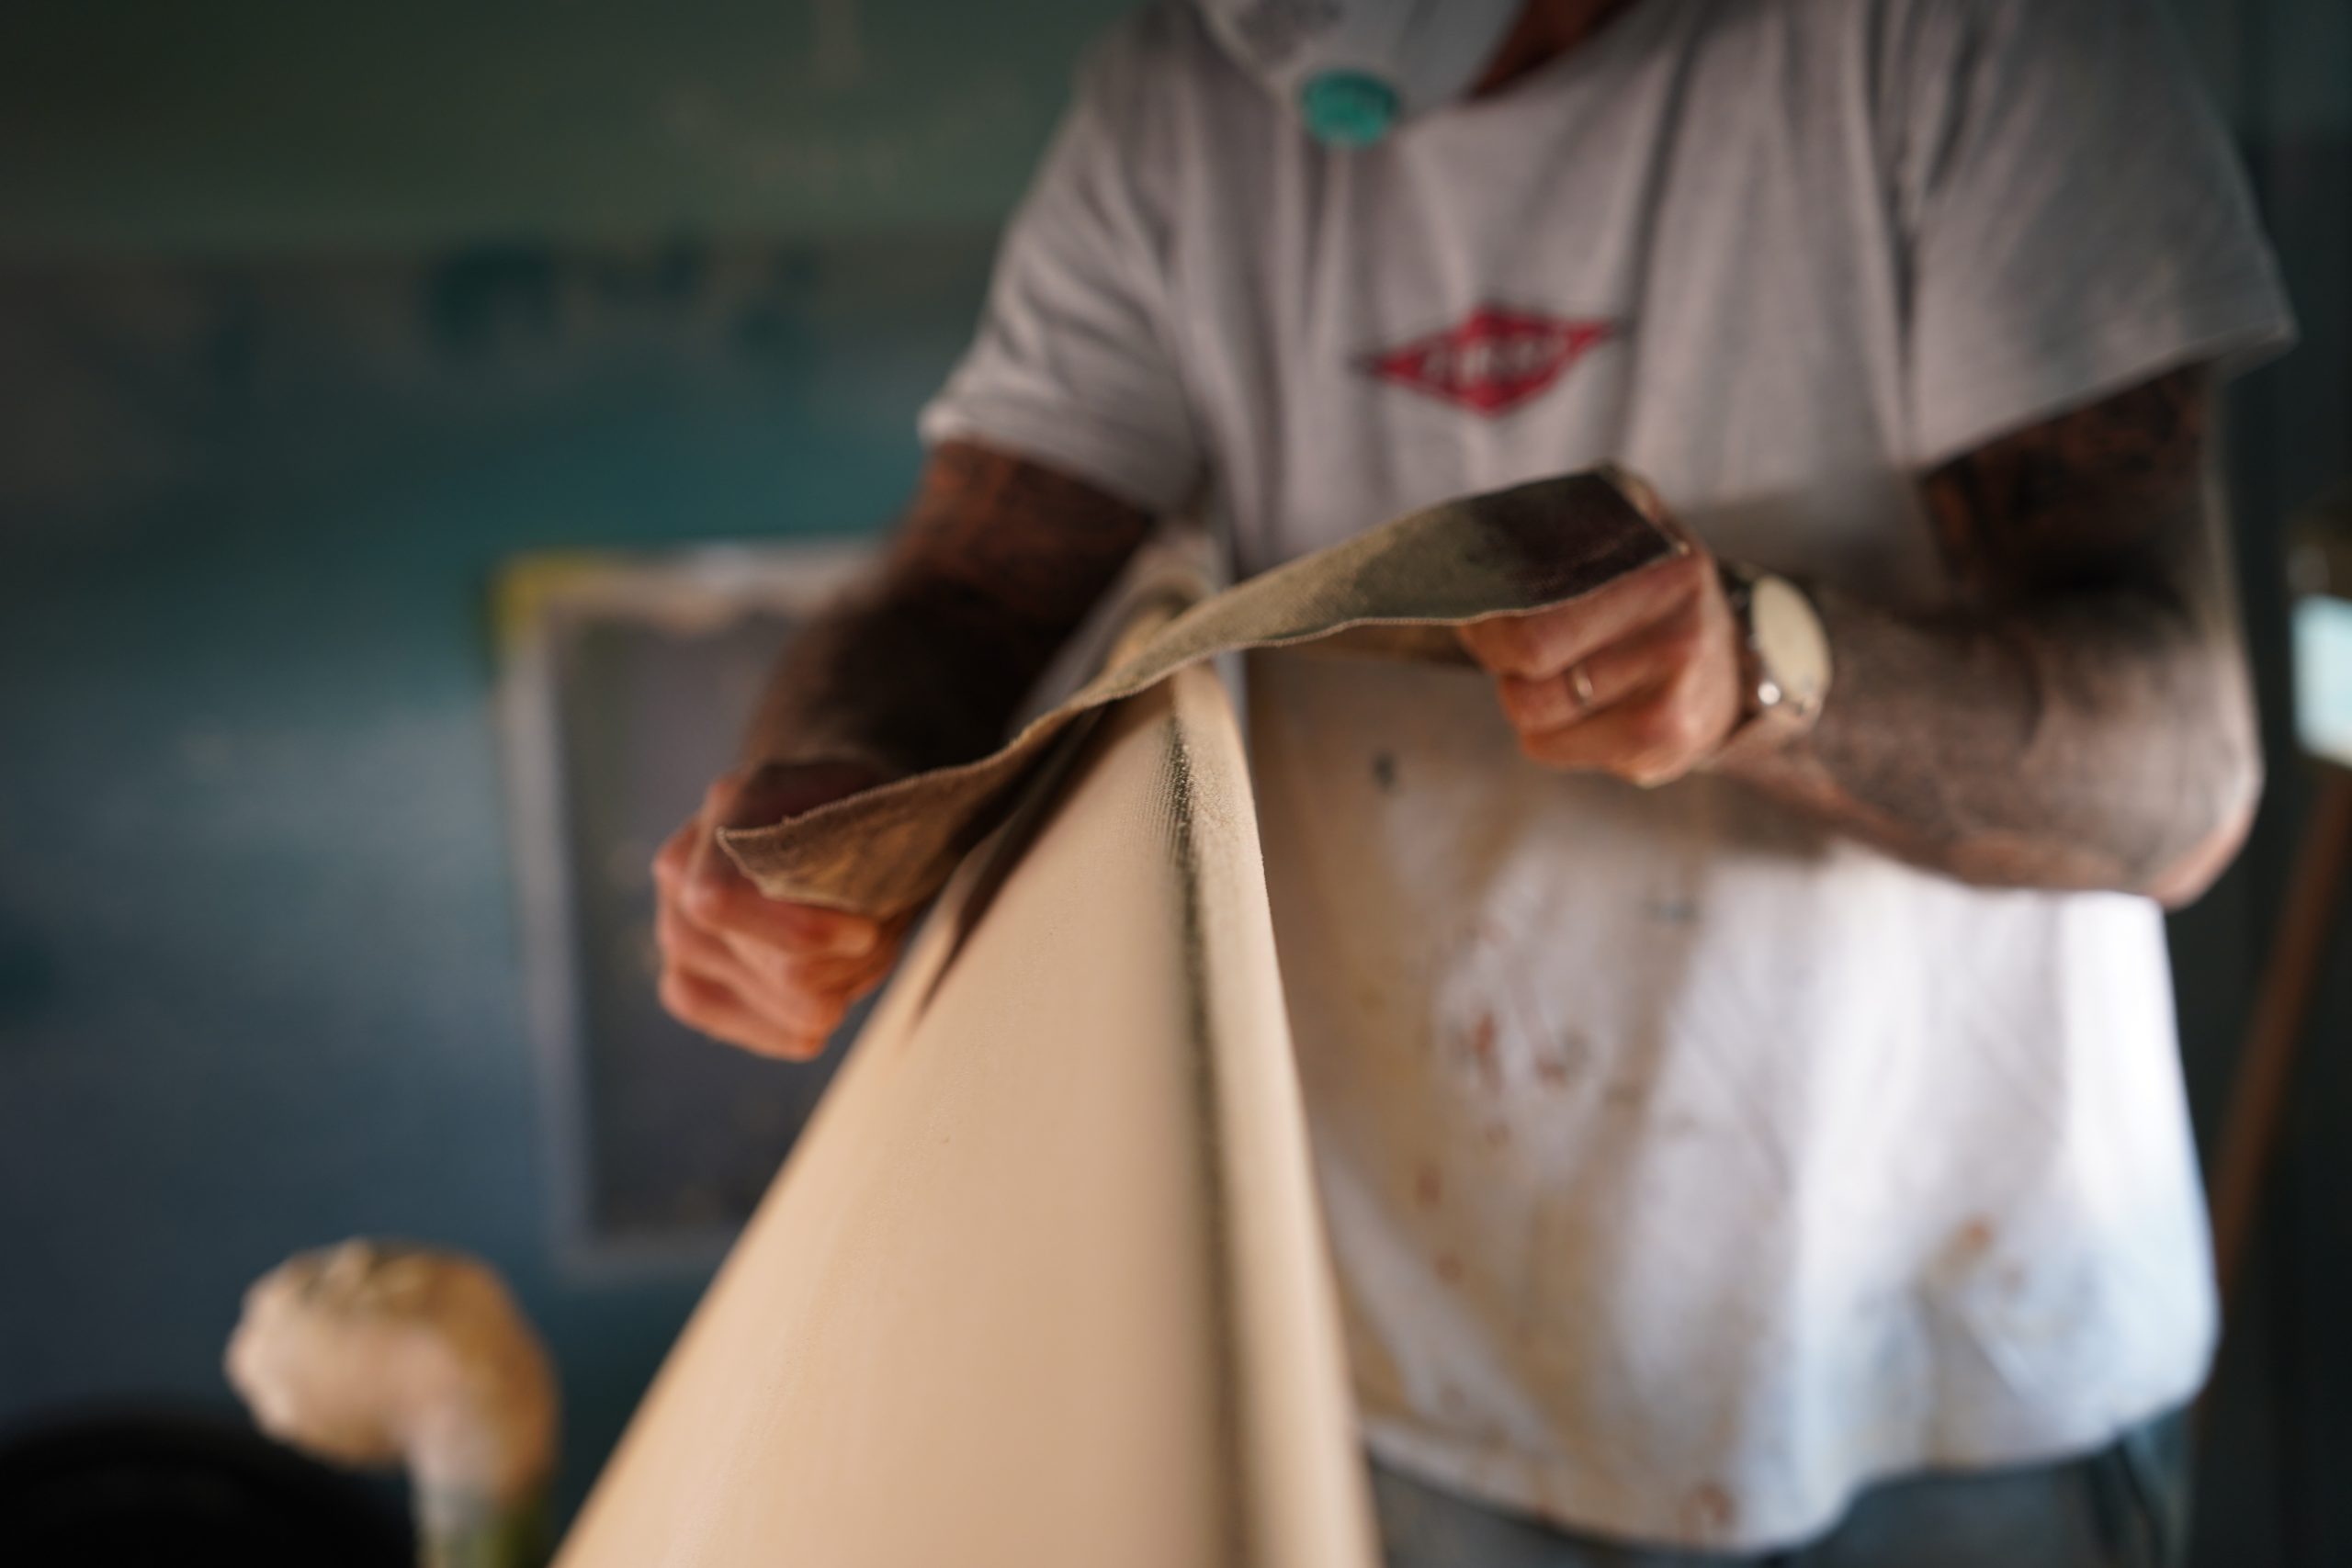
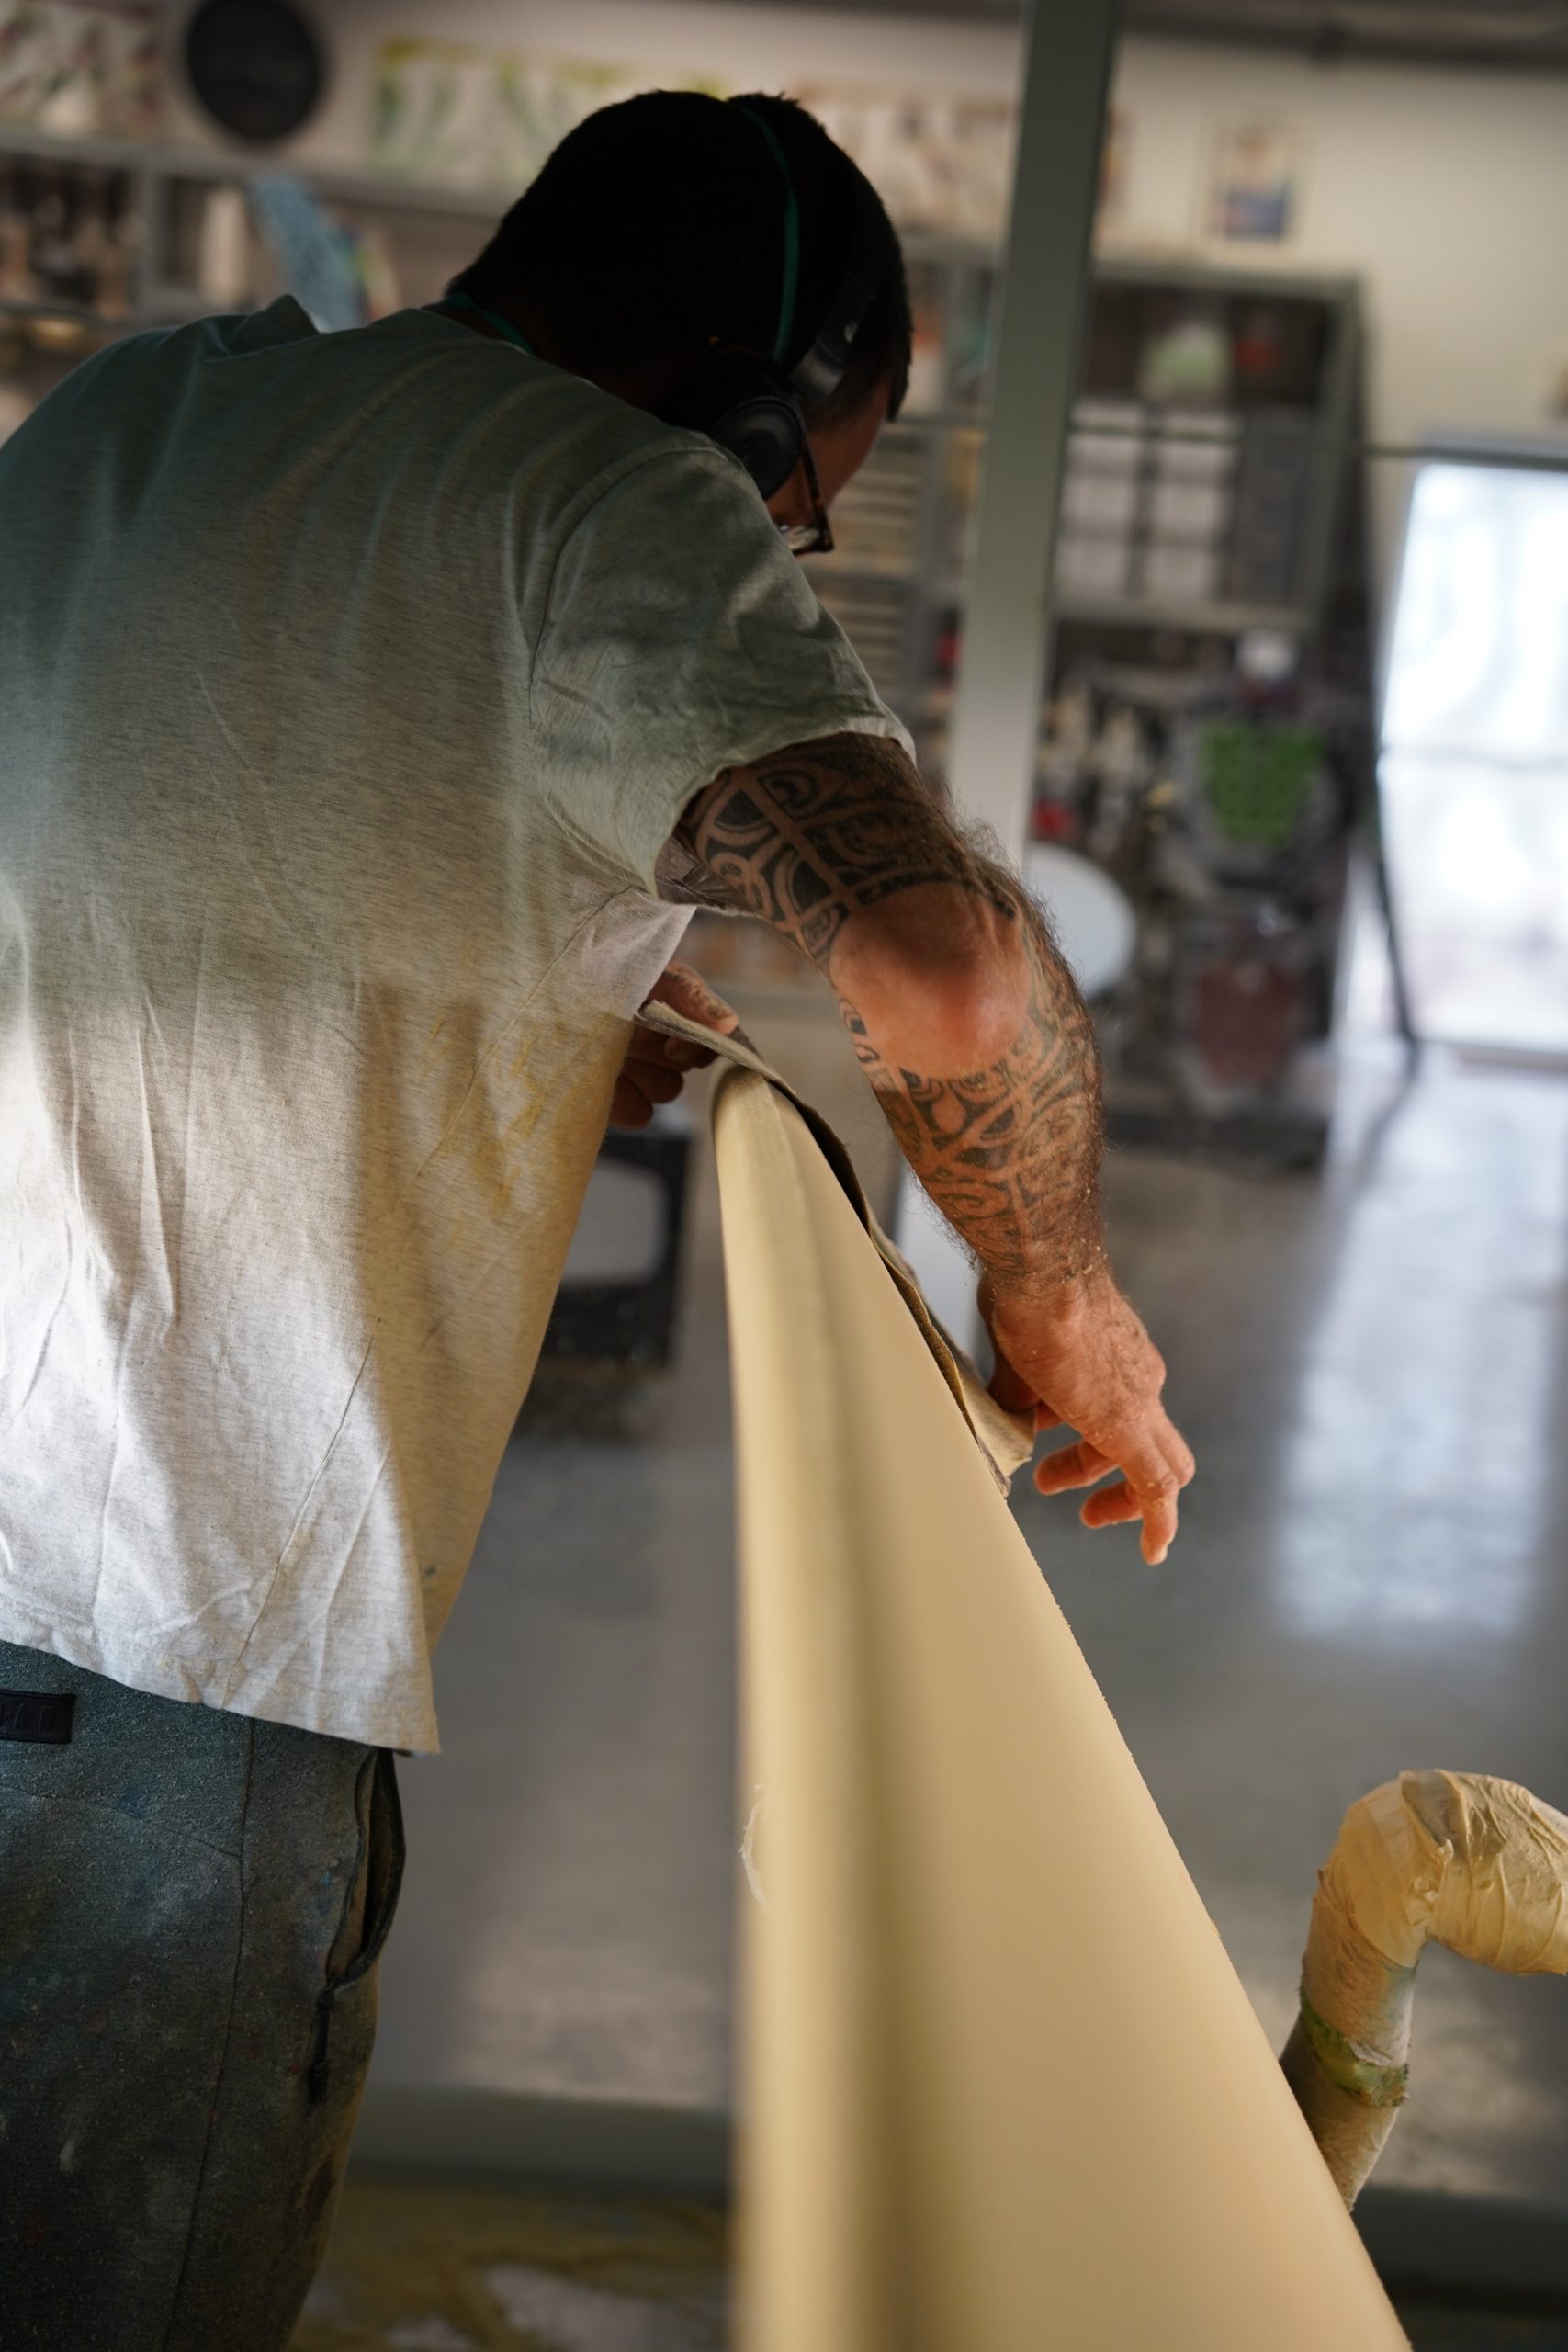
Shaping the Rails:
- Draw the guide lines (railbands, outline & tuck).
- Start by drawing two guide lines on the outside that determine the final angle of the rail.
- Then, draw railbands (guide lines) on the deck that define the angle of the rails and deck contours.
- Finally, draw a guide line (the tuck) on the bottom that determines the angle of the rail at the bottom.
- Start at the outermost guide line on the deck and work your way inward, shaping guide line by guide line (using a surform/rasp to remove material).
- Take your time with the rails and maintain a consistent angle with the surform/rasp.
- Important! Regularly check the symmetry of the rails.
- It’s important to remove less material at the nose and tail to achieve a smaller angle.
- Repeat the same process at the guide line on the bottom.
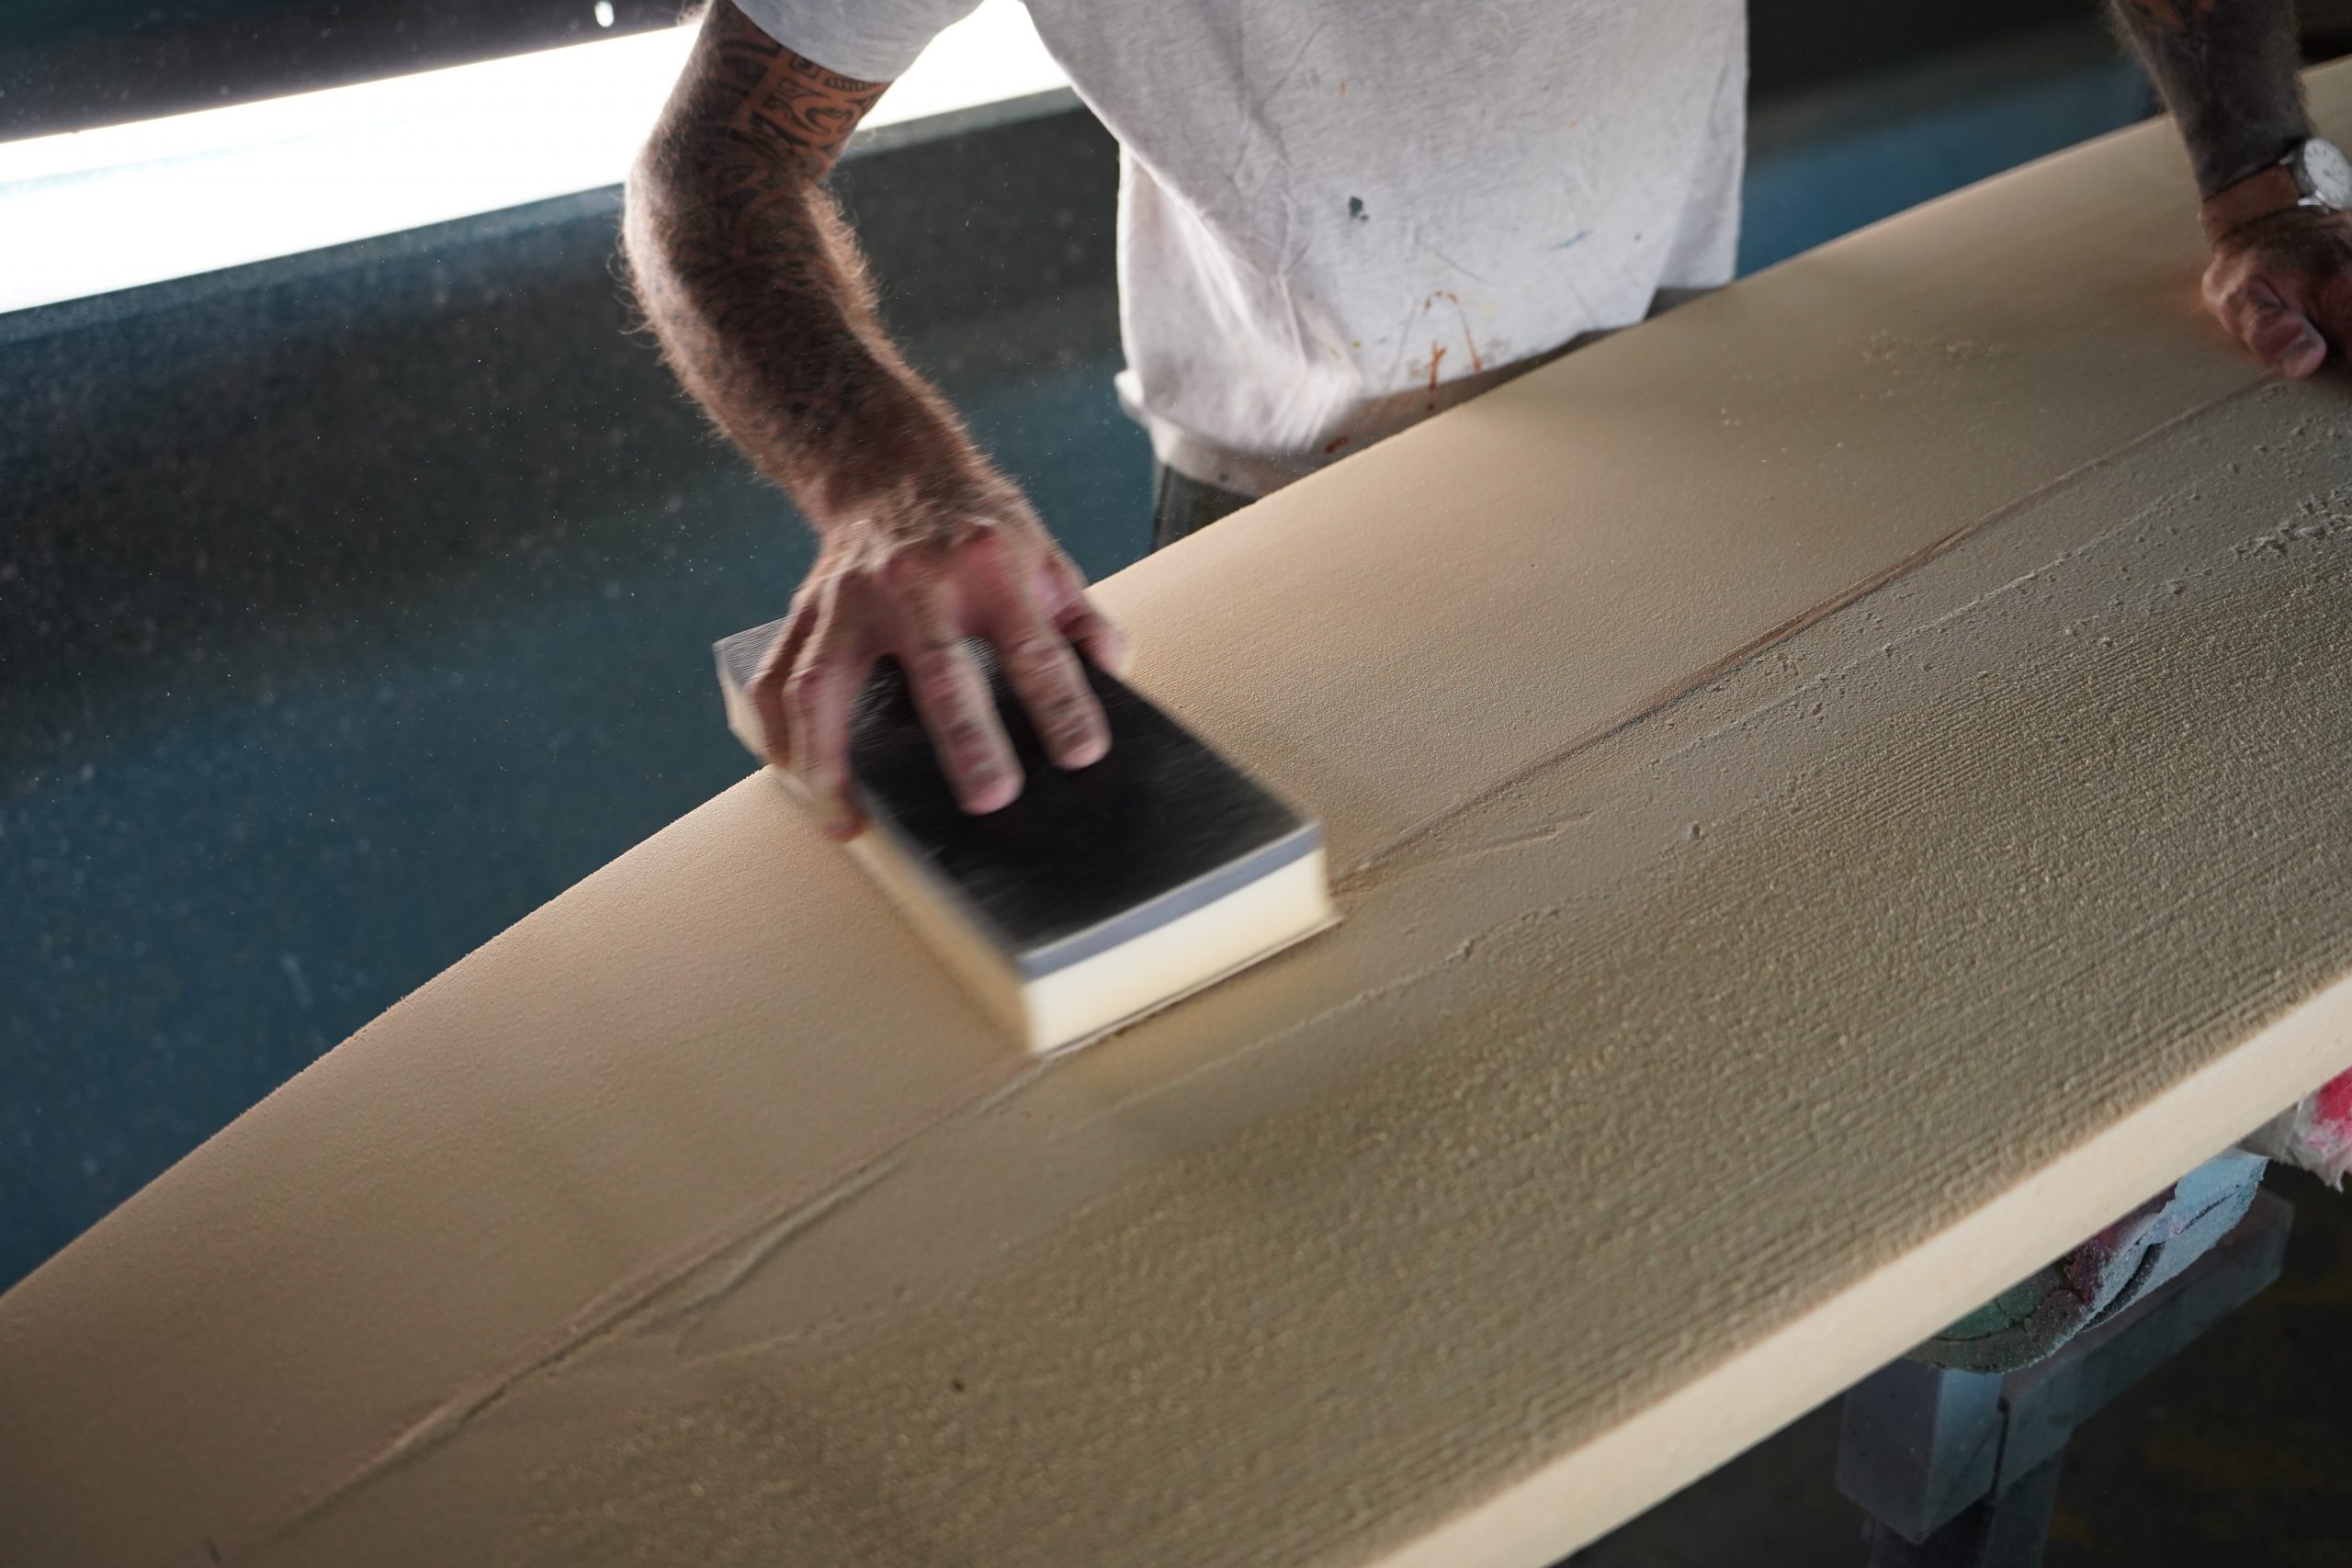
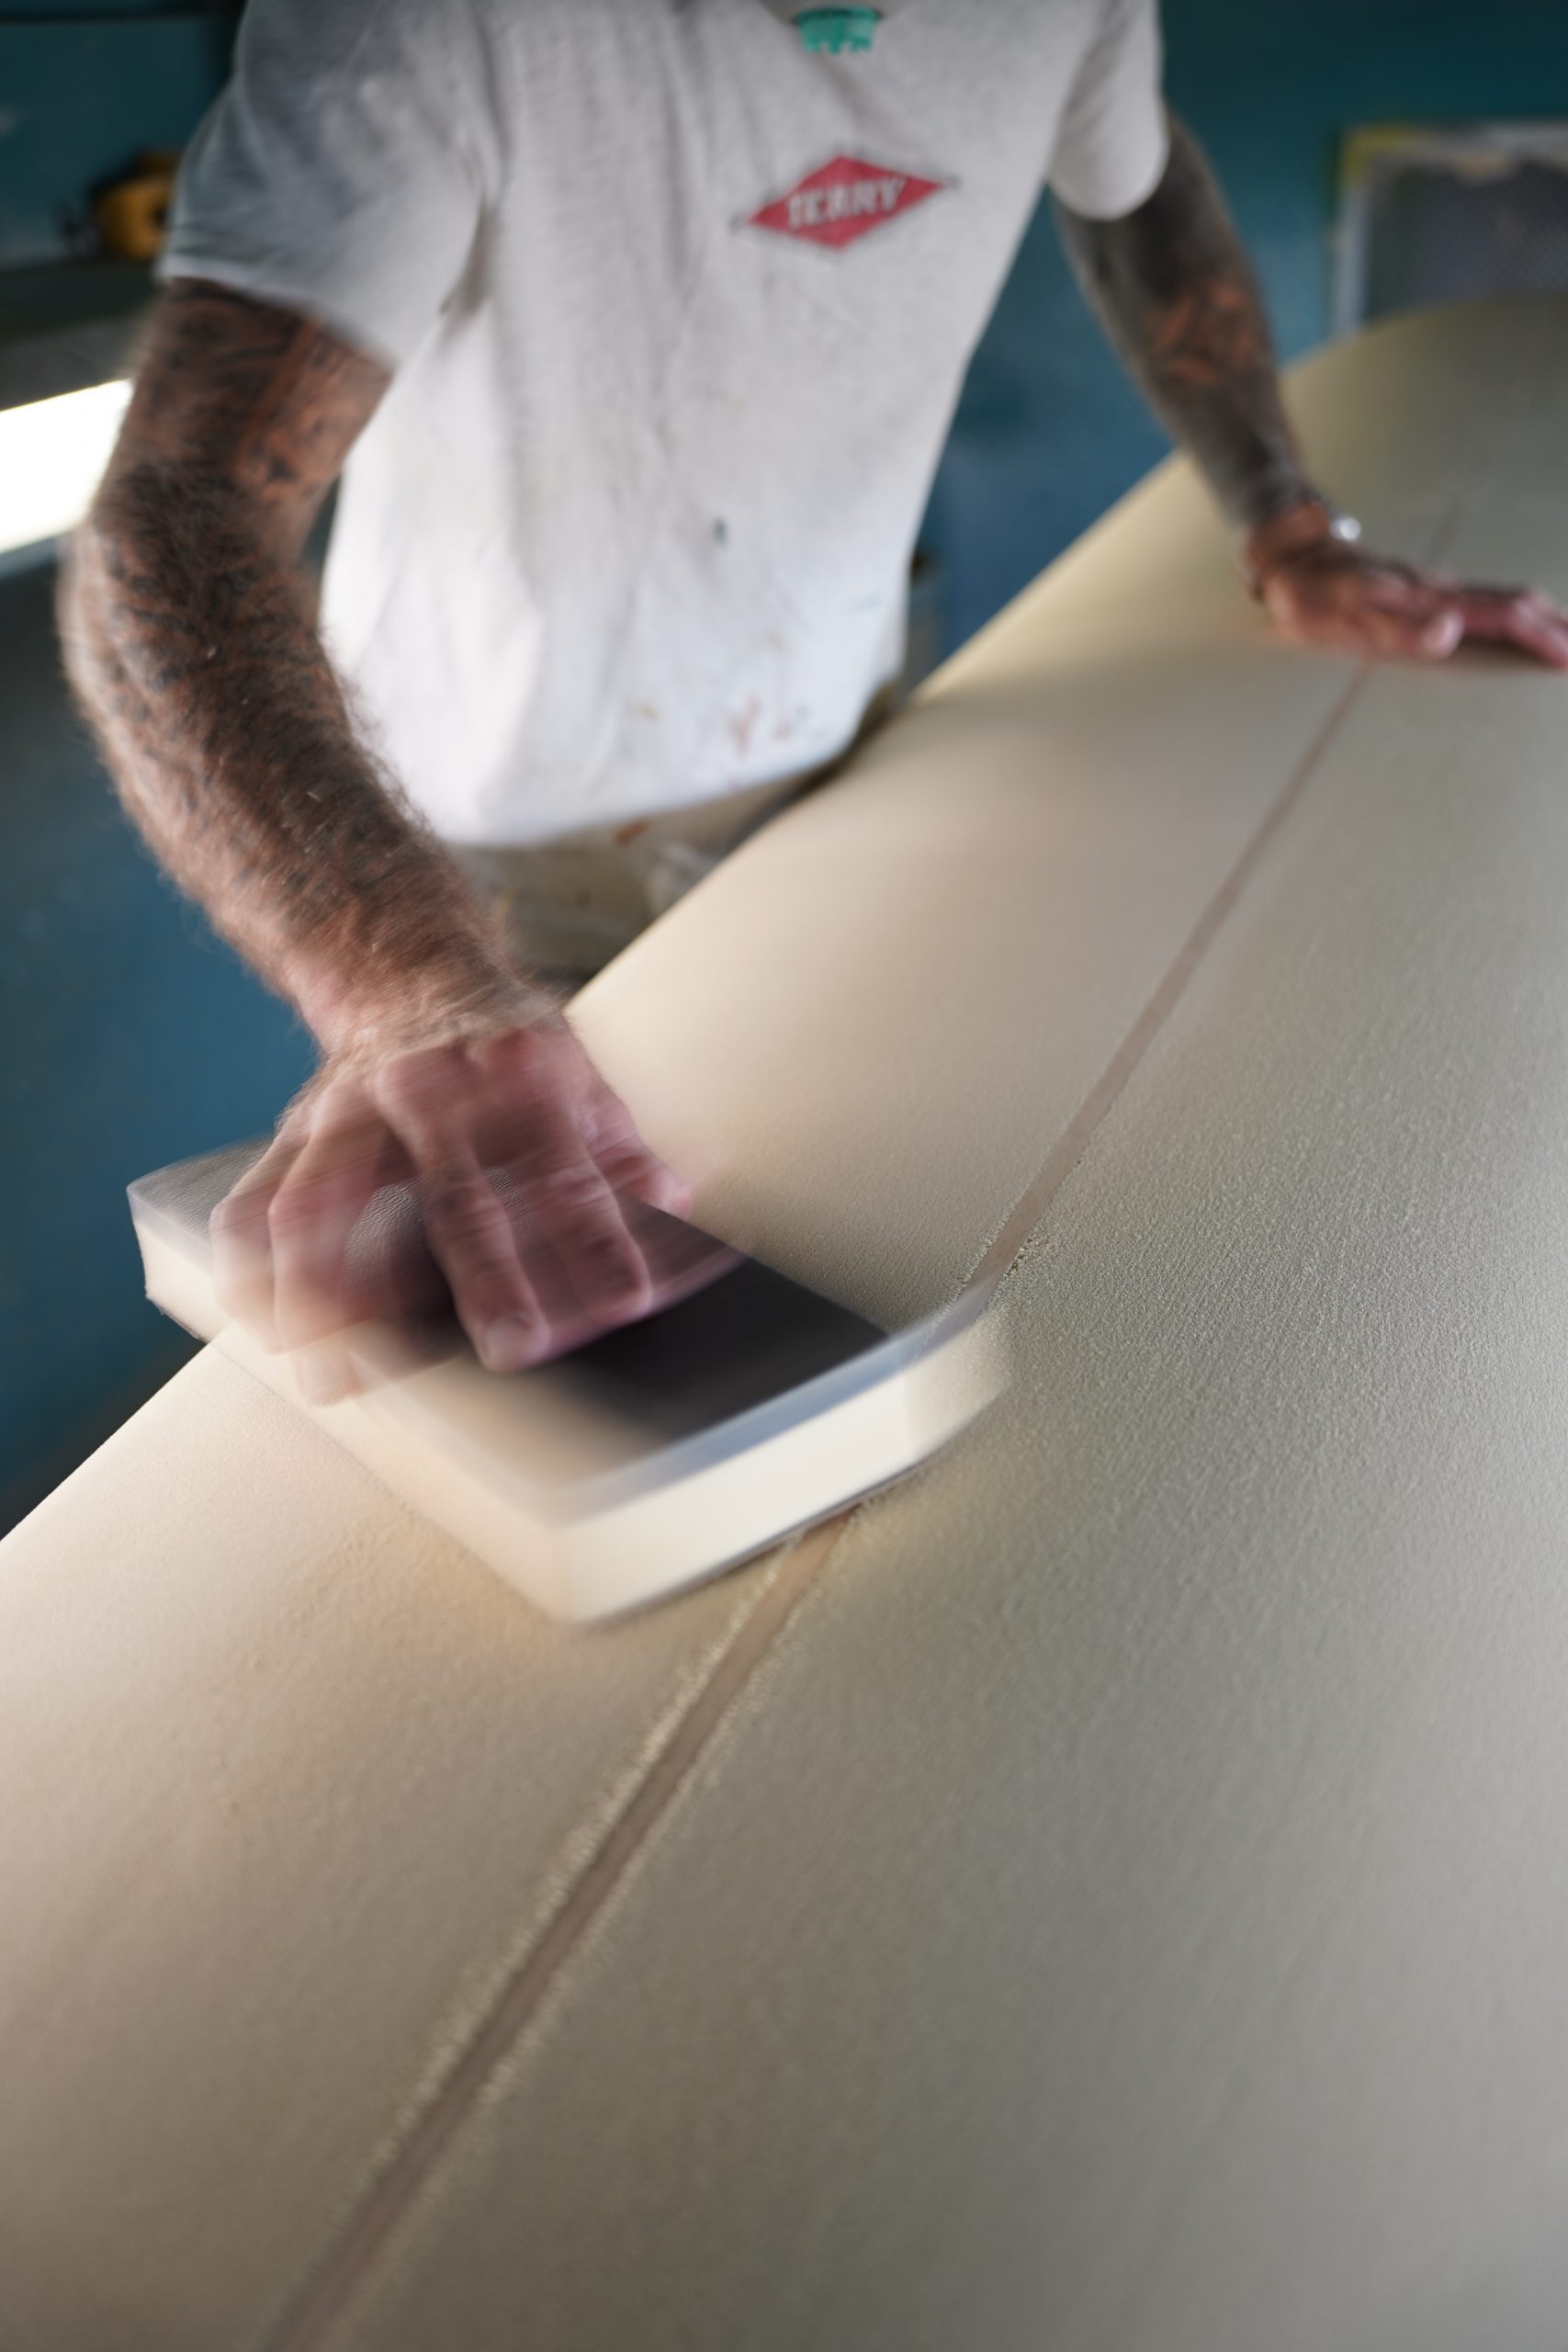
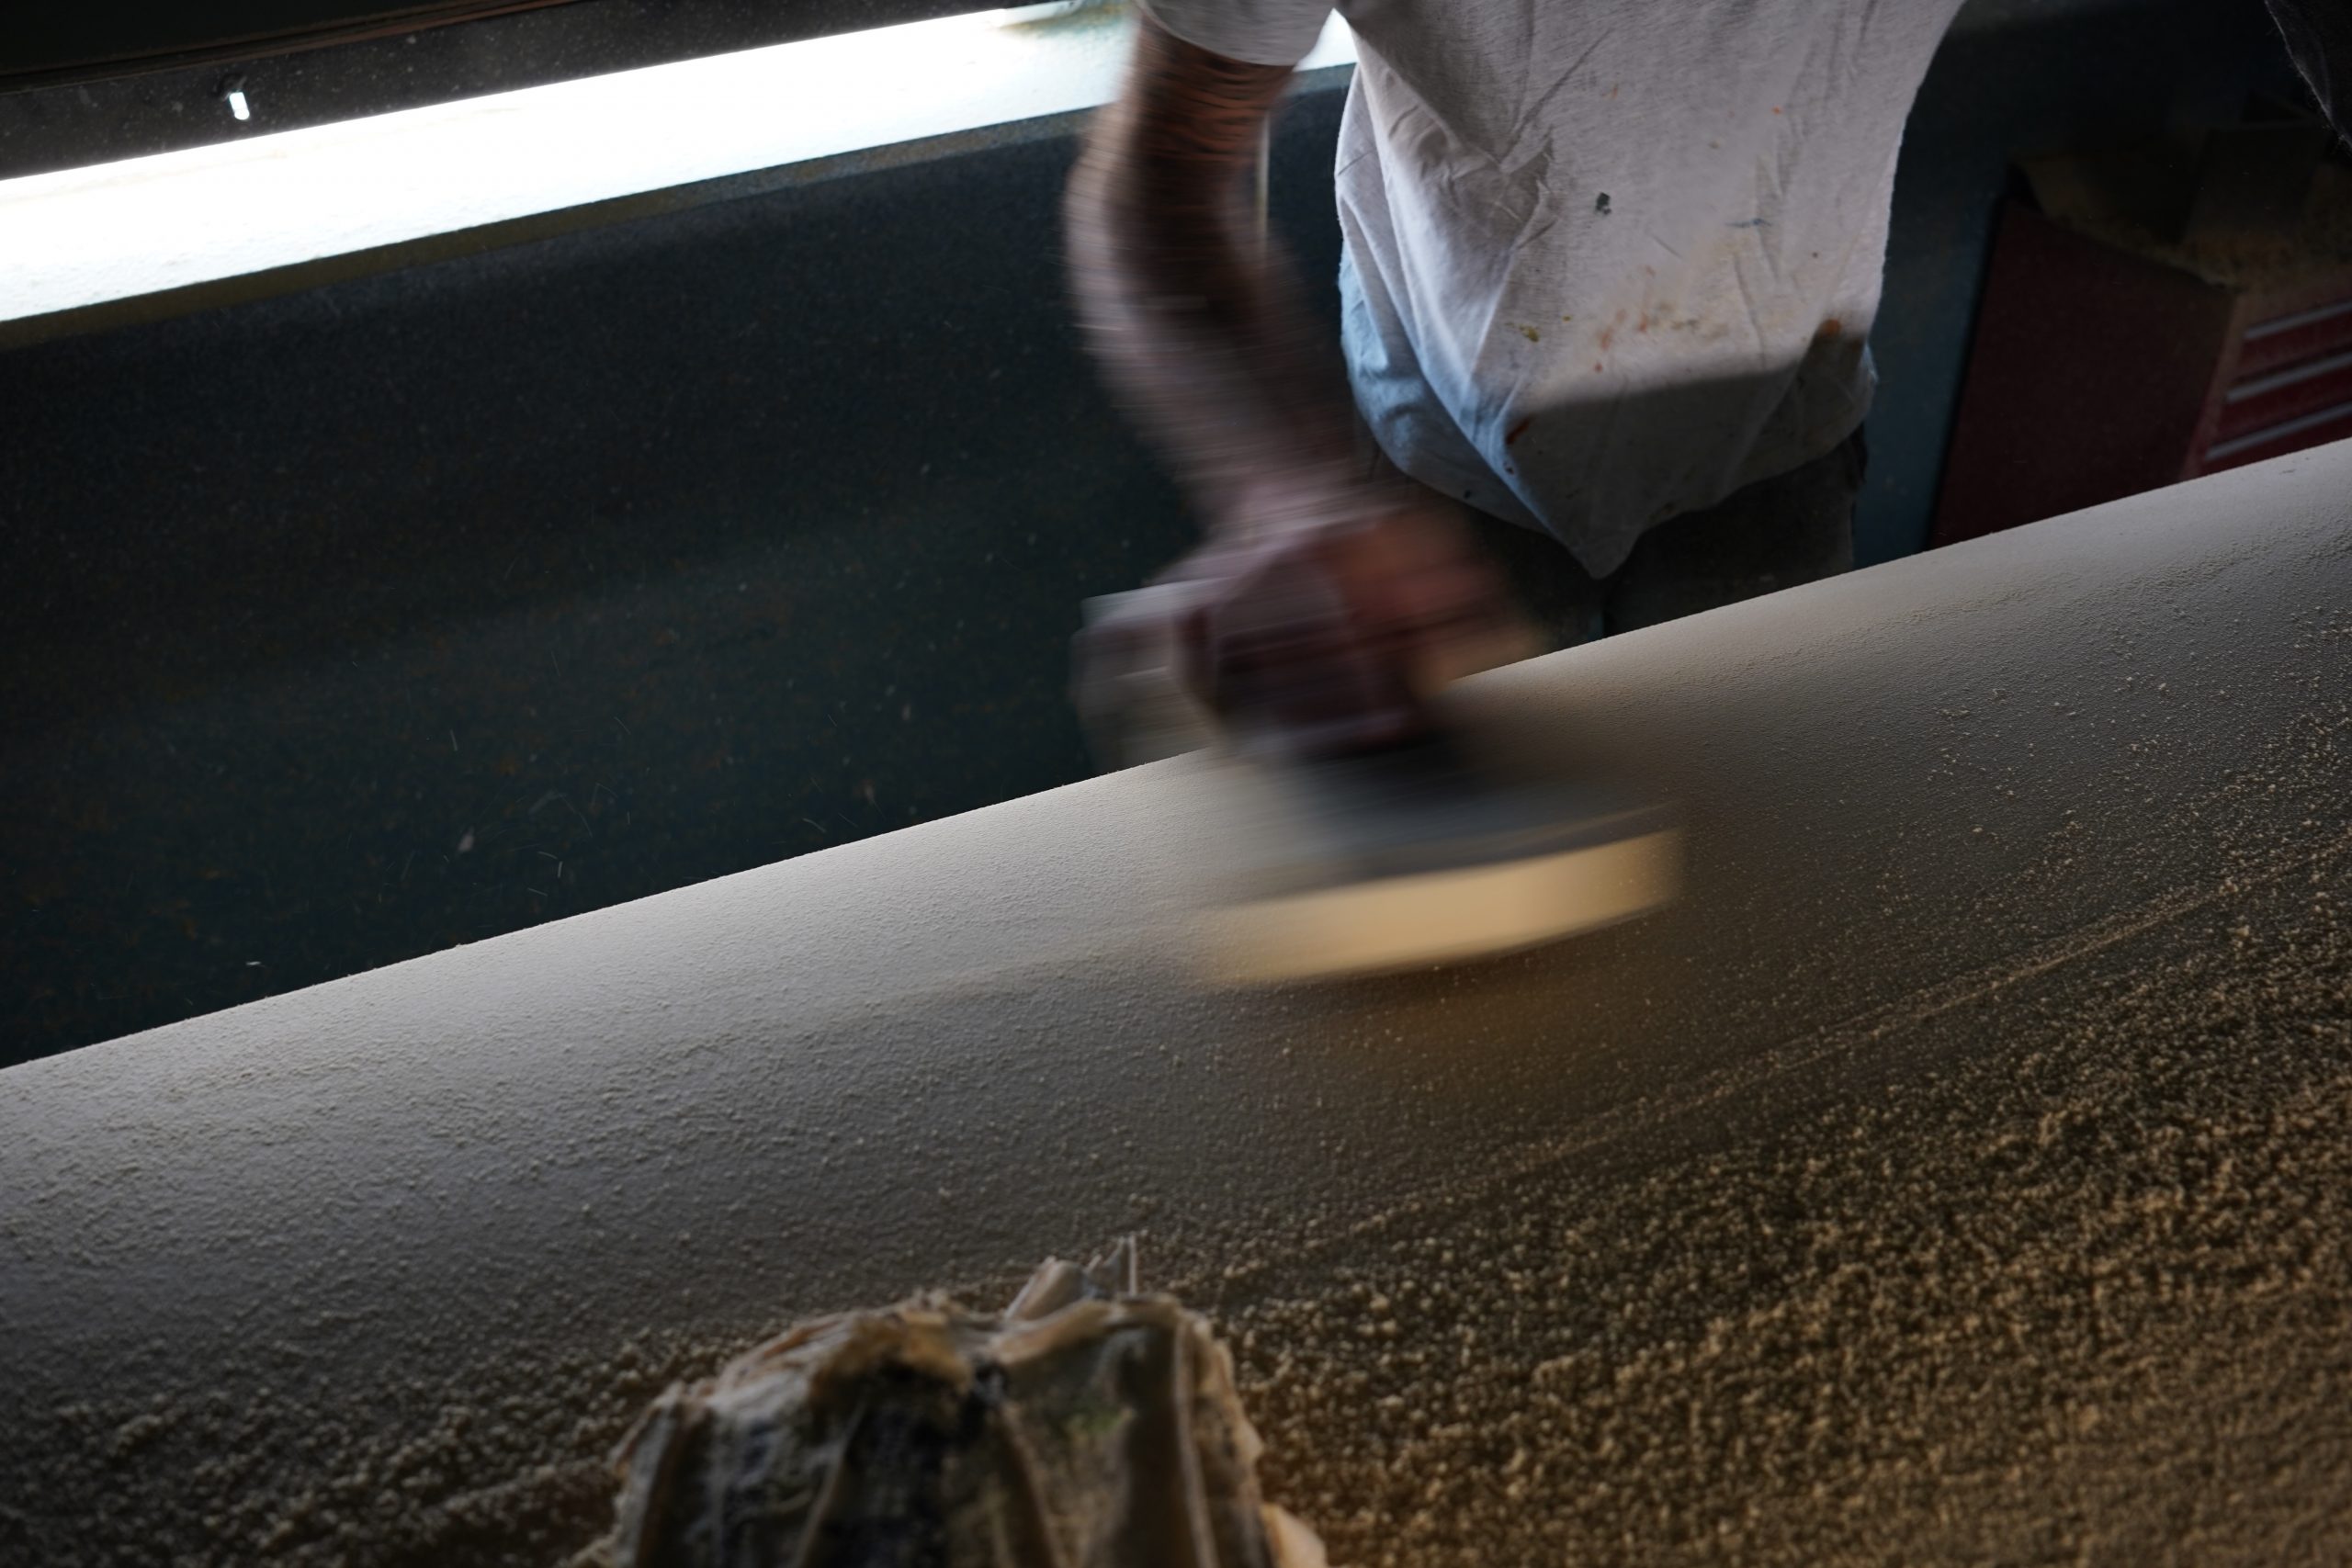
Finish Sanding:
- After shaping the rails to the desired form, give the blank a final touch with fine sandpaper.
- Starting with the rails, sand them down to a rounded shape.
- Use the lights to identify and precisely sand down the individual contours and angles.
- Finally, use the fine sandpaper to give the entire blank a final touch, working out any remaining unevenness and scratches.
Keep shaping with How to Shape your own Surfboard Part 3