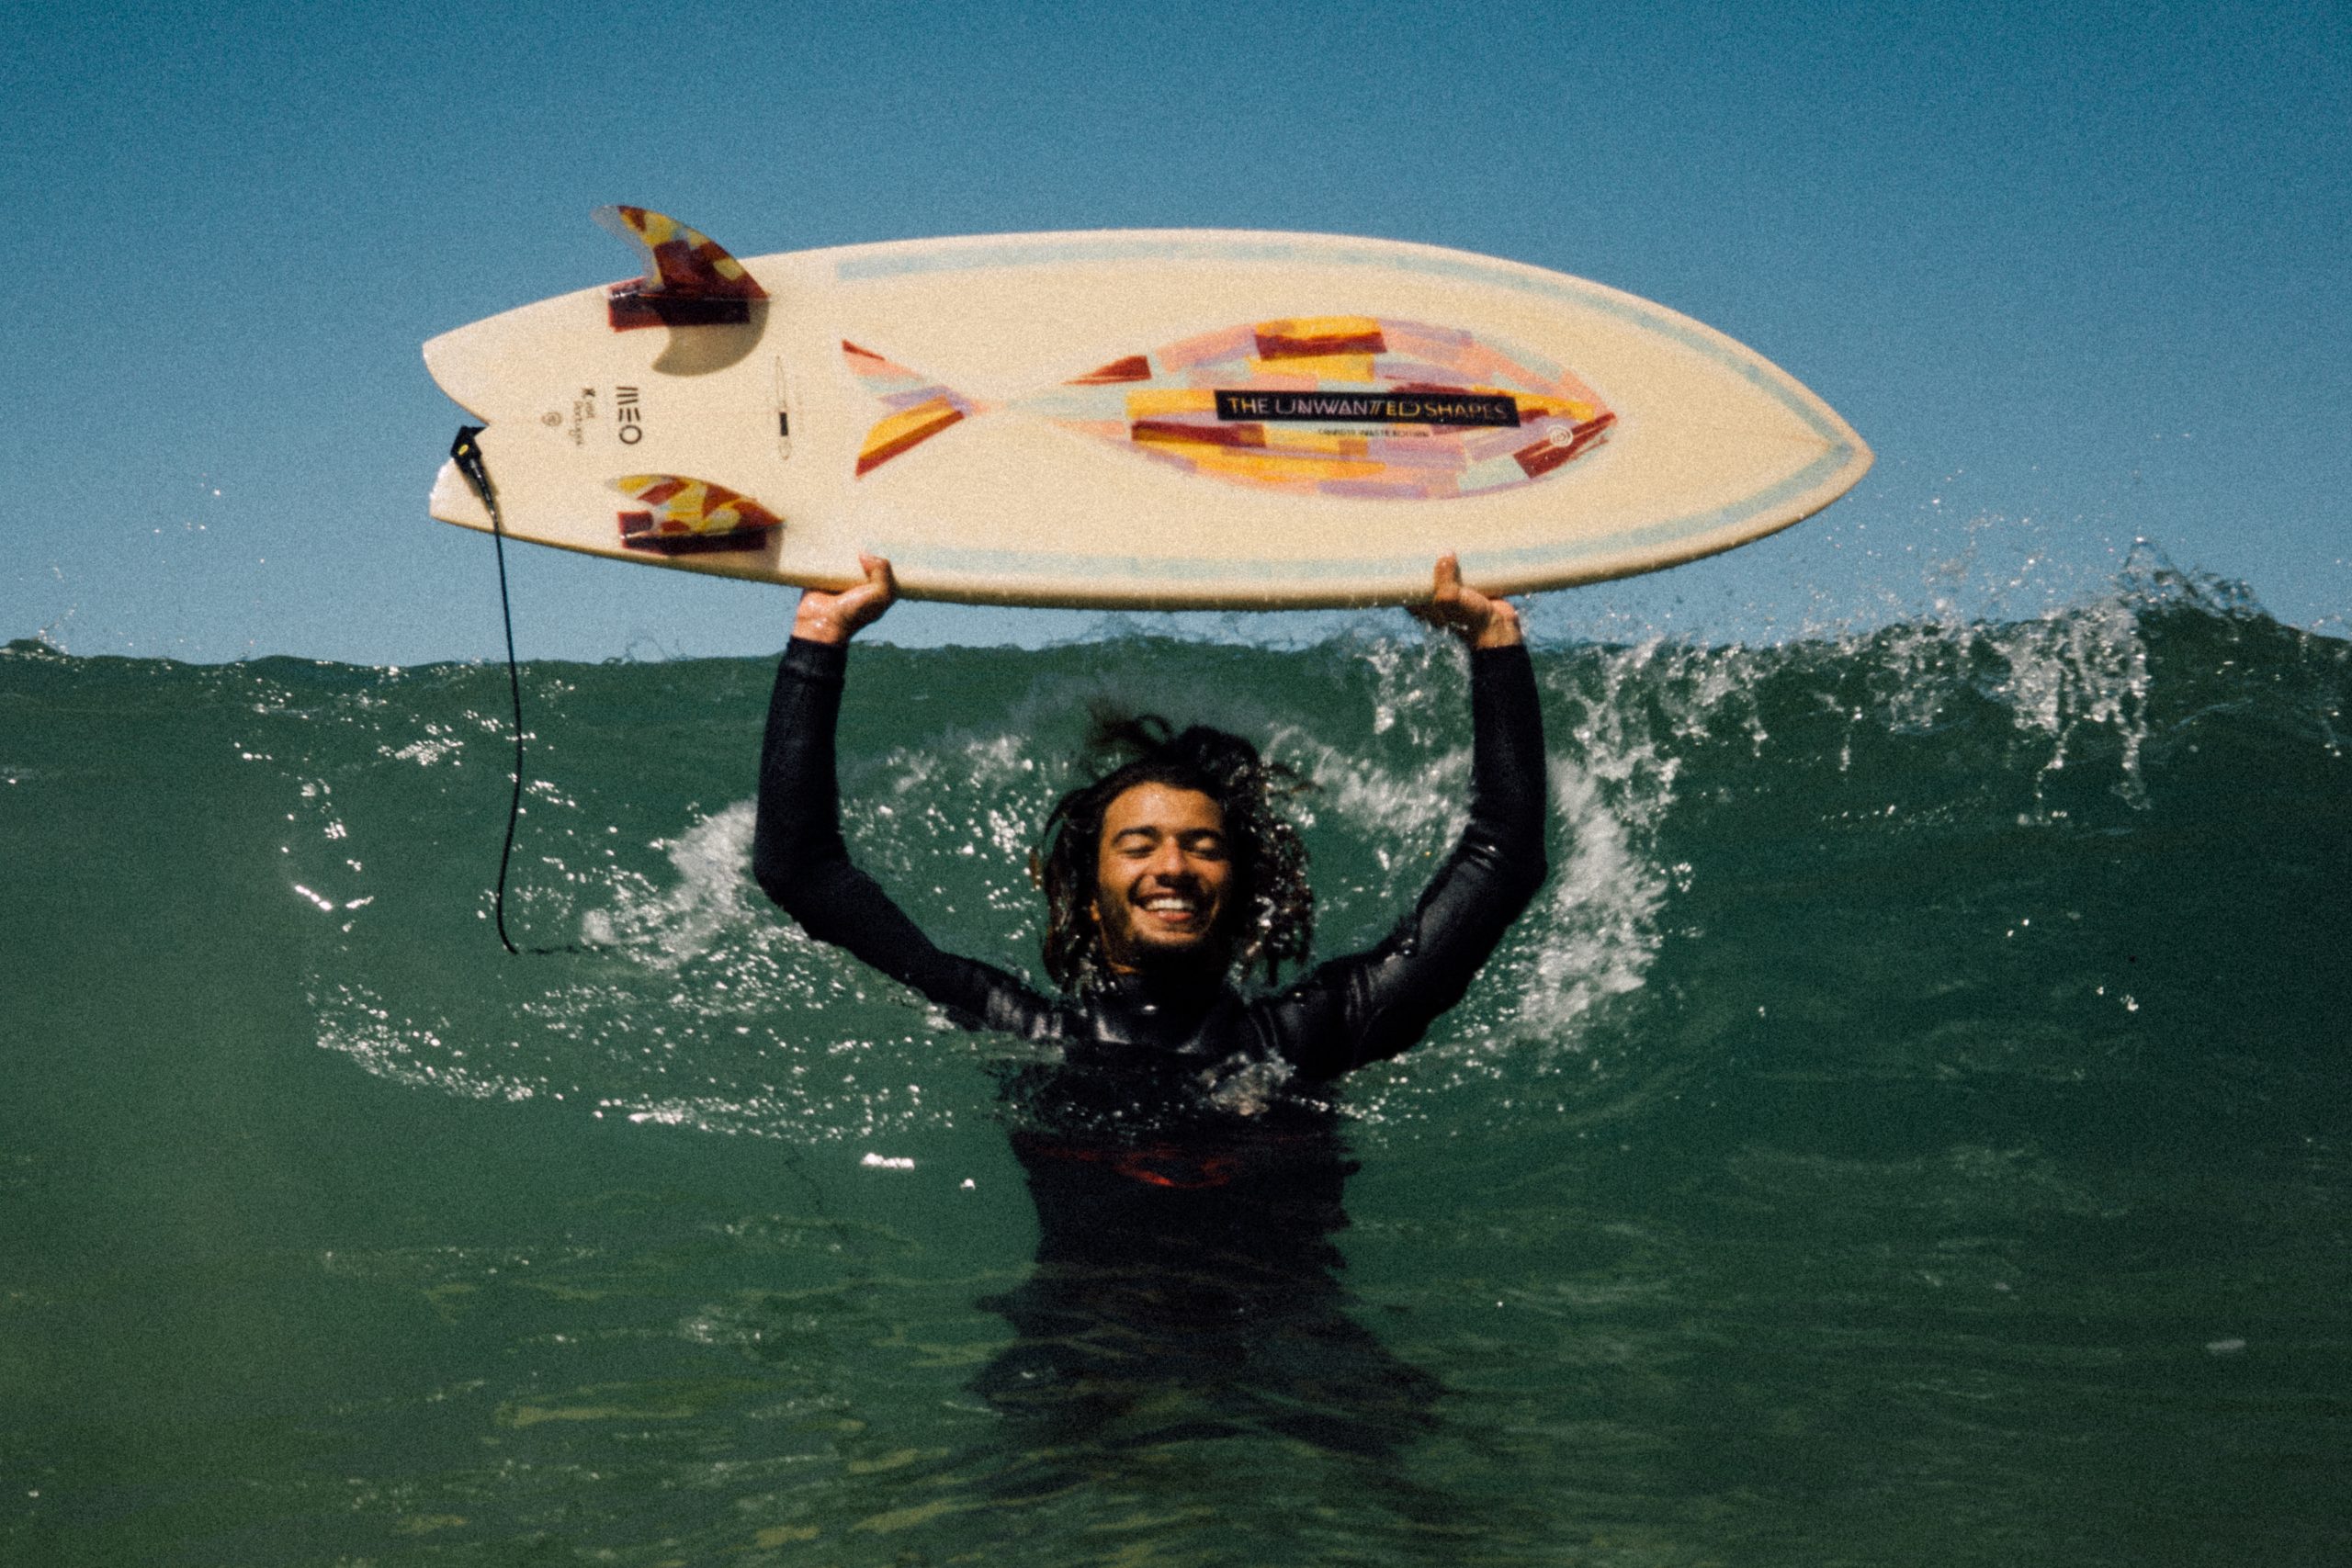

How to Shape your own Surfboard – Part 4
Placement of fin boxes & leash plug
Welcome to our last part of the DIY Shaping series and the final step: the right placement of fin boxes & leash plug!
Follow Thierry André from Terry Surfboards at the Shaper House in Biarritz step by step and learn how the process work.
In our previous episodes, we covered Part 1 Intro and Tools you need to shape your own Surfboard, Part 2 the process of shaping the surfboard yourself and Part 3 The Surfboard Glassing Process Now, it’s time to move to the final step: the placement of fin boxes & leash plug.
Should you have any inquiries on this matter, feel free to reach out to us!
Drawing the fin boxes & leash plugs:
- In our case, a classic longboard with a single fin setup. This setup is done after the final hotcoat.
- Thruster: Important! In general, the fin boxes are placed before the glassing in thruster setups.
- First, measure the distance from the fin to the tail. • Single fin: Standard is approximately 15cm.
- Place a mark at the rear position, align the US fin box, and mark the front point.
- Thruster: Measure the distance between the rear fin and the tail (standard: 9cm from tail to middle fin), the distance between the outer fins and the stringer, and the angle of the outer fins.
(Tip: A shaper’s square allows you to align and adjust the fins’ orientation, angle, and distance according to the shape).
- Place the leash plug on the deck (standard: approximately 4cm from the tail, aligned with the stringer).
- Transfer the measurements to the board using a shaper’s square or a large protractor.
- Important! Measurements are always taken from the stringer.
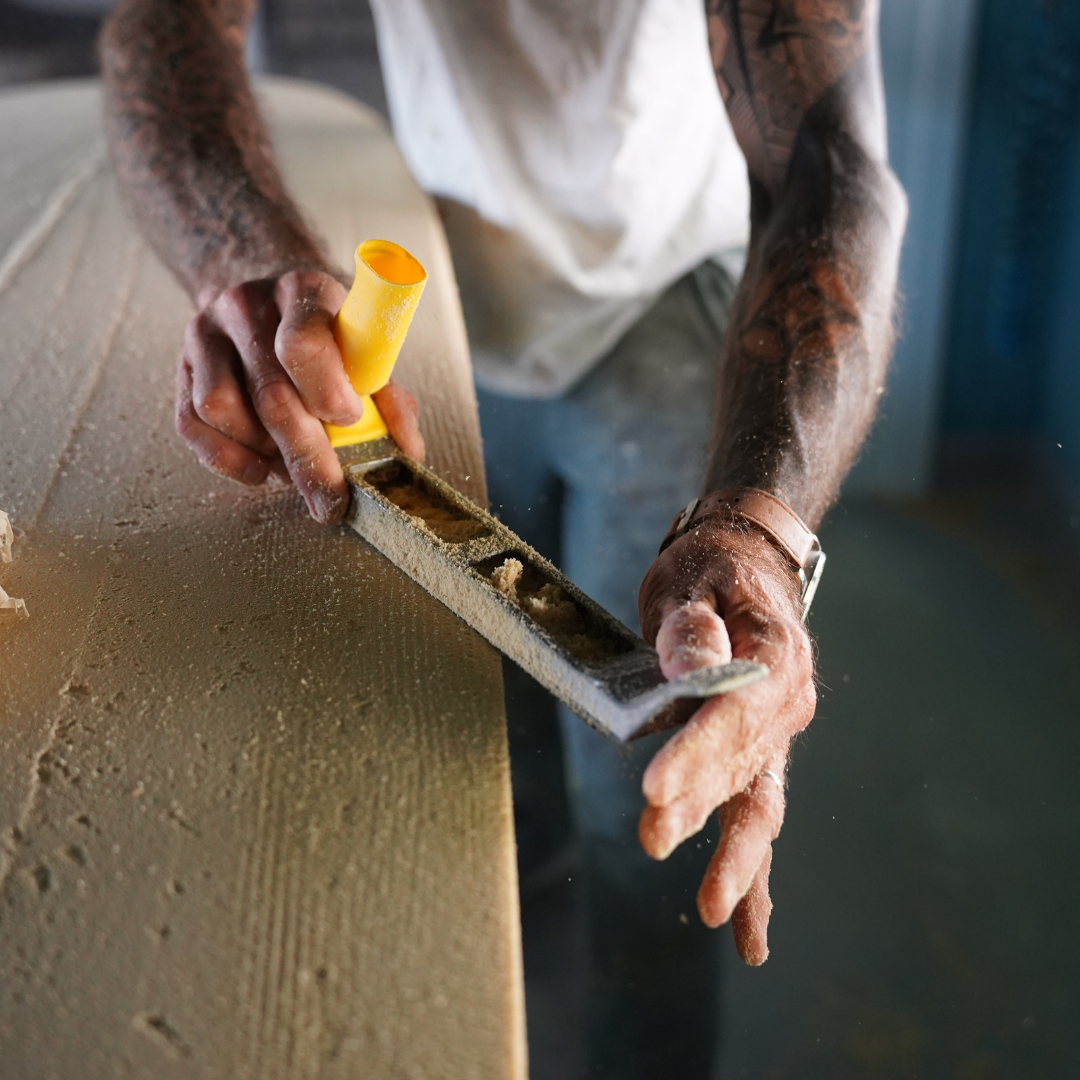
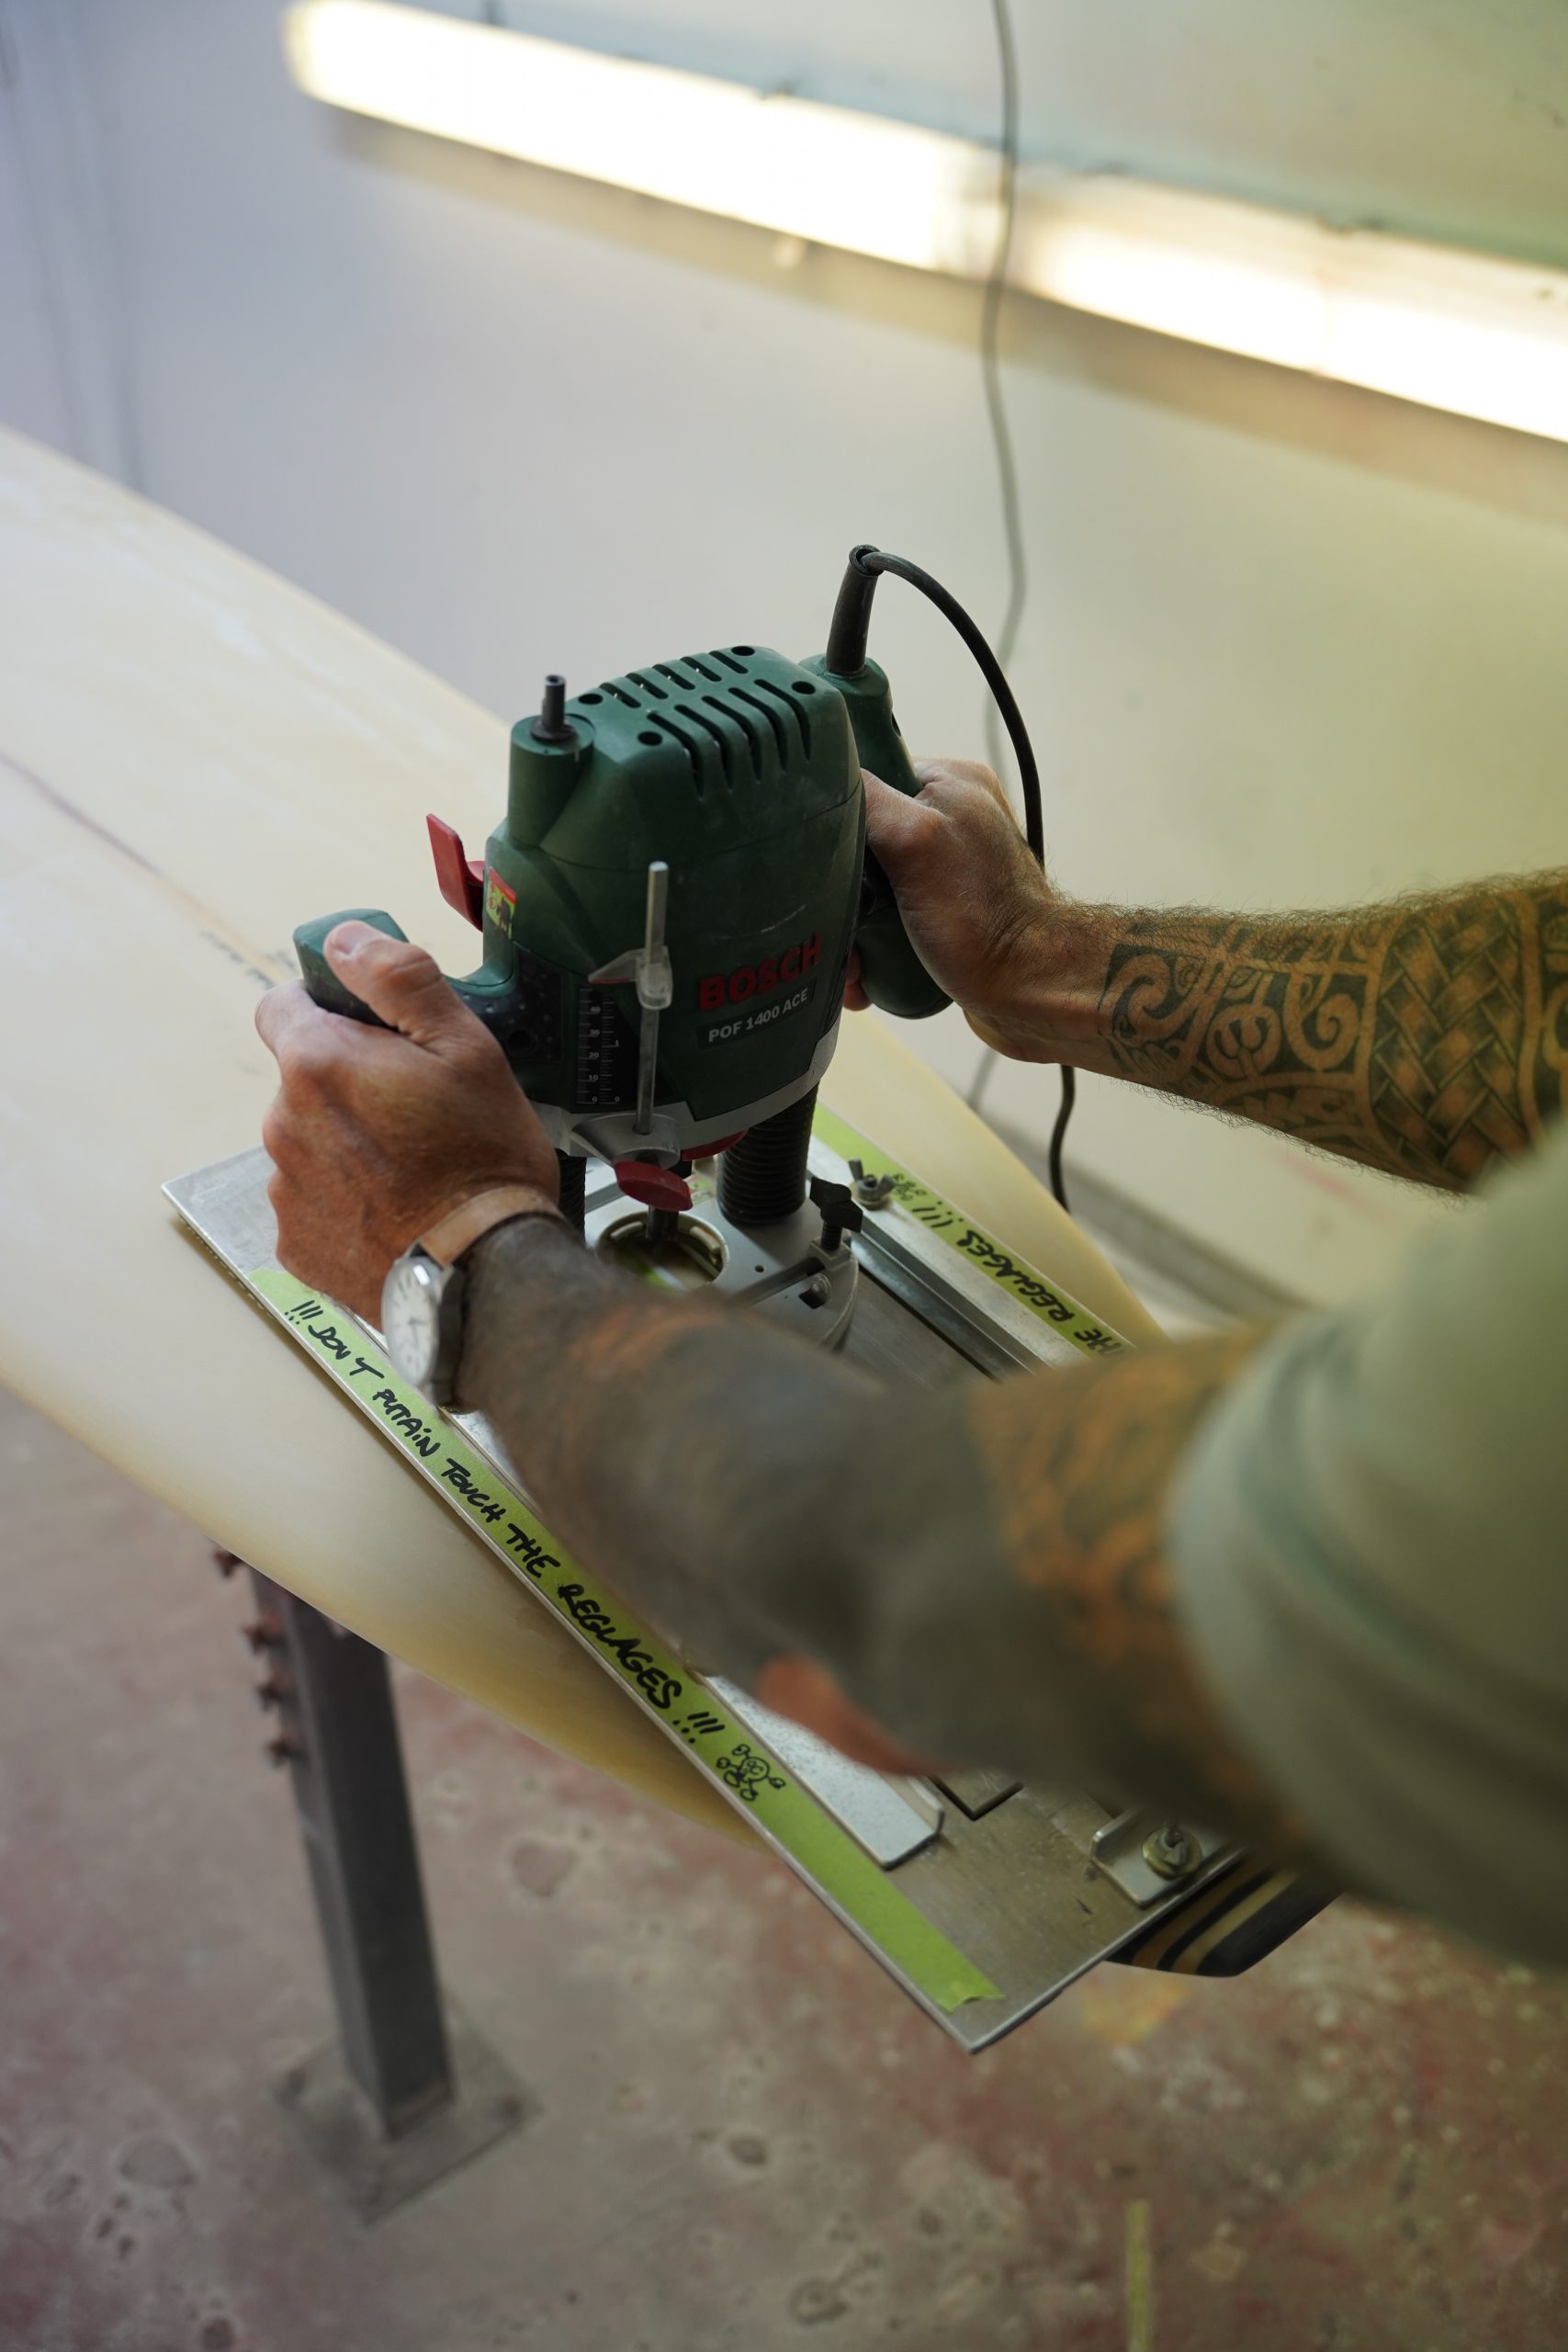
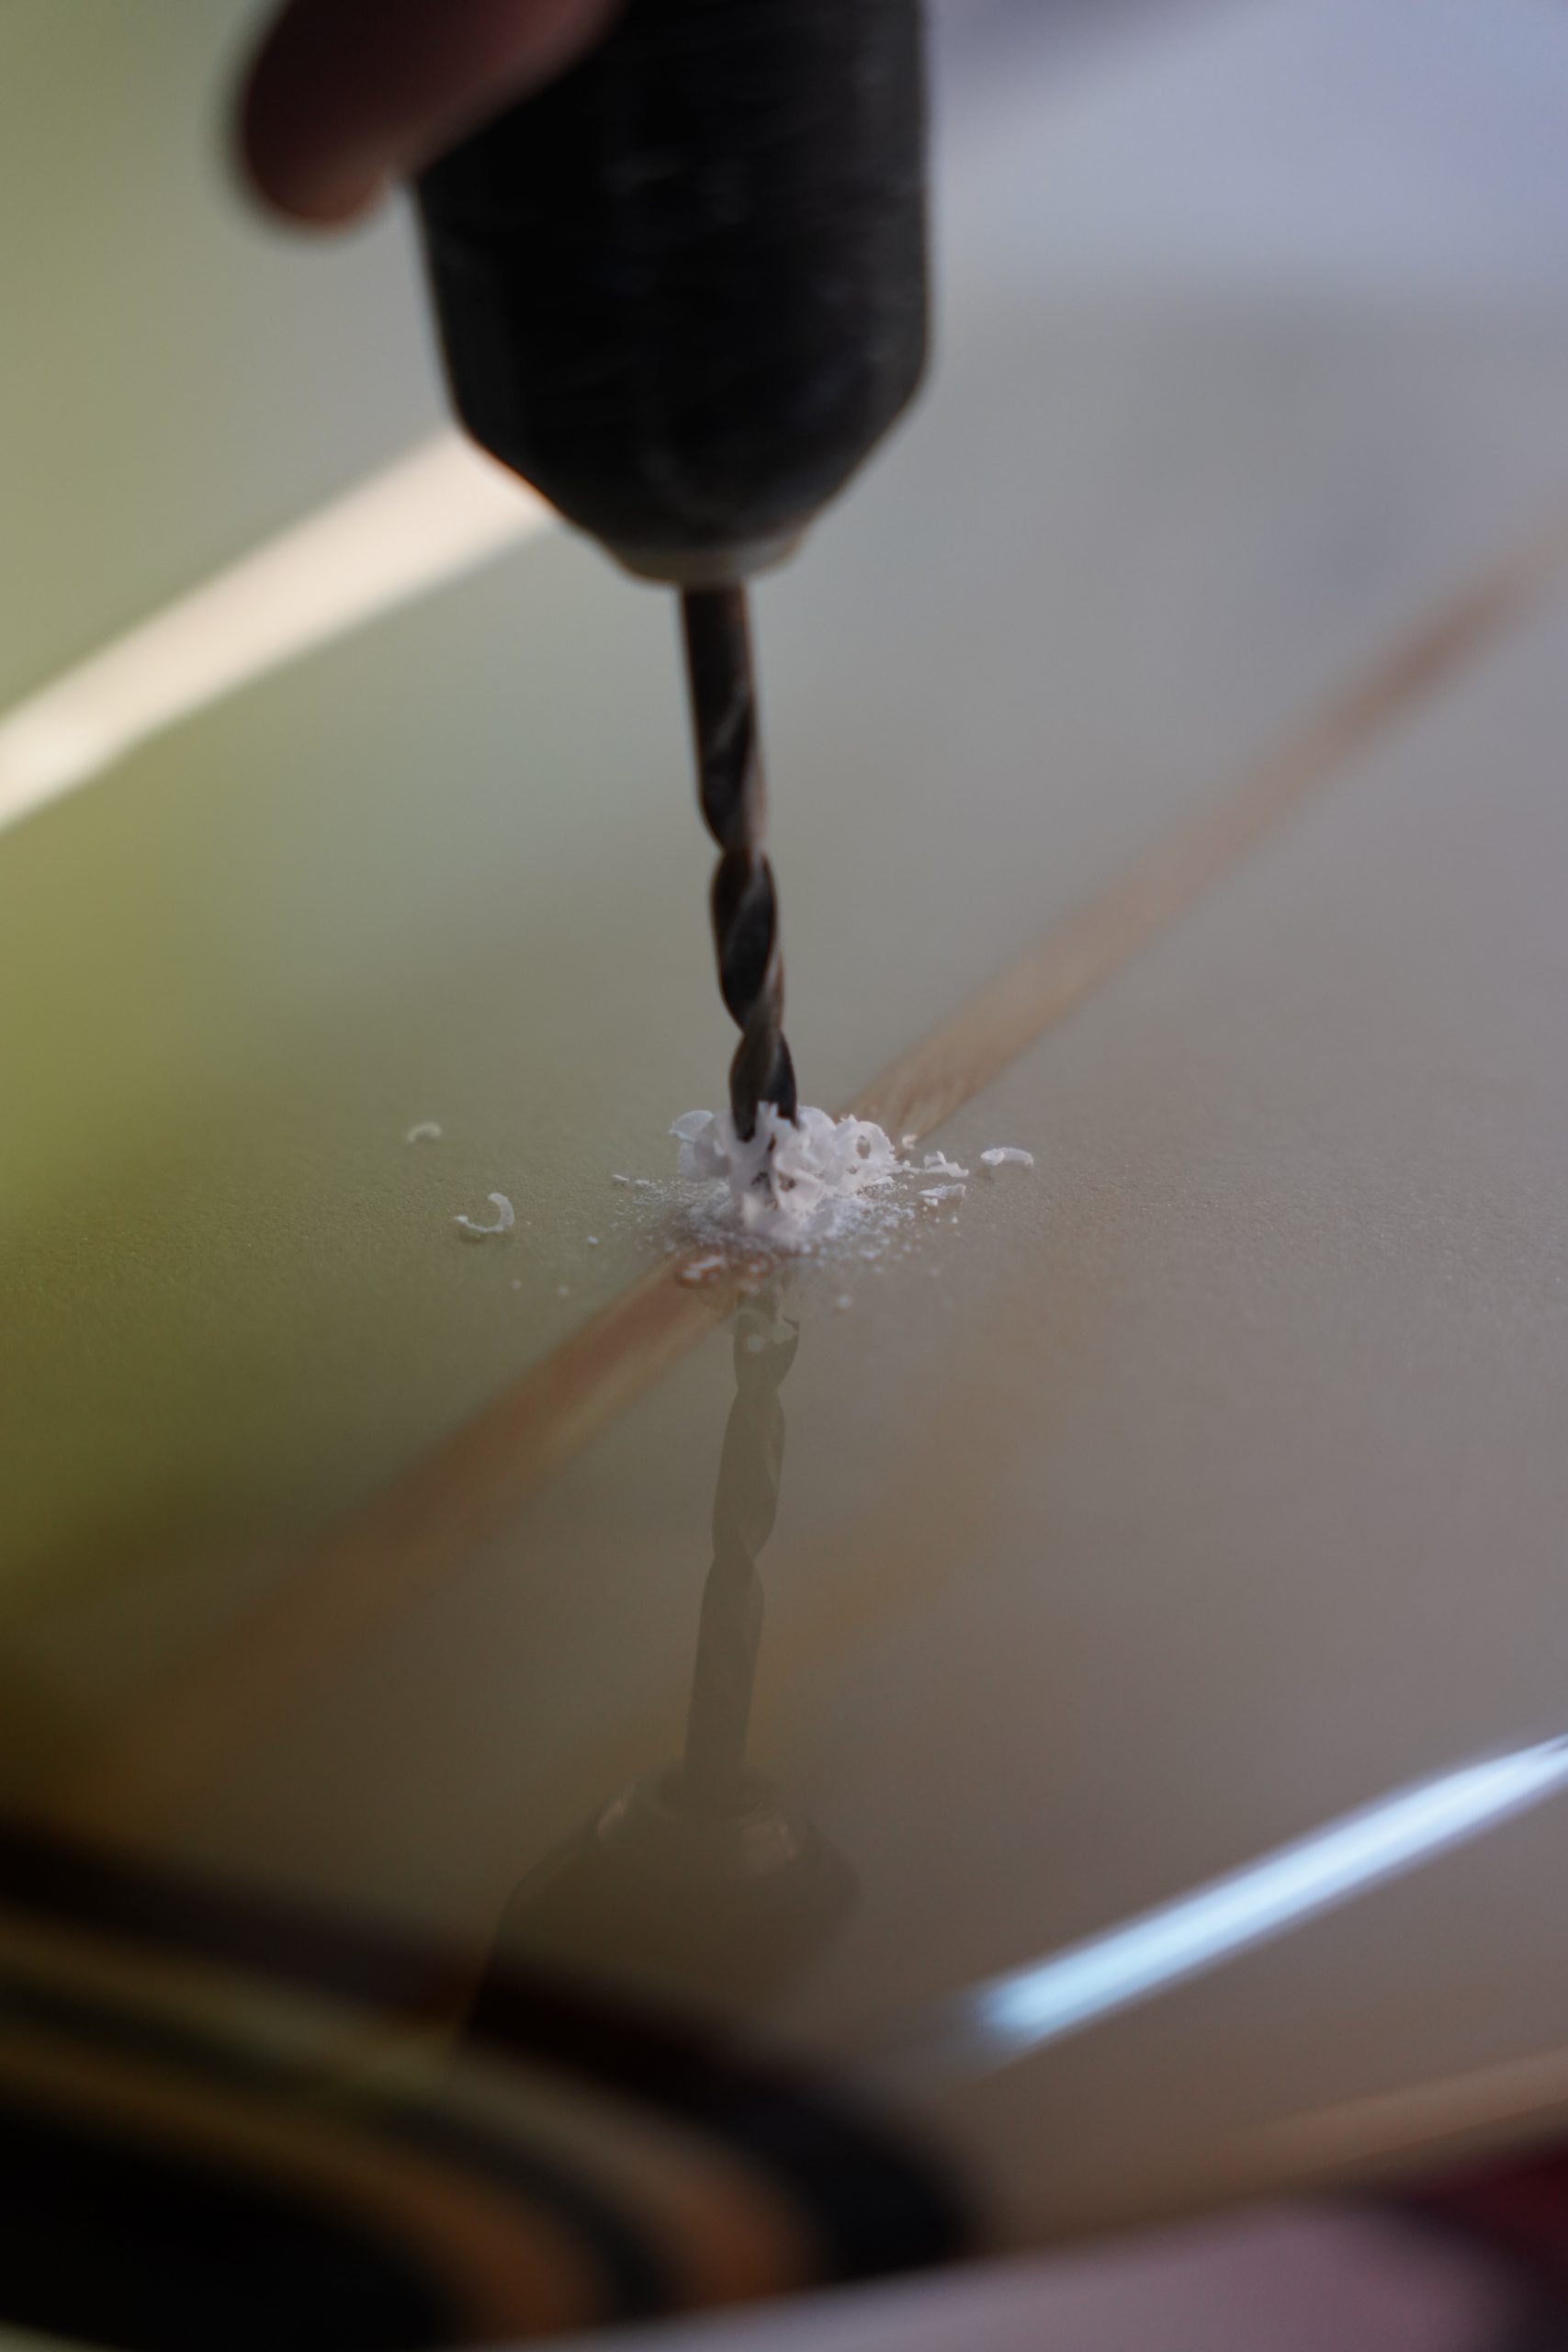
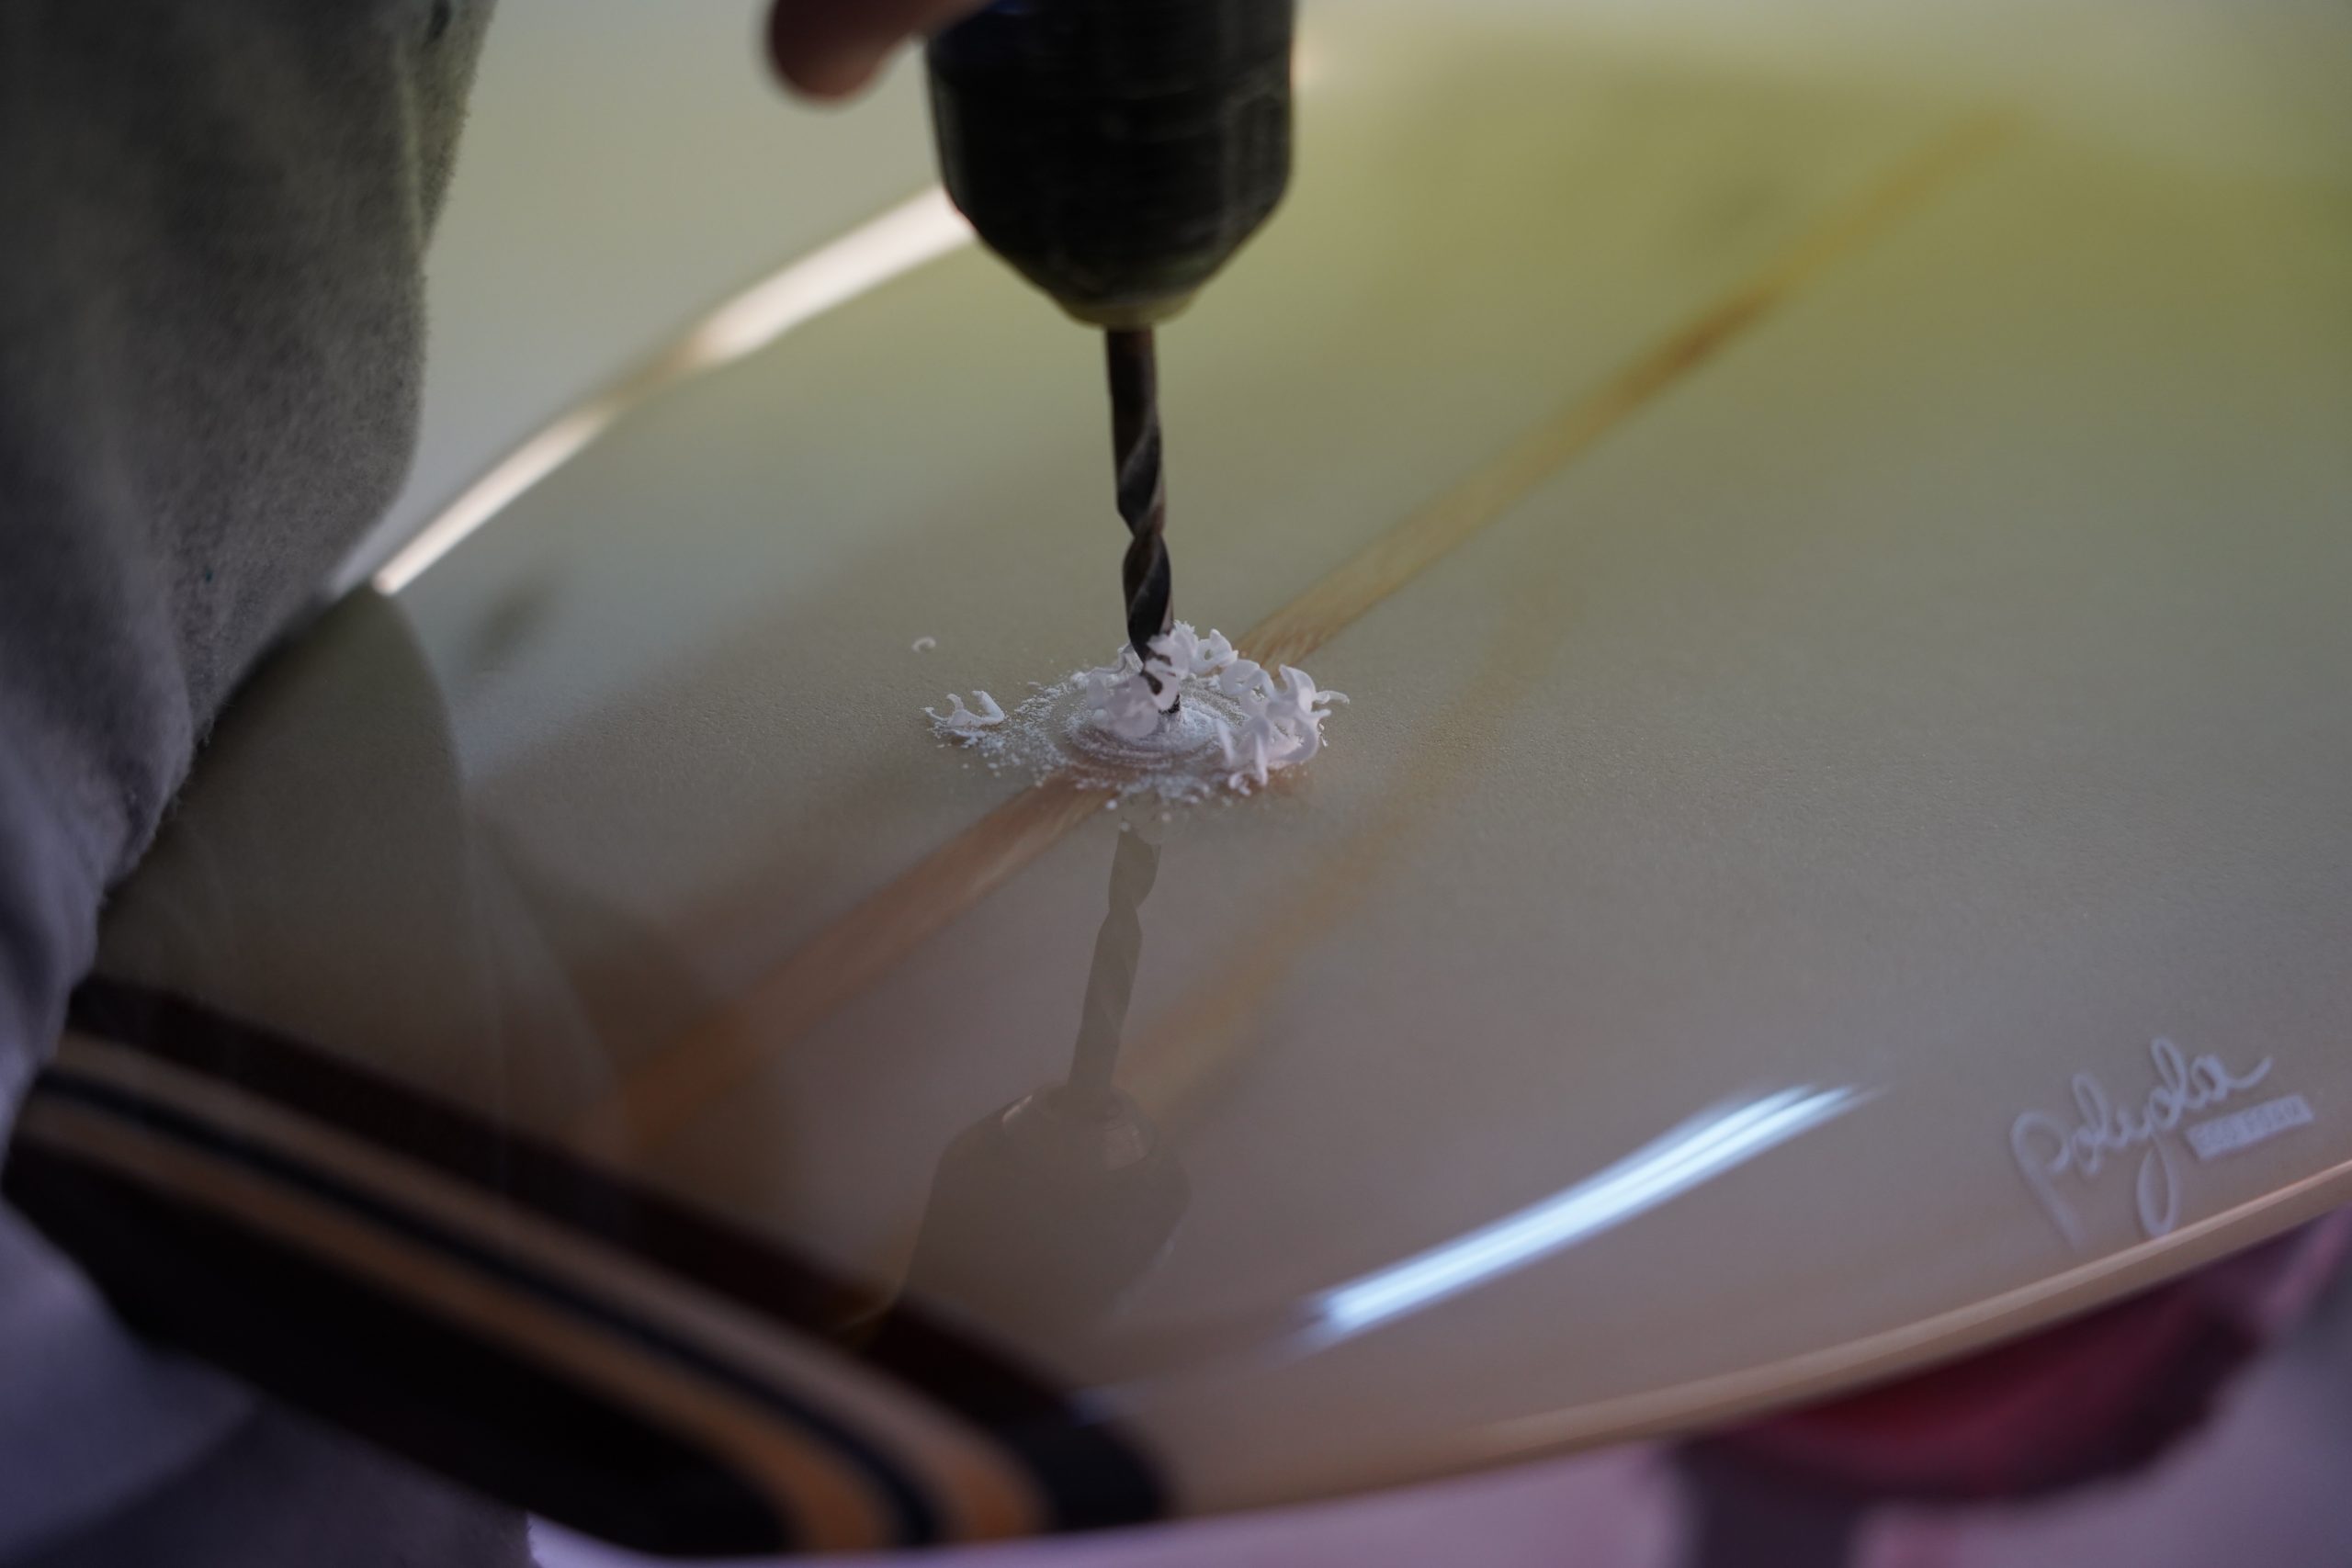
Milling/drilling the fin boxes and leash plugs:
- Depending on the fin system chosen (Futures/FCS 1/FCS 2/US-Box), it is advisable to acquire or build a template beforehand. For the FCS 1 system, a standard hole saw is sufficient.
- Alternatively, without a template, the depth of the fin boxes and leash plugs can be taped off on the milling machine/drill to determine the necessary depth.
- Once all the markings have been made and the template has been applied, the areas need to be cleanly milled/drilled.
After milling, clean the holes and remove dust from the board.
Placing the fin boxes and leash plugs:
- Begin by inserting the fin boxes into the holes and check if they align parallel to the foam on one edge.
- Cover the openings of the fin boxes with the corresponding stickers or tape.
- Fill the milled hole for the fin boxes with the mixture to approximately 1/3 of its depth.
- Then, insert the fin box.
- Pay attention to the alignment of the fin(s). They can be secured with tape to prevent movement.
- Ensure that the mixture does not overflow onto the taped-off area.
- Repeat the same process for the leash plug.
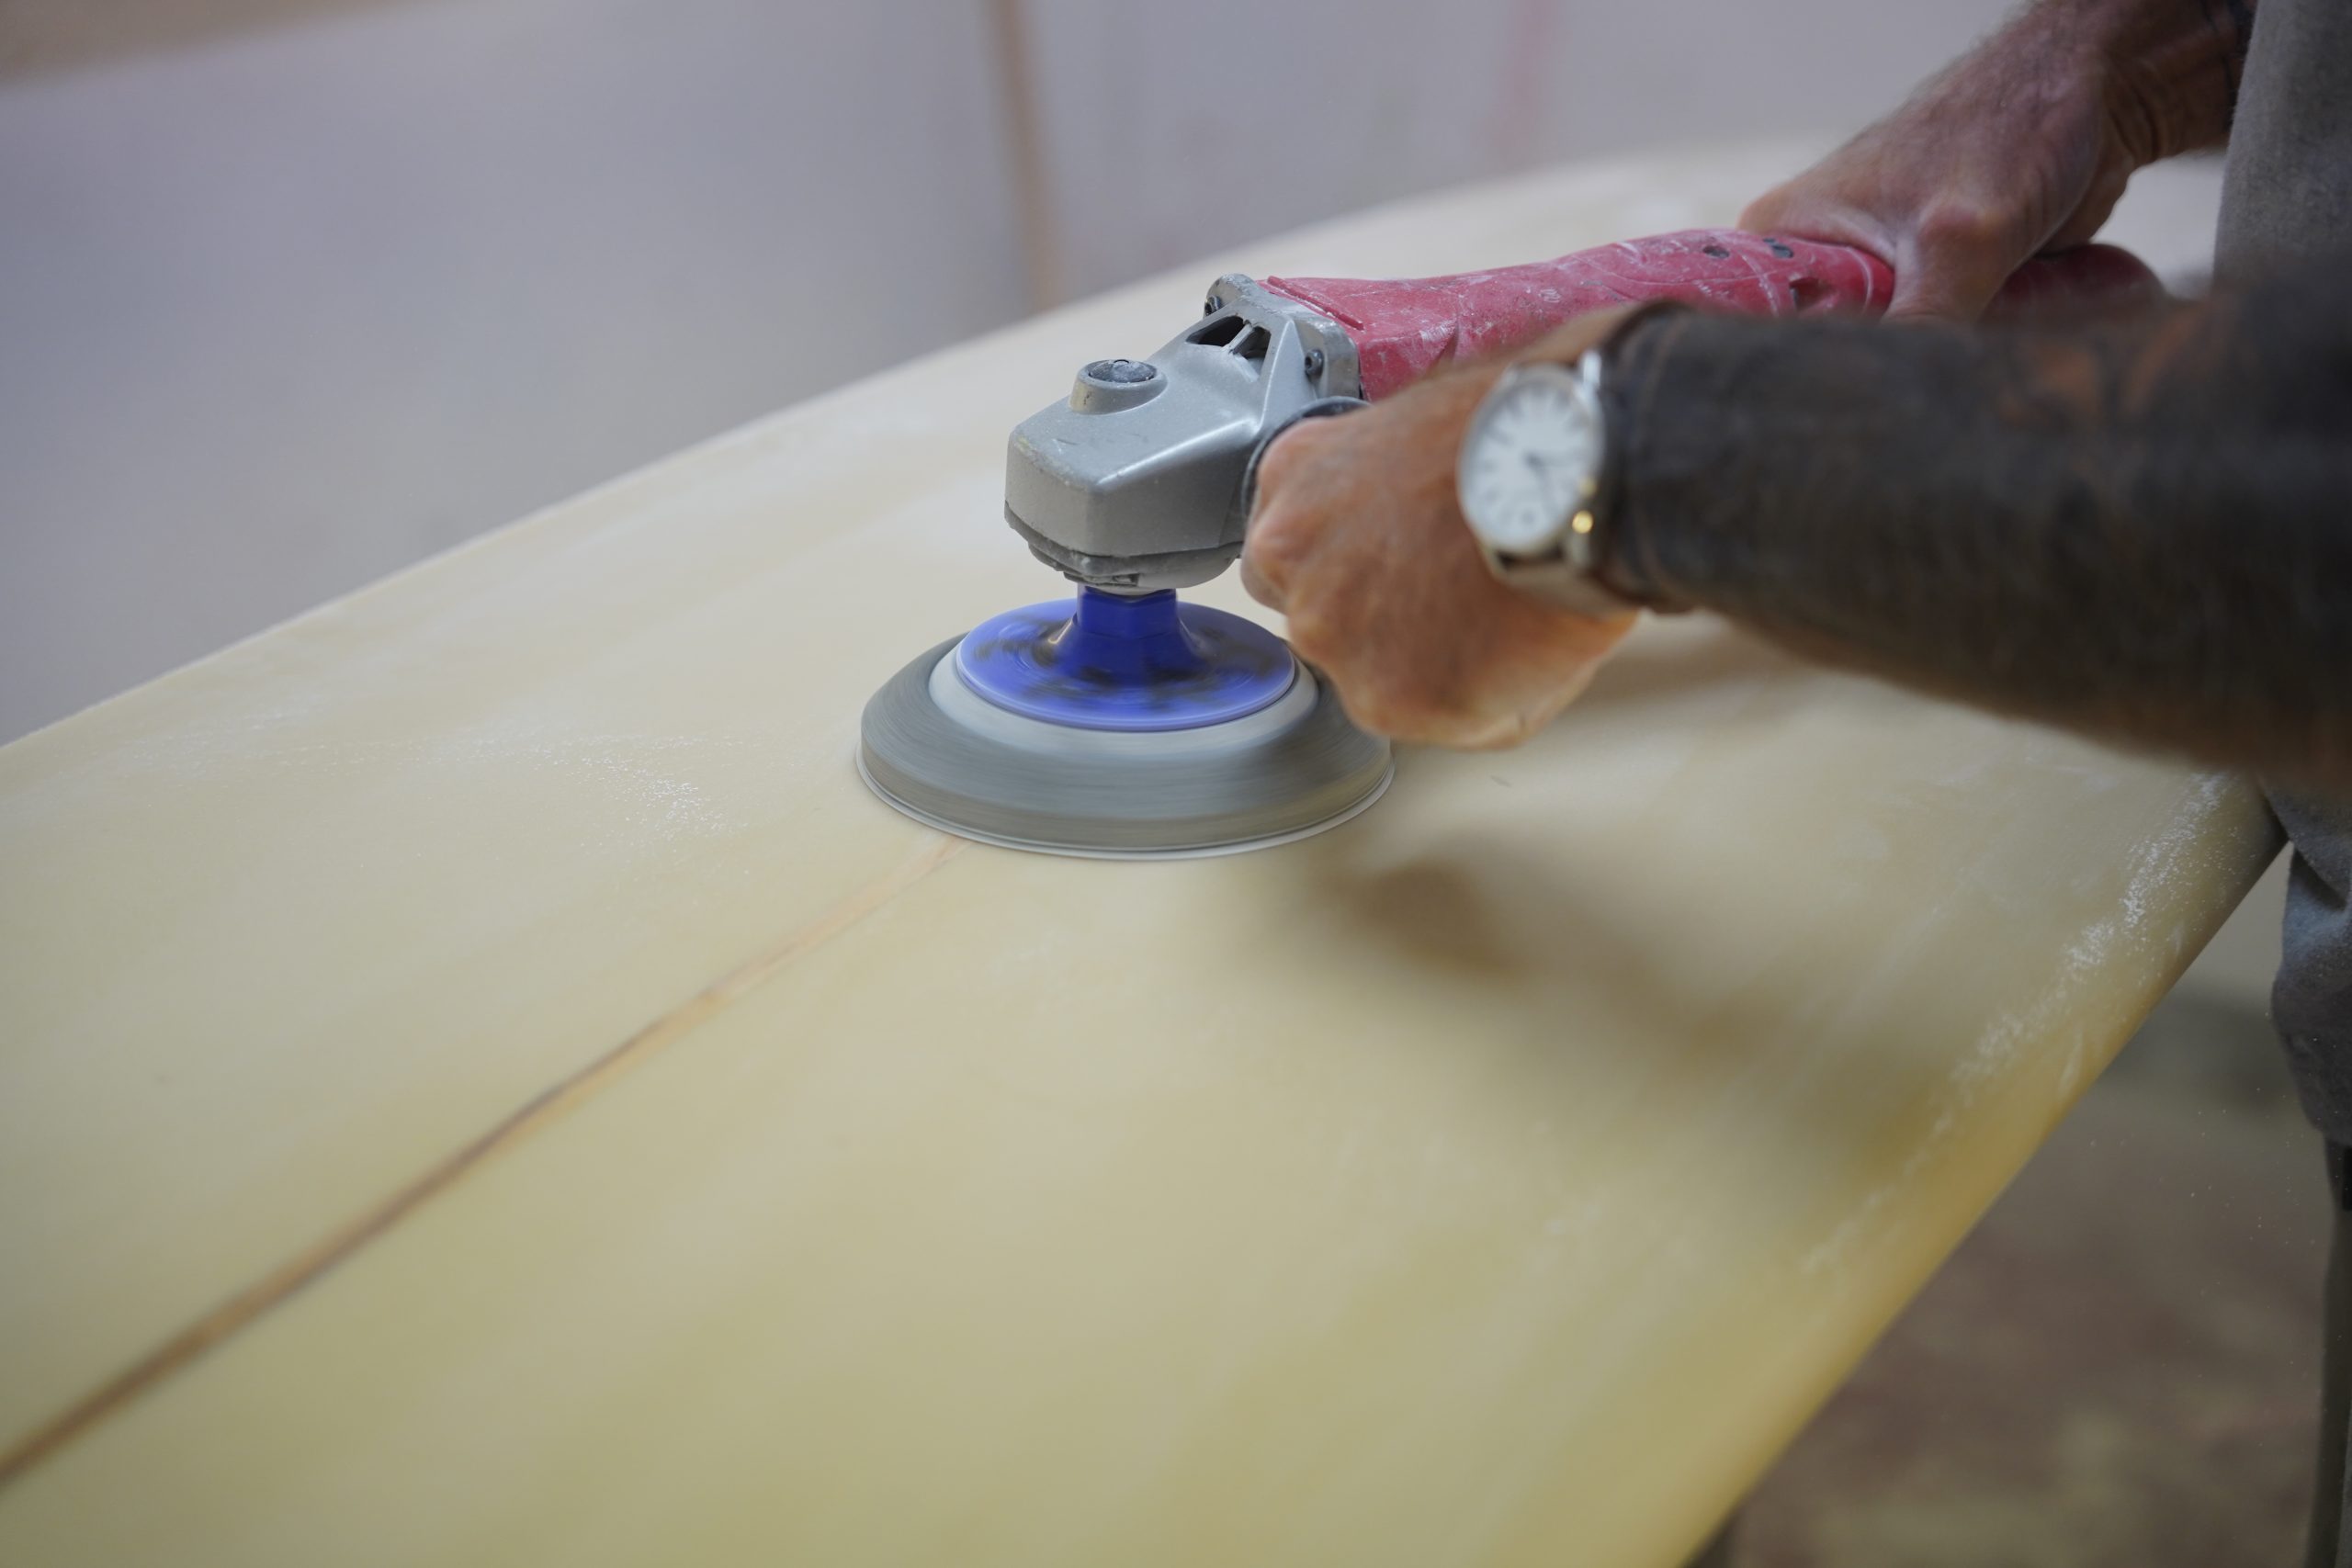
- Once the resin mixture has cured, use a grinder to sand down the protruding box/plug until it is flush with the edge of the hotcoat.
Thruster: For a thruster setup, the placement of the fin boxes is done before the first glassing.
Finishing:
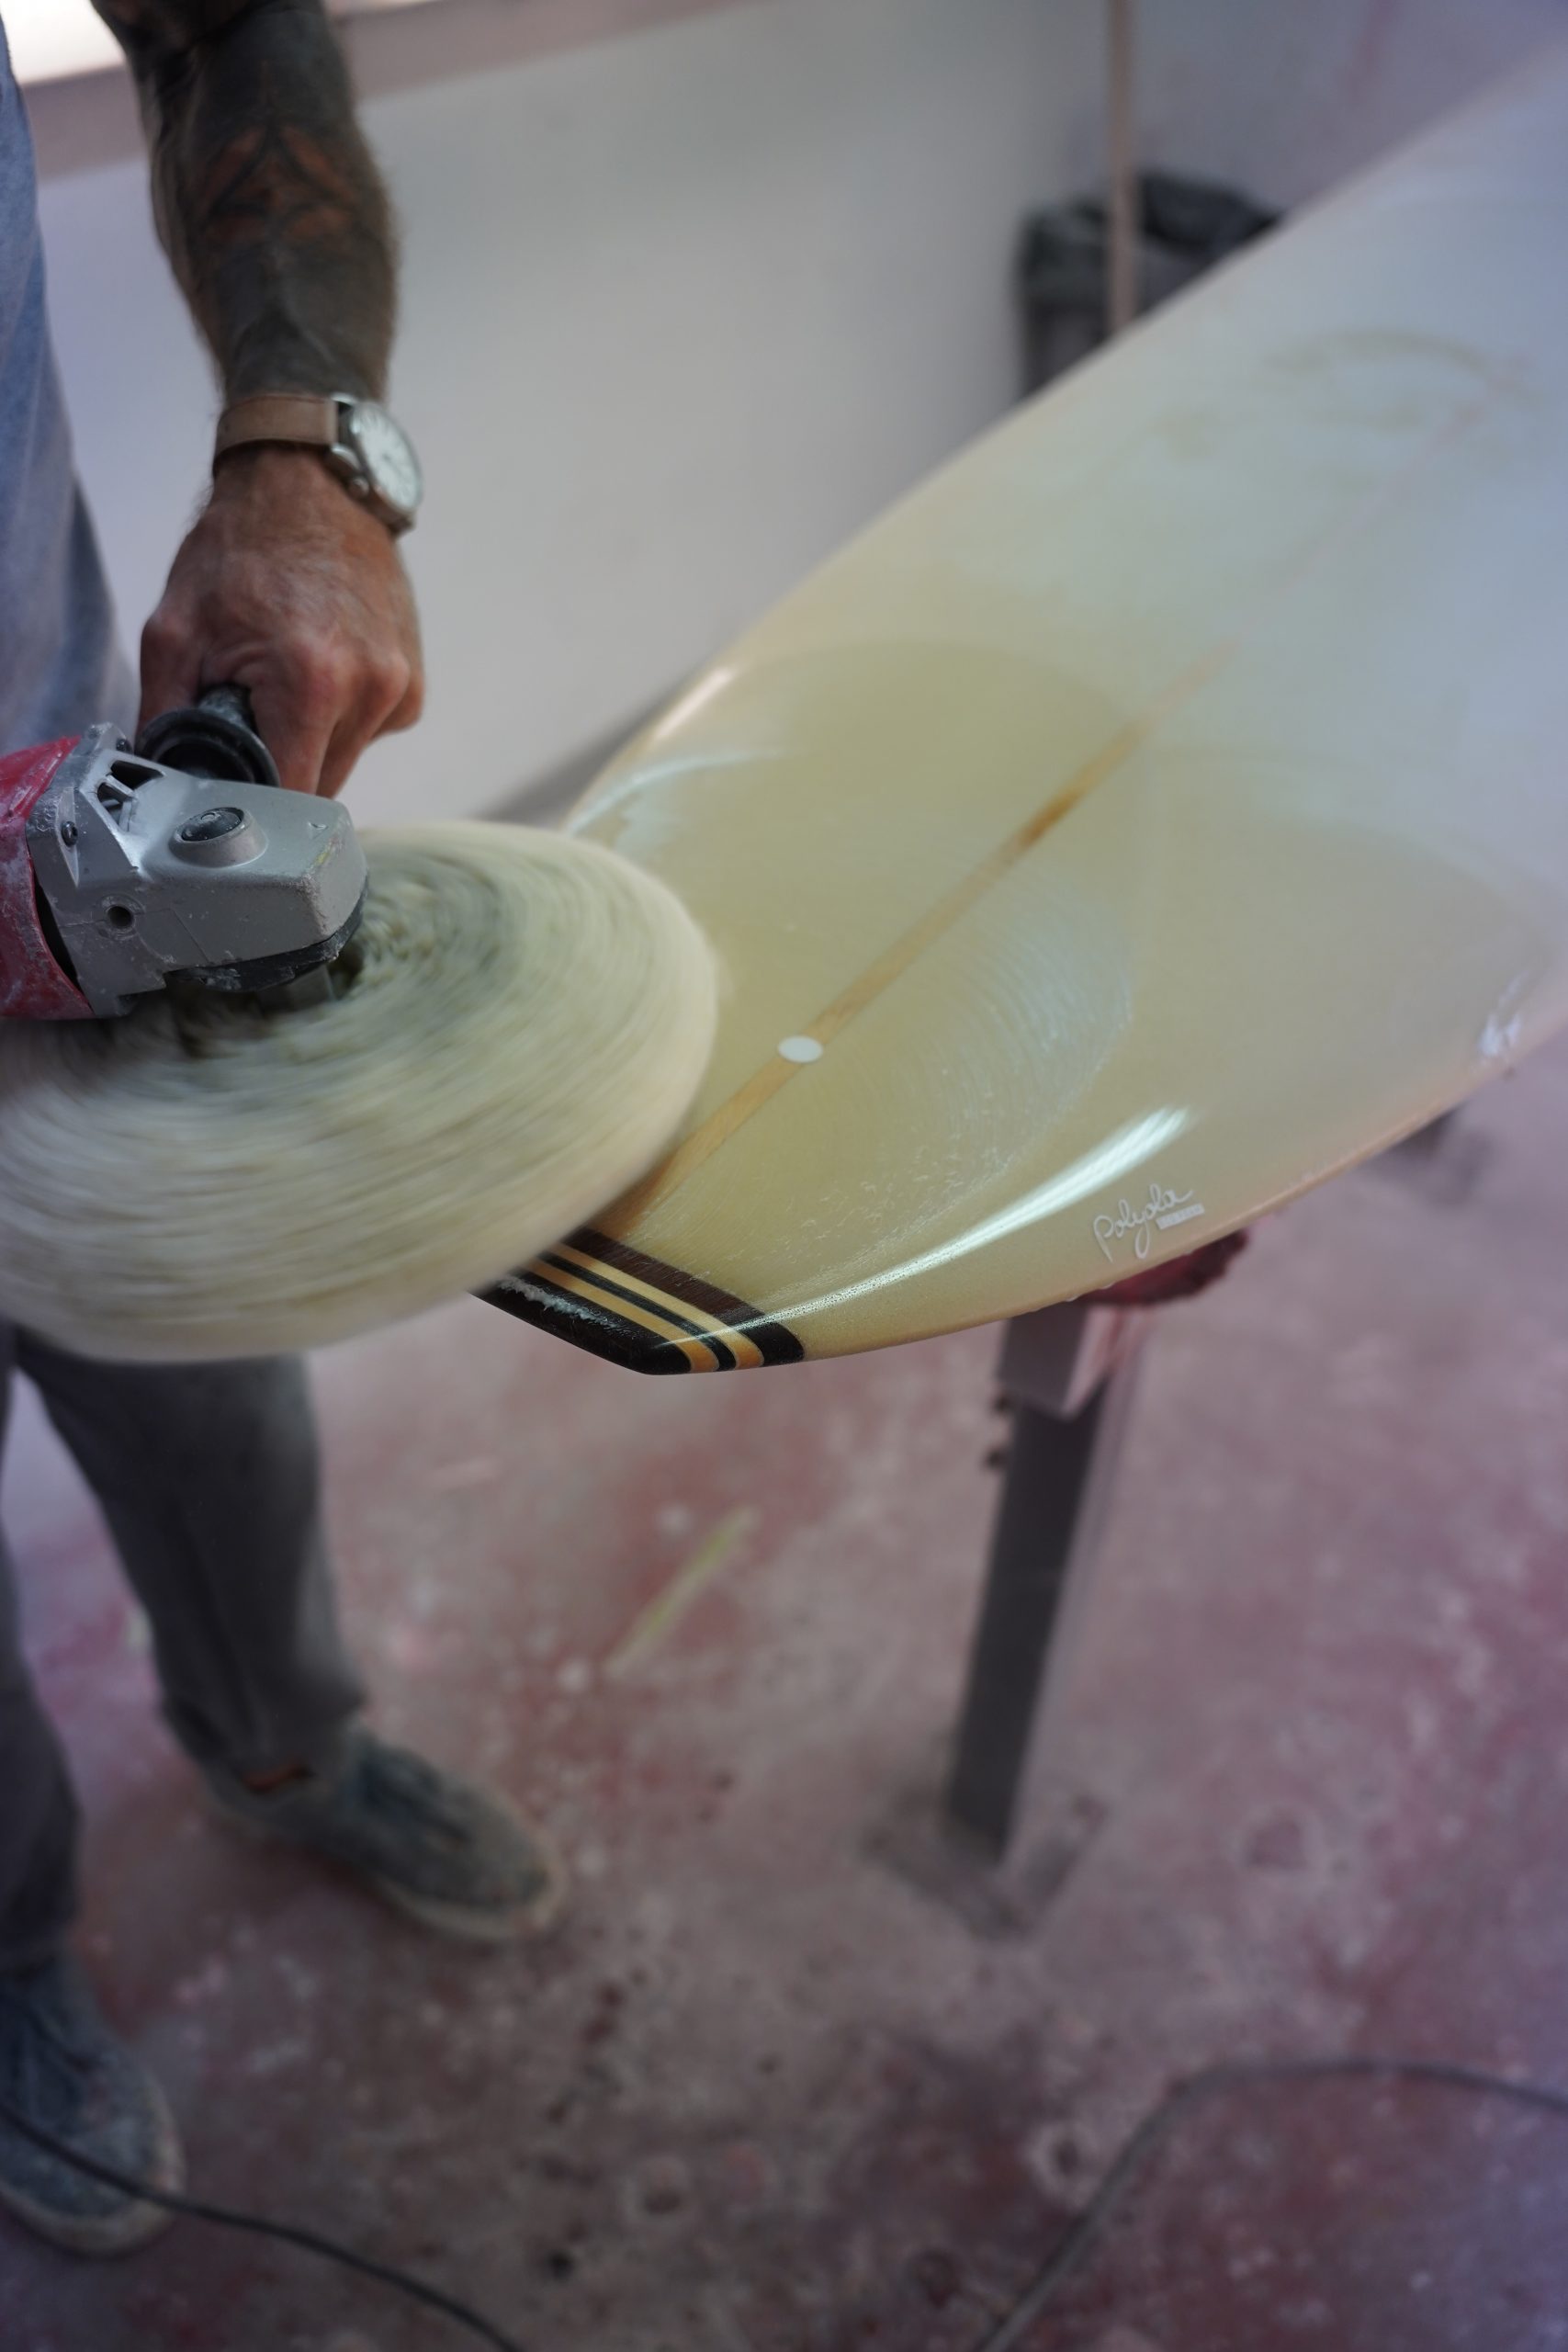
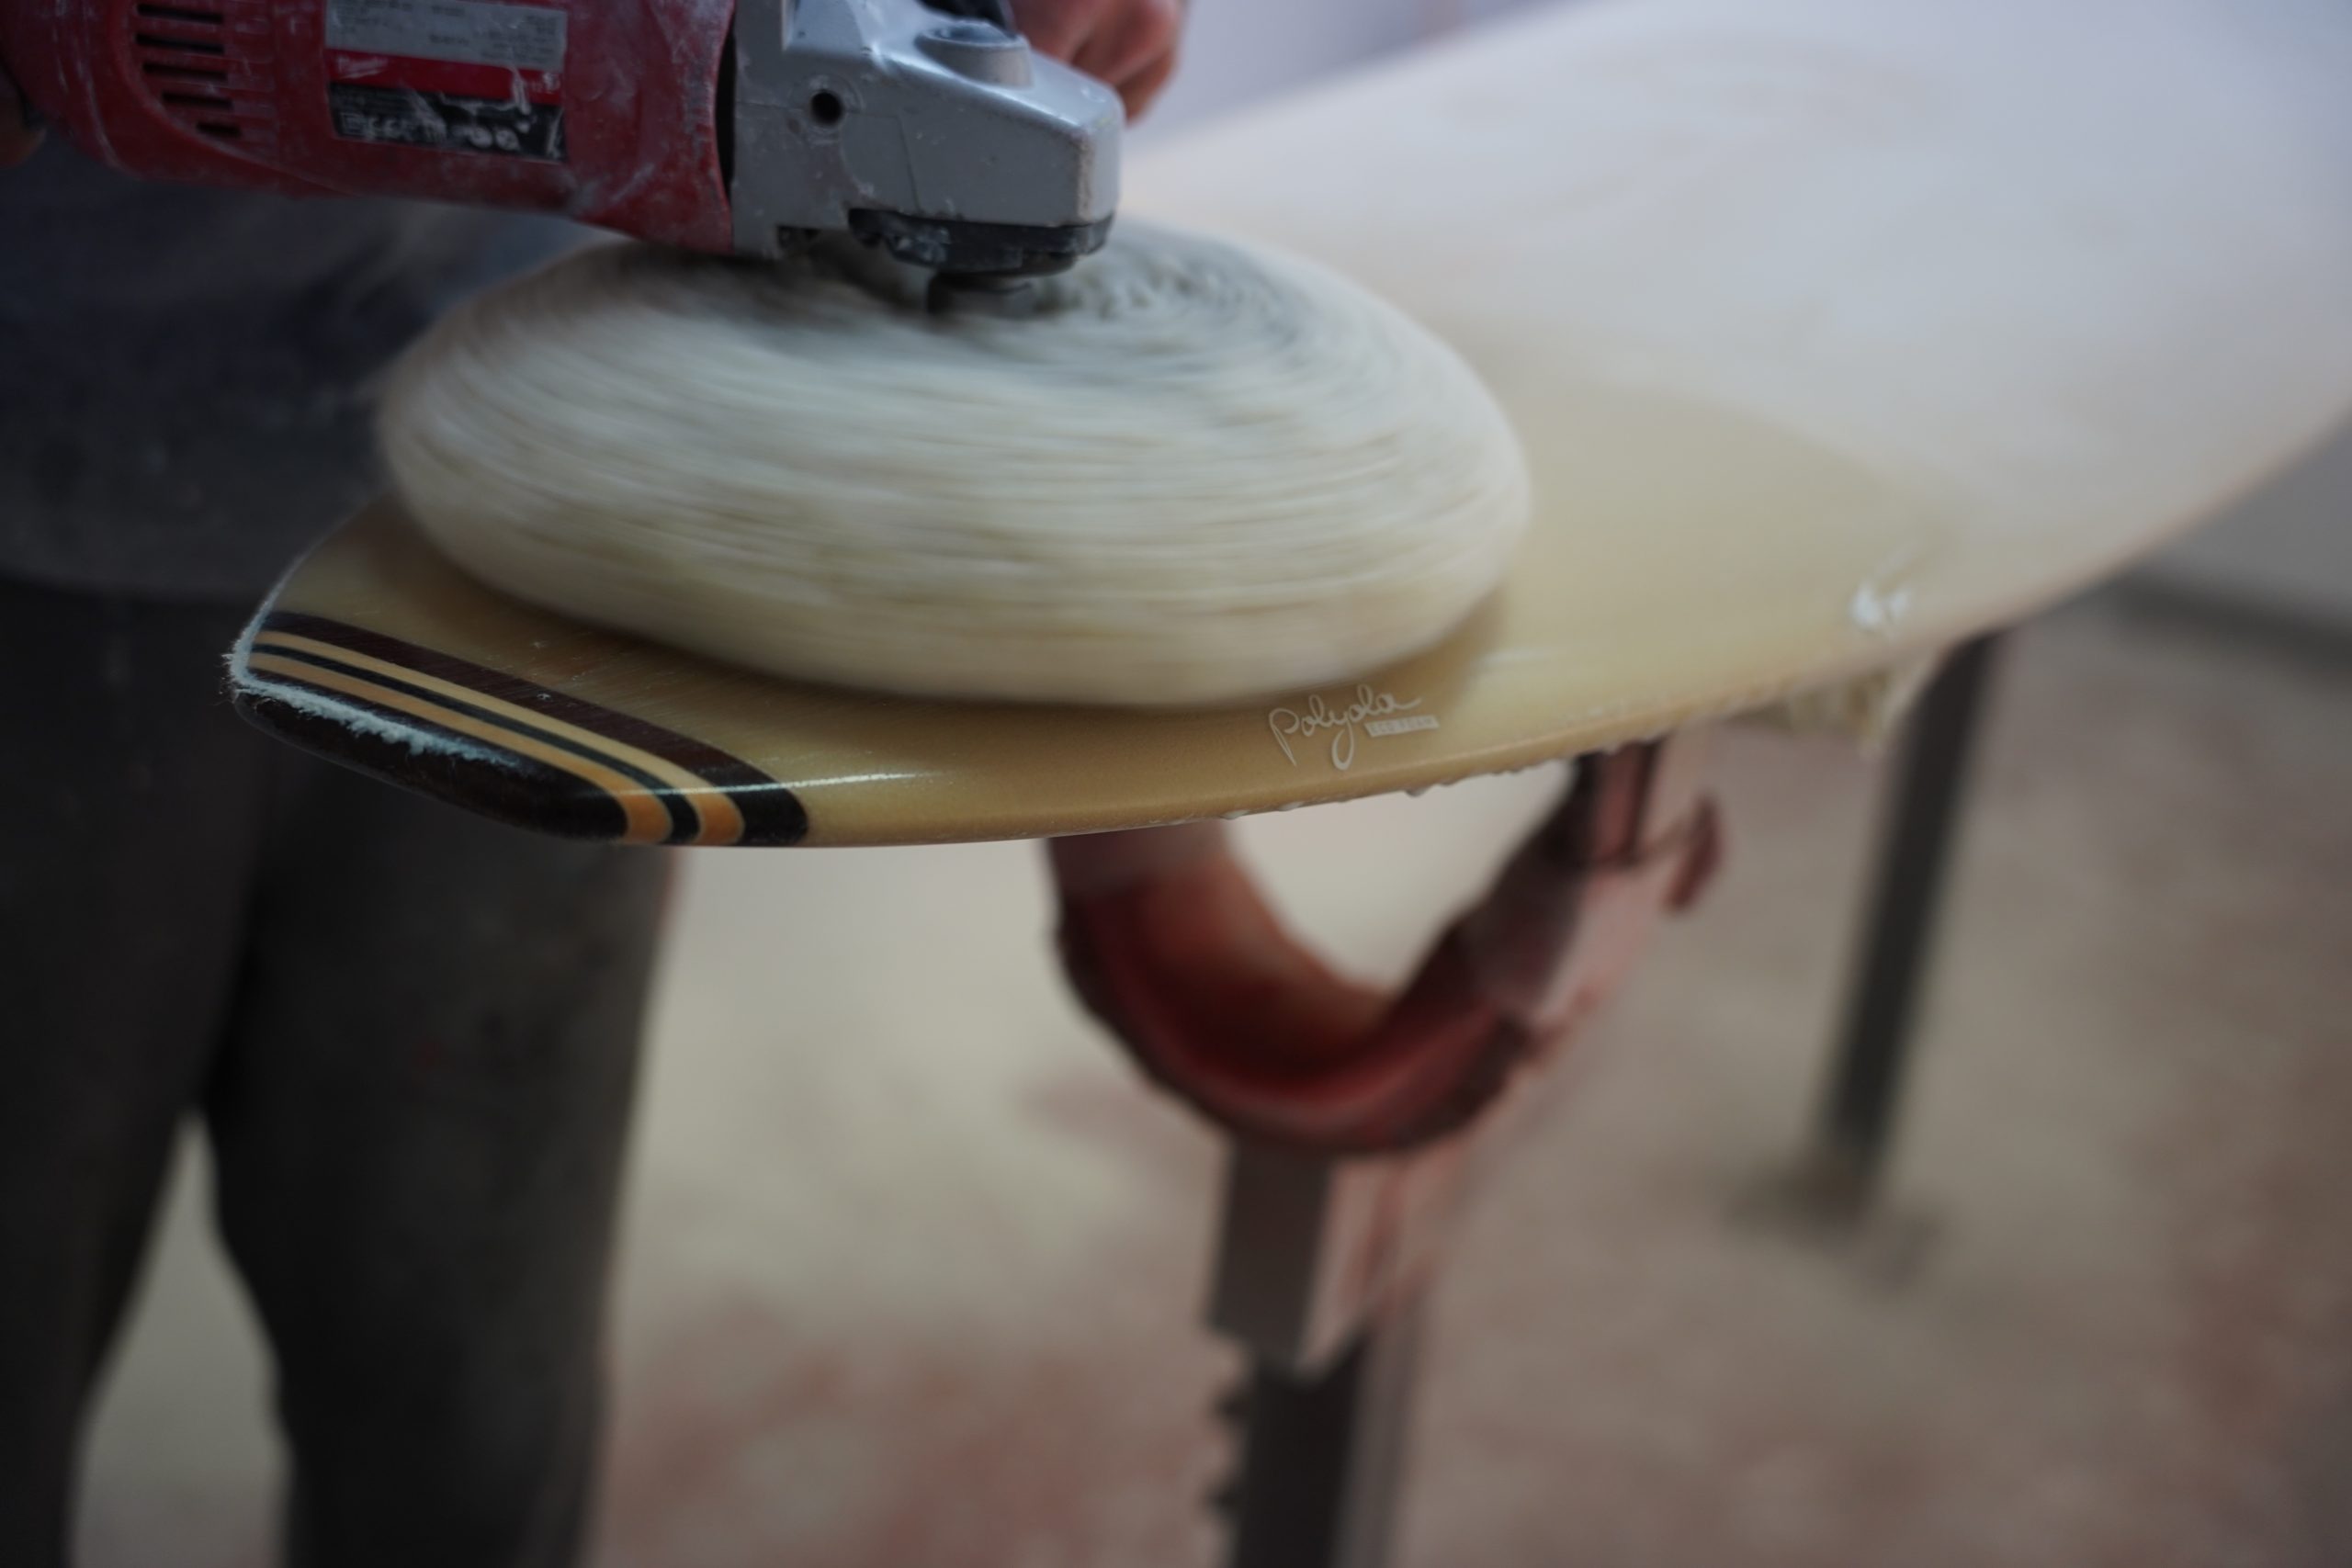
- Finally, sand the hotcoat again with very fine sandpaper (400/600/800) and a soft sanding block, ensuring that no imperfections are visible and a smooth, even surface is achieved.
- Sand down any glossy resin areas so that the entire surface is matte.
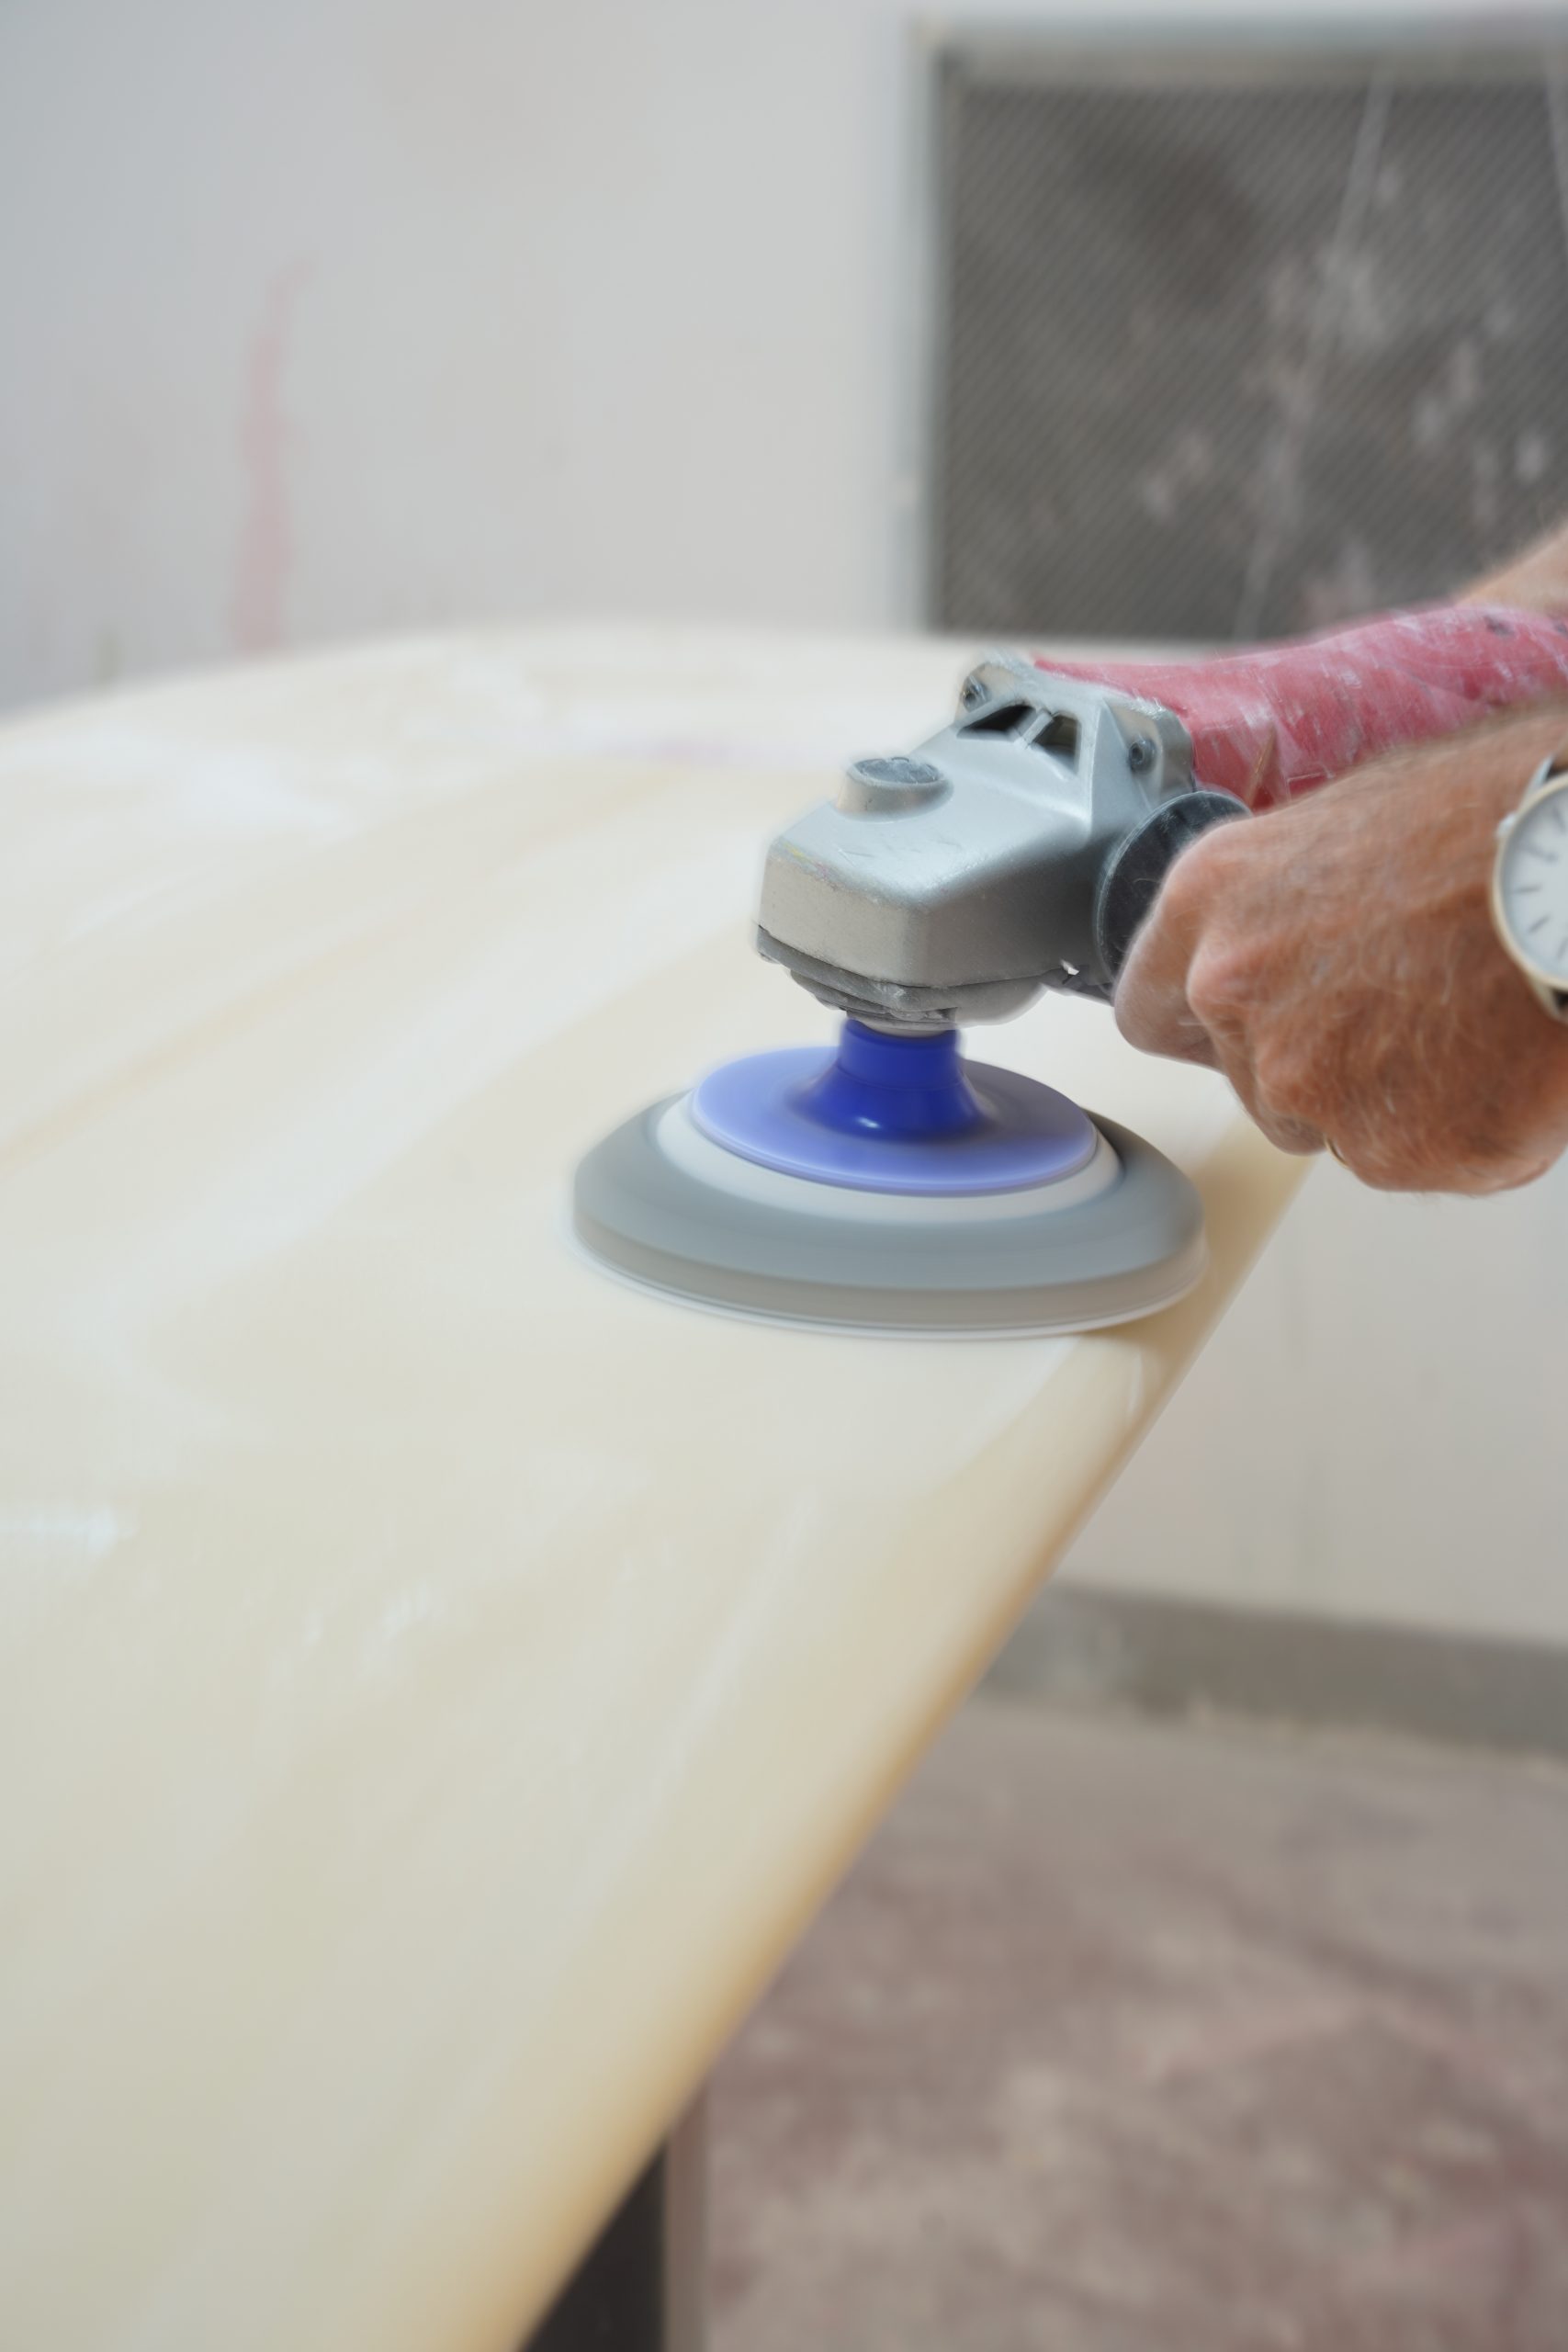
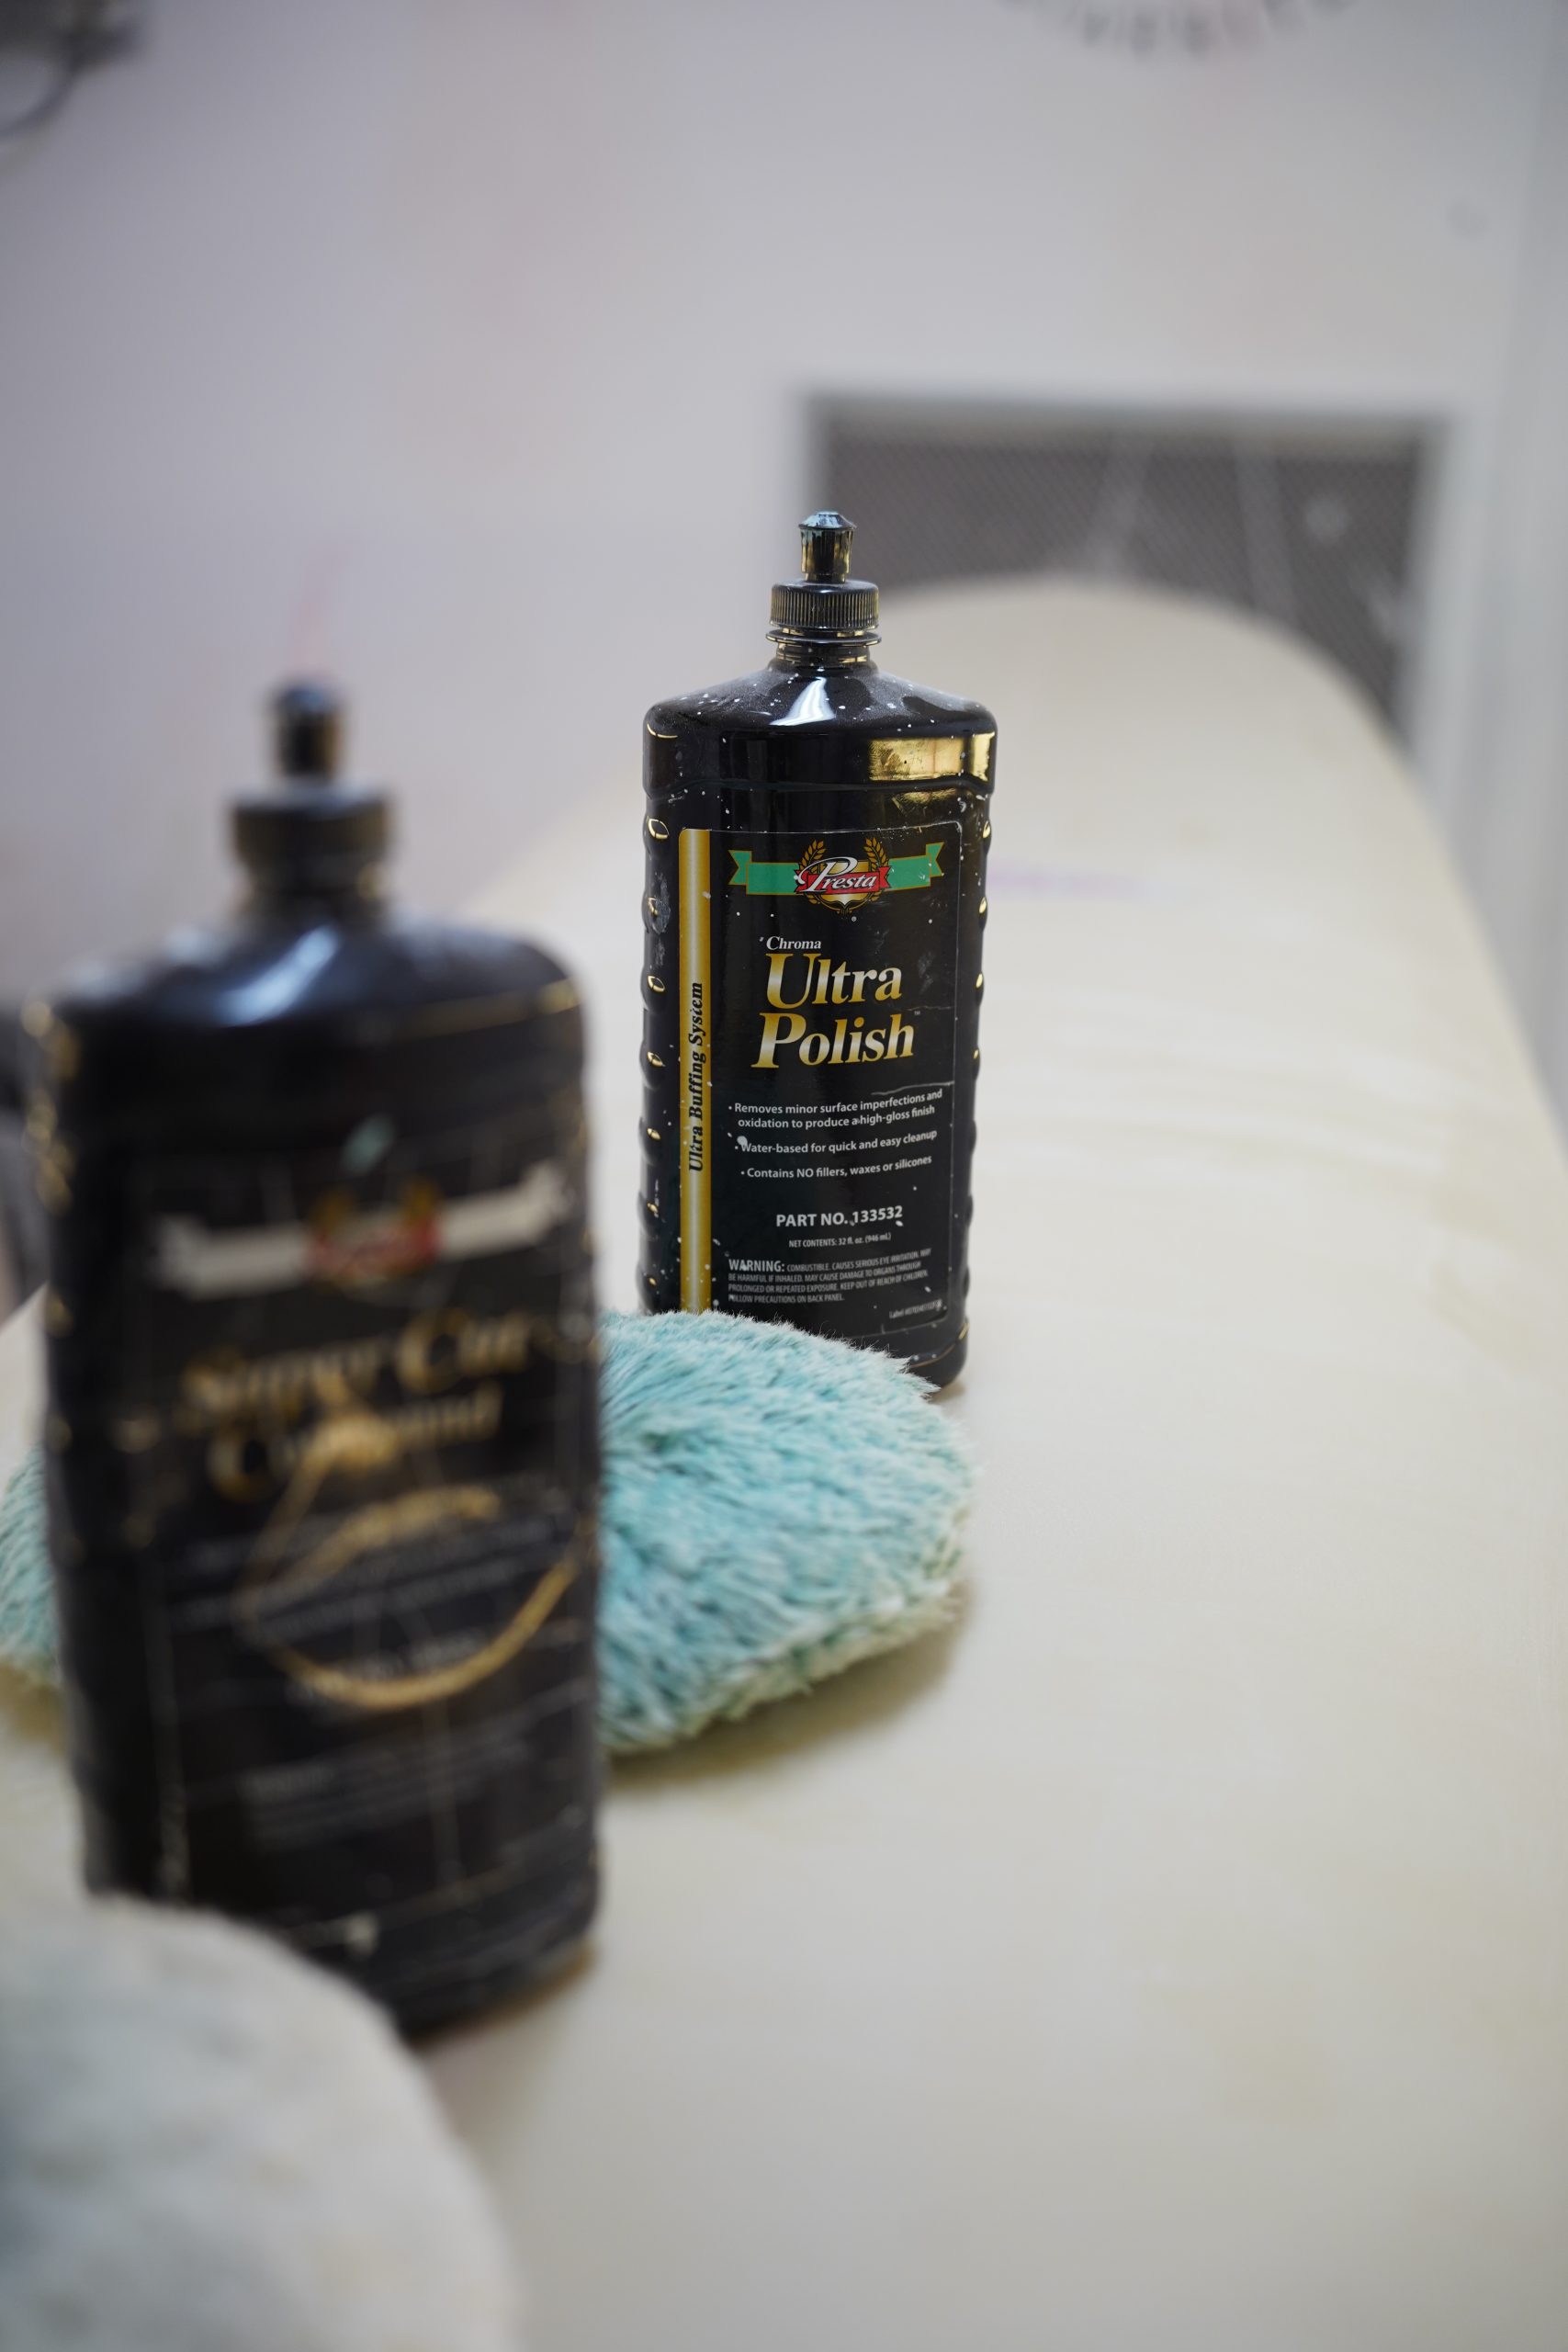
- If you desire a matte board, the surfboard is now complete. If you prefer a polished glass finish, proceed to polish it with resin polish/boat polish and a polishing attachment/polishing machine.
- After polishing, the board is finished.
Important! The board needs to cure for approximately 14 days before being surfed.
Check all other parts of our How to shape your own Surfboard series
- Part 1 Intro and Tools you need to shape your own Surfboard
- Part 2 the process of shaping the surfboard
- Part 3 The Surfboard Glassing Process